
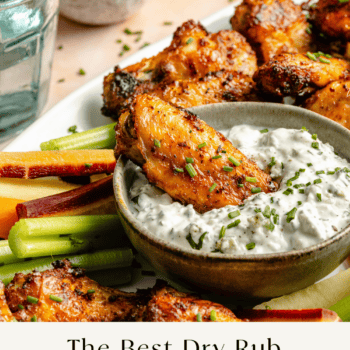
When it’s time for game day snacks a classic crispy wing has to be on the menu! If you think the only way to get restaurant quality wings is by ordering takeout then this recipe for Crispy Baked Dry Rub Wings is here to change your mind. The wings are perfectly crispy (without any deep frying!) and coated in a homemade dry rub that’s perfectly balanced with the right amount of salty, smokey, and sweet. Finish the wings with a sprinkle of extra fresh herbs and serve with fresh veggies and your favorite dip for a game day appetizer that will keep you coming back for more!

Featured Comment
Delicious game snack! The wings tasted great and crispy just the way we like here at home!
— Carol


Crispy Dry Rub Wings with a Homemade Dry Rub That Will Keep You Coming Back for More!
When it comes to game day, I’m just there for snacks! Mainly the dips (pizza dip and crab dip are my favorites) and always, always the crispy chicken wings. I know I say this about all my wing recipes, but this dry rub chicken wings recipe might be my favorite of all time.
The wings are coated in a homemade and easy to make dry rub, baked until crispy and golden, and seriously so delicious. If you don’t think you can get crispy restaurant-worthy wings from baking, then this recipe will prove you wrong.
I love to pair these wings with crisp veggies and my creamy blue cheese dip, but however you serve them I can guarantee you won’t have any leftover. Regardless of the outcome of the game, you’ll be a winner with this recipe, ok?!
— Ashlea

Key Wing Ingredients
This is an overview of the main ingredients in this recipe. See the recipe card for full ingredients and instructions.
- Wings: you’ll need two pounds of split chicken wings, also known as “party wings” for this recipe.
- Baking Powder: I’ve made these wings both with and without baking powder. Both versions come out great, but including it is my secret to creating an extra crispy texture.
- Dry Rub: my homemade wing dry rub includes spices like chipotle powder, paprika, and dried spices. You’ll need one batch of dry rub for this recipe and it gives the wings the BEST flavor.
How to Make the Best Dry Rub Chicken Wings Without Frying
Step One: Preheat the oven to 425 degrees Fahrenheit, and line a large baking sheet with parchment paper.
Step Two: Next, make the dry rub by adding the salt, pepper, brown sugar, and spices to a small mixing bowl and stirring to combine.
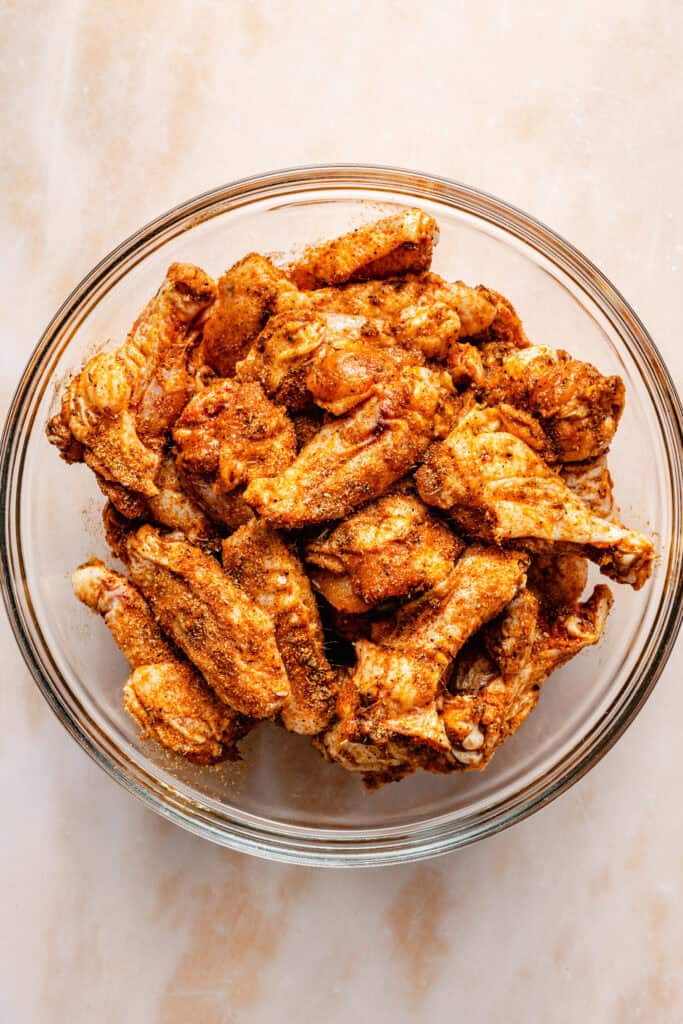
Step Three: Pat the chicken wings dry with paper towels, and add them to a large mixing bowl. Then, add the avocado oil, baking powder, salt, pepper, and dry rub mixture, and toss to combine and coat the wings.
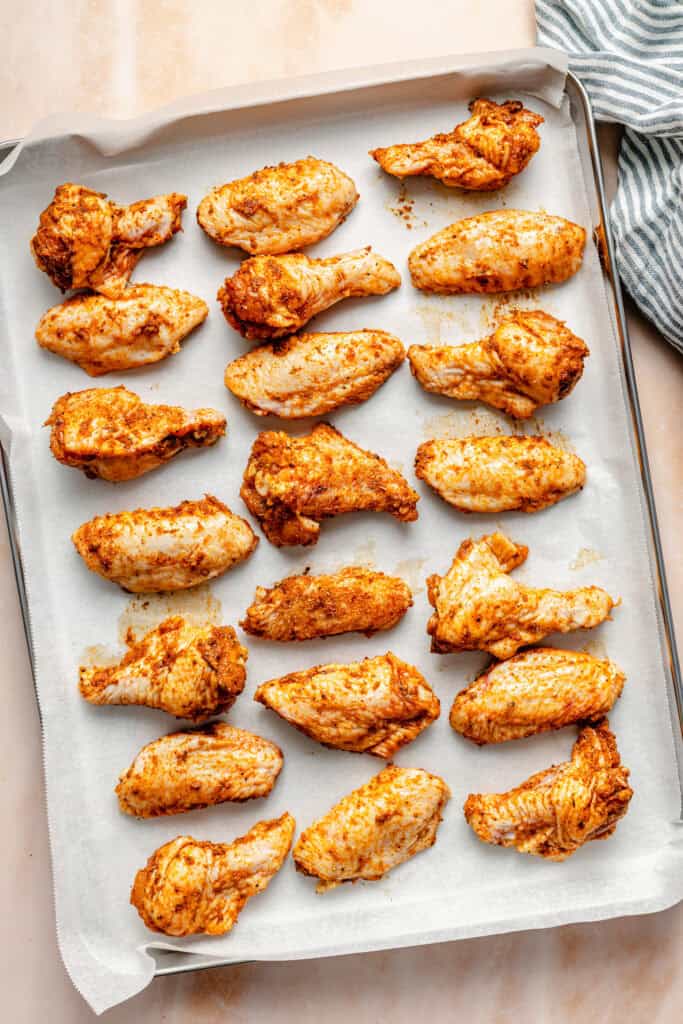
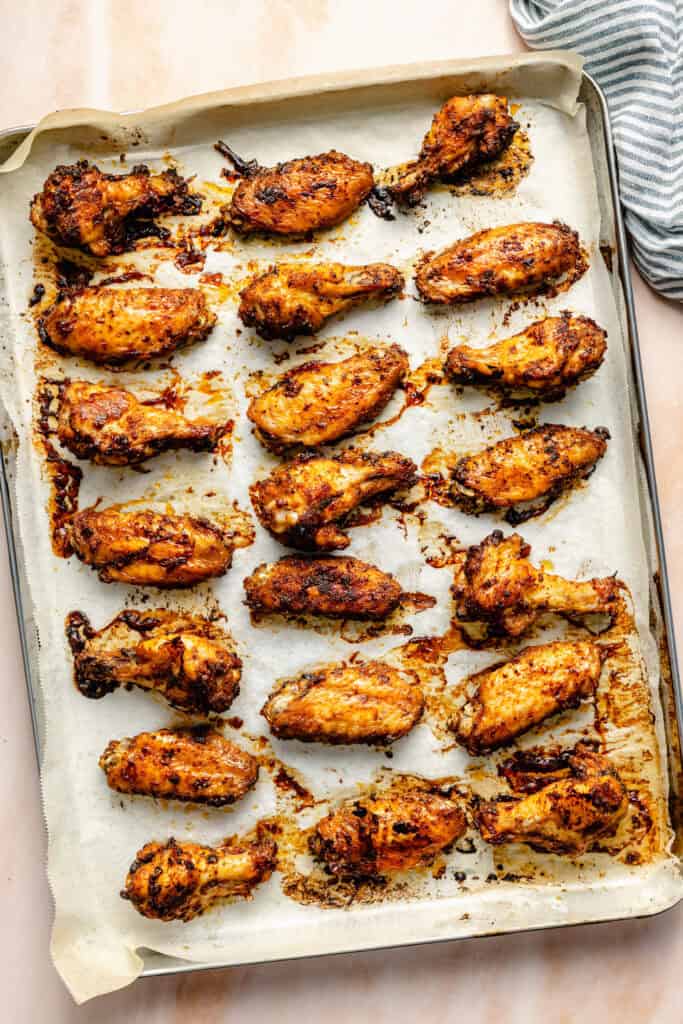
Step Four: Place the wings on a parchment-lined baking sheet, arranging them in a single layer. Bake for 40 to 45 minutes or until the wings are golden brown and the skin is crispy, flipping halfway through. You’ll know your wings are done when the internal temperature reaches 165 degrees Fahrenheit!
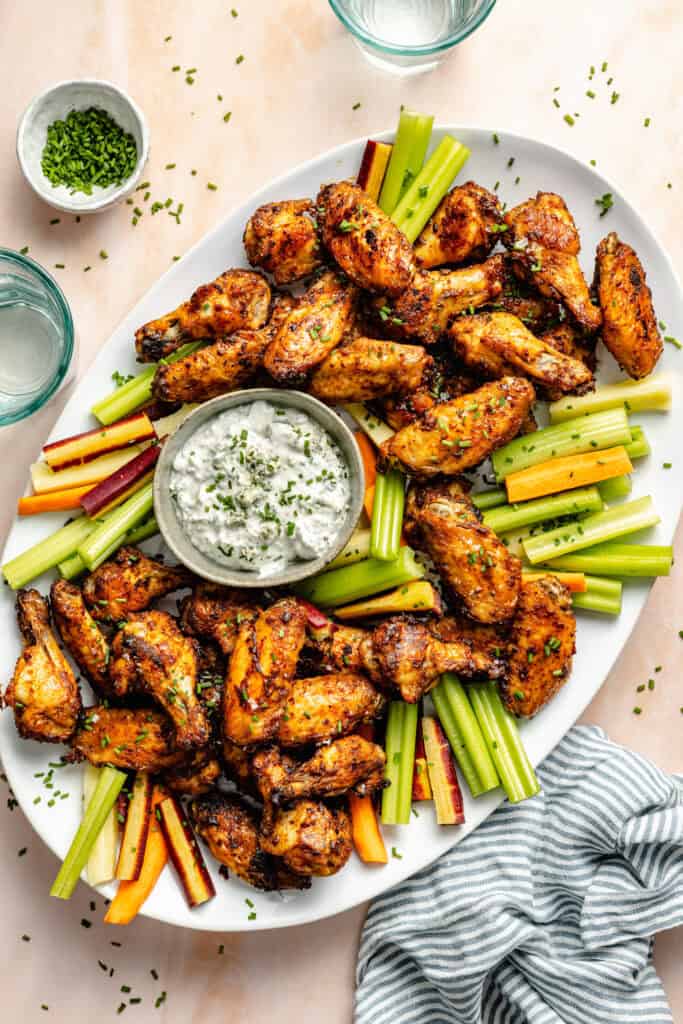
Step Five: Transfer the baked dry rub wings to a serving platter along with celery, carrots, and blue cheese dressing. Enjoy!
Can You Make the Dry Rub Wings in the Air Fryer?
Prefer to save some oven space and air fry your wings? Go for it! They come out just as crispy and delicious.
To make air fryer dry rub wings, just toss the wings in the oil and seasonings until well coated. Then, transfer the wings to the air fryer, and cook at 400 degrees for 20 minutes.
You can give the wings a shake or flip them halfway through to ensure they cook evenly.
A Couple of Air Fryer Method Notes:
- Depending on the size of your air fryer and the amount of chicken you are cooking, you may need to make this recipe in two batches.
- If you are trying to reduce the amount of oil you are using, you can use half a tablespoon of oil for this recipe instead of the full tablespoon. I would still use a little bit of oil to ensure ultimate crispiness, but chicken wings have a lot of natural fat. So, using a little less oil will still work!
How to Store and Reheat
Store leftover dry rub chicken wings in an airtight container in the fridge for up to 4 days.
To Reheat
- Air Fryer: If you have an air fryer, you can easily pop a few wings back into the air fryer to reheat. If your device has a ‘reheat’ function you can use that, or just air fry them again at 400 degrees for a few minutes until heated through.
- Oven: Another great way to reheat this dry rub wings recipe is in the oven. Preheat your oven to 400 degrees. Then, place the wings on a sheet pan lined with parchment paper. Pop them in the oven, and heat for a few minutes until hot and crispy.
More Delicious Game Day Recipes:
- Crispy Potato Skins
- Easy Buffalo Chicken Bites
- Air Fryer Buffalo Cauliflower
- Crispy Buffalo Ranch Chicken Nuggets
- Chipotle Chicken Sandwiches
- Pulled Pork Sliders
Looking for more? Keep reading to find over 50 of our favorite delicious game day recipes!
I hope you give this Dry Rub Wings Recipe a try! If you do give this recipe a try, let me know! Leave a comment with a star rating below. You can also snap a photo & tag @allthehealthythings on INSTAGRAM. Your reviews and ratings help support All the Healthy Things and make it possible for me to continue to create the recipes you trust and love.
Print
Crispy Baked Dry Rub Wings
- Prep Time: 15 minutes
- Cook Time: 45 minutes
- Total Time: 1 hour
- Yield: 4 1x
- Category: Appetizers
- Method: Baking
- Cuisine: American
- Diet: Gluten Free
Description
When it’s time for game day snacks a classic crispy wing has to be on the menu! If you think the only way to get restaurant quality wings is by ordering takeout then this recipe for Crispy Baked Dry Rub Wings is here to change your mind. The wings are perfectly crispy (without any deep frying!) and coated in a homemade dry rub that’s perfectly balanced with the right amount of salty, smokey, and sweet. Finish the wings with a sprinkle of extra fresh herbs and serve with fresh veggies and your favorite dip for a game day appetizer that will keep you coming back for more!
Ingredients
- 2 pounds split chicken wings
- 1 tablespoon avocado oil
- 1 tablespoon baking powder
- 1 batch dry rub for chicken wings
- thinly sliced chives, for serving
- celery and carrots, for serving
- homemade blue cheese dressing, for serving
- homemade ranch dressing, for serving
Instructions
- Preheat the oven to 425 degrees and line a large baking sheet with parchment paper.
- Pat the chicken wings dry with paper towels and then add them to a large mixing bowl. Add the avocado oil, baking powder, salt, pepper, and dry rub to the chicken wings and toss until well coated in the rub.
- Place the chicken wings on the parchment lined baking sheet in a single layer. Bake the wings for 40-45 minutes until golden brown and the skin is crispy, flipping halfway through.
- Transfer the wings to a serving platter and serve with celery, carrots, and your favorite creamy dip!
Notes
Store leftover dry rub chicken wings in an airtight container in the fridge for up to 4 days.
To Reheat
Air Fryer: If you have an air fryer, you can easily pop a few wings back into the air fryer to reheat. If your device has a ‘reheat’ function you can use that, or just air fry them again at 400 degrees for a few minutes until heated through.
Oven: Another great way to reheat this dry rub wings recipe is in the oven. Preheat your oven to 400 degrees. Then, place the wings on a sheet pan lined with parchment paper. Pop them in the oven, and heat for a few minutes until hot and crispy.
Recipe by: Ashlea Carver / All the Healthy Things | Photography by: Eat Love Eat


I normally grill my wings but this recipe has changed my mind. It’s super easy and the results are consistently delicious wings every time!
Made these for our Super Bowl dinner tonight and they are 10/10. I’ve forwarded this recipe to a couple of friends and I will definitely be making this again.
Made for Xmas eve and it was such a hit! My family devoured these. Thank you!
Delicious game snack! The wings tasted great and crispy just the way we like here at home!
Absolute showstopper! Instead of wings, we used legs and thighs on the grill (bc they don’t fall through the grates) but kept all of the seasonings. I also tried in air fryer and still delicious! Thanks for another hit!