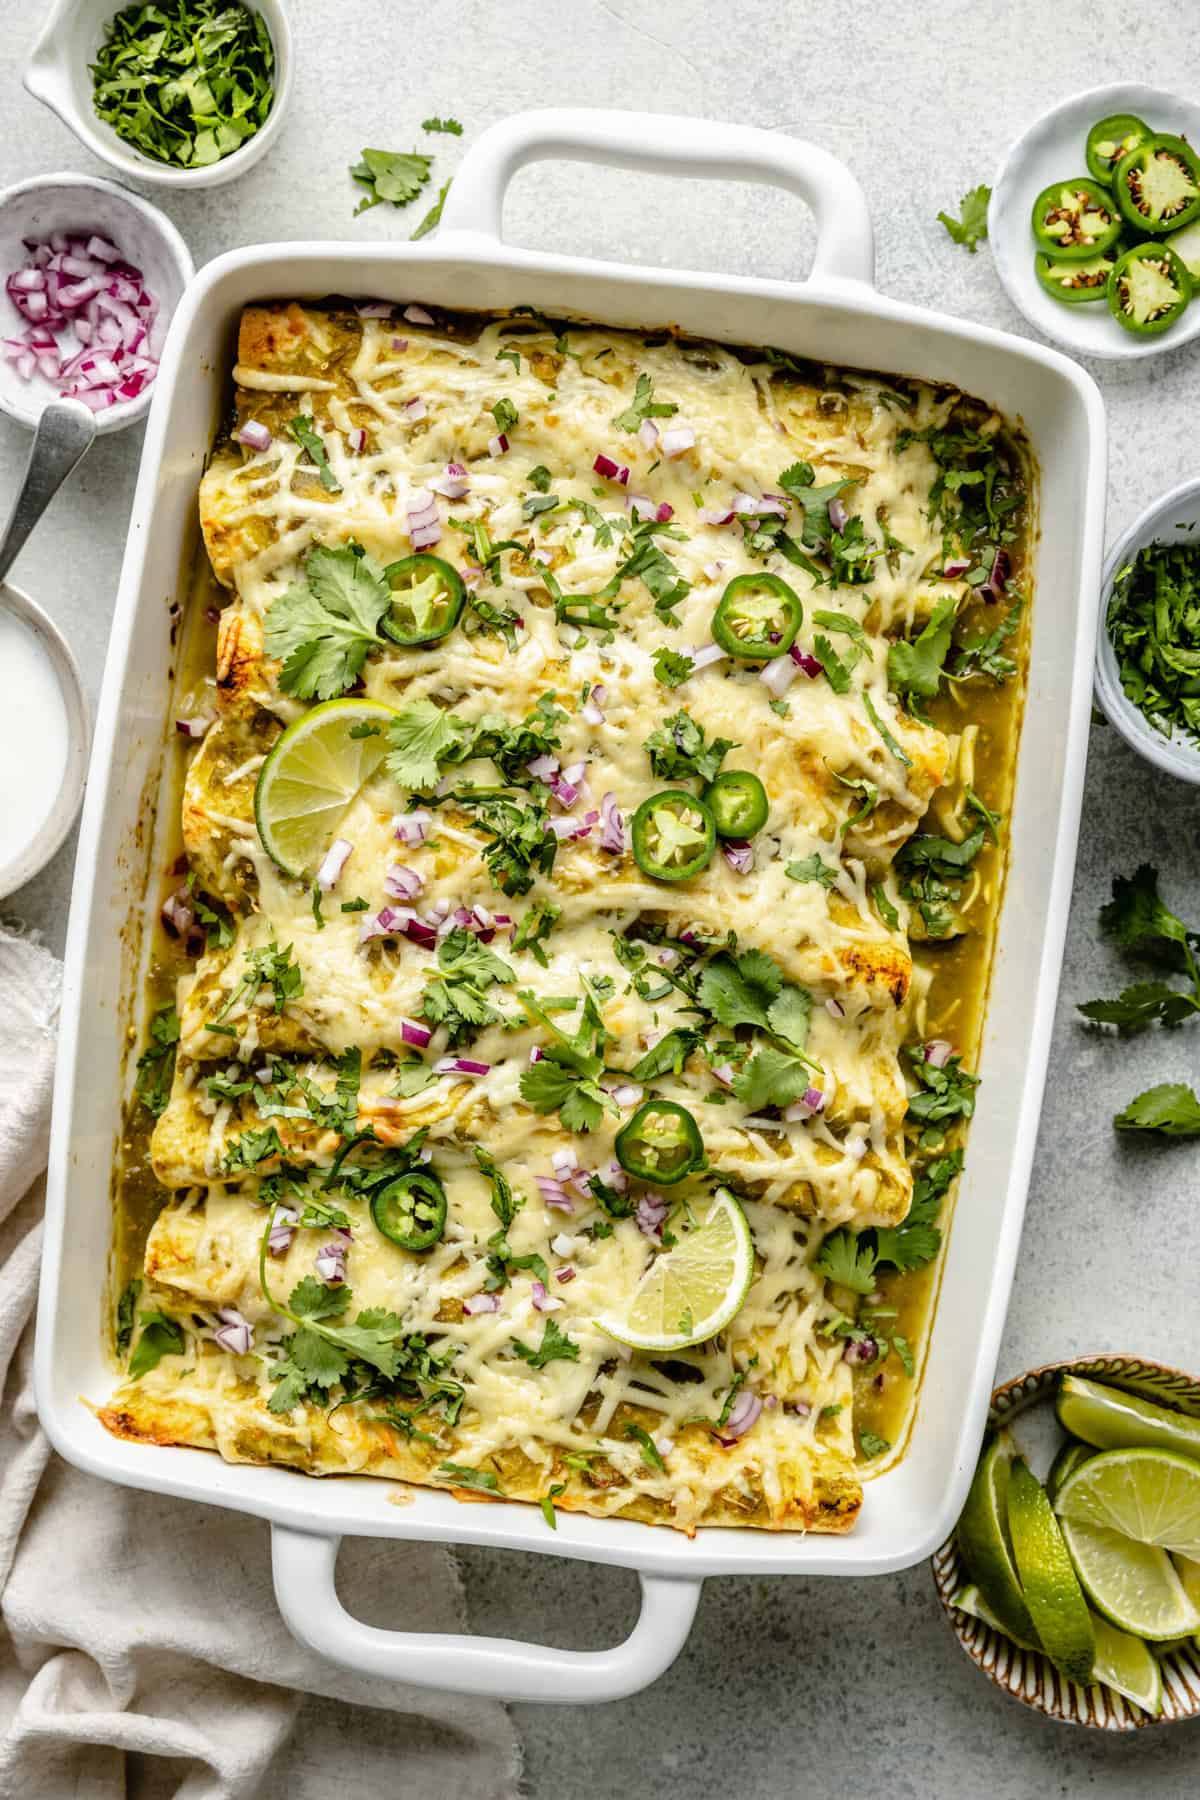
These delicious Green Chicken Enchiladas are so good, easy to make, and a delicious way to use leftover chicken. They are the perfect easy and comforting weeknight meal that I know you will love!


The Best Green Chicken Enchiladas
oh my gosh, I love this recipe so much and here’s why:
- All of the cheesy enchilada goodness – these delicious enchiladas are just full on cheesy goodness. You just cannot go wrong.
- They’re a great way to use leftover chicken – I love using leftover roasted chicken in this recipe! It makes things even quicker and this easy recipe even easier.
- It’s made with simple ingredients – these enchiladas are made with just a few simple ingredients (I even throw in a veggie!) that you likely already have in your pantry and fridge!
— Ashlea
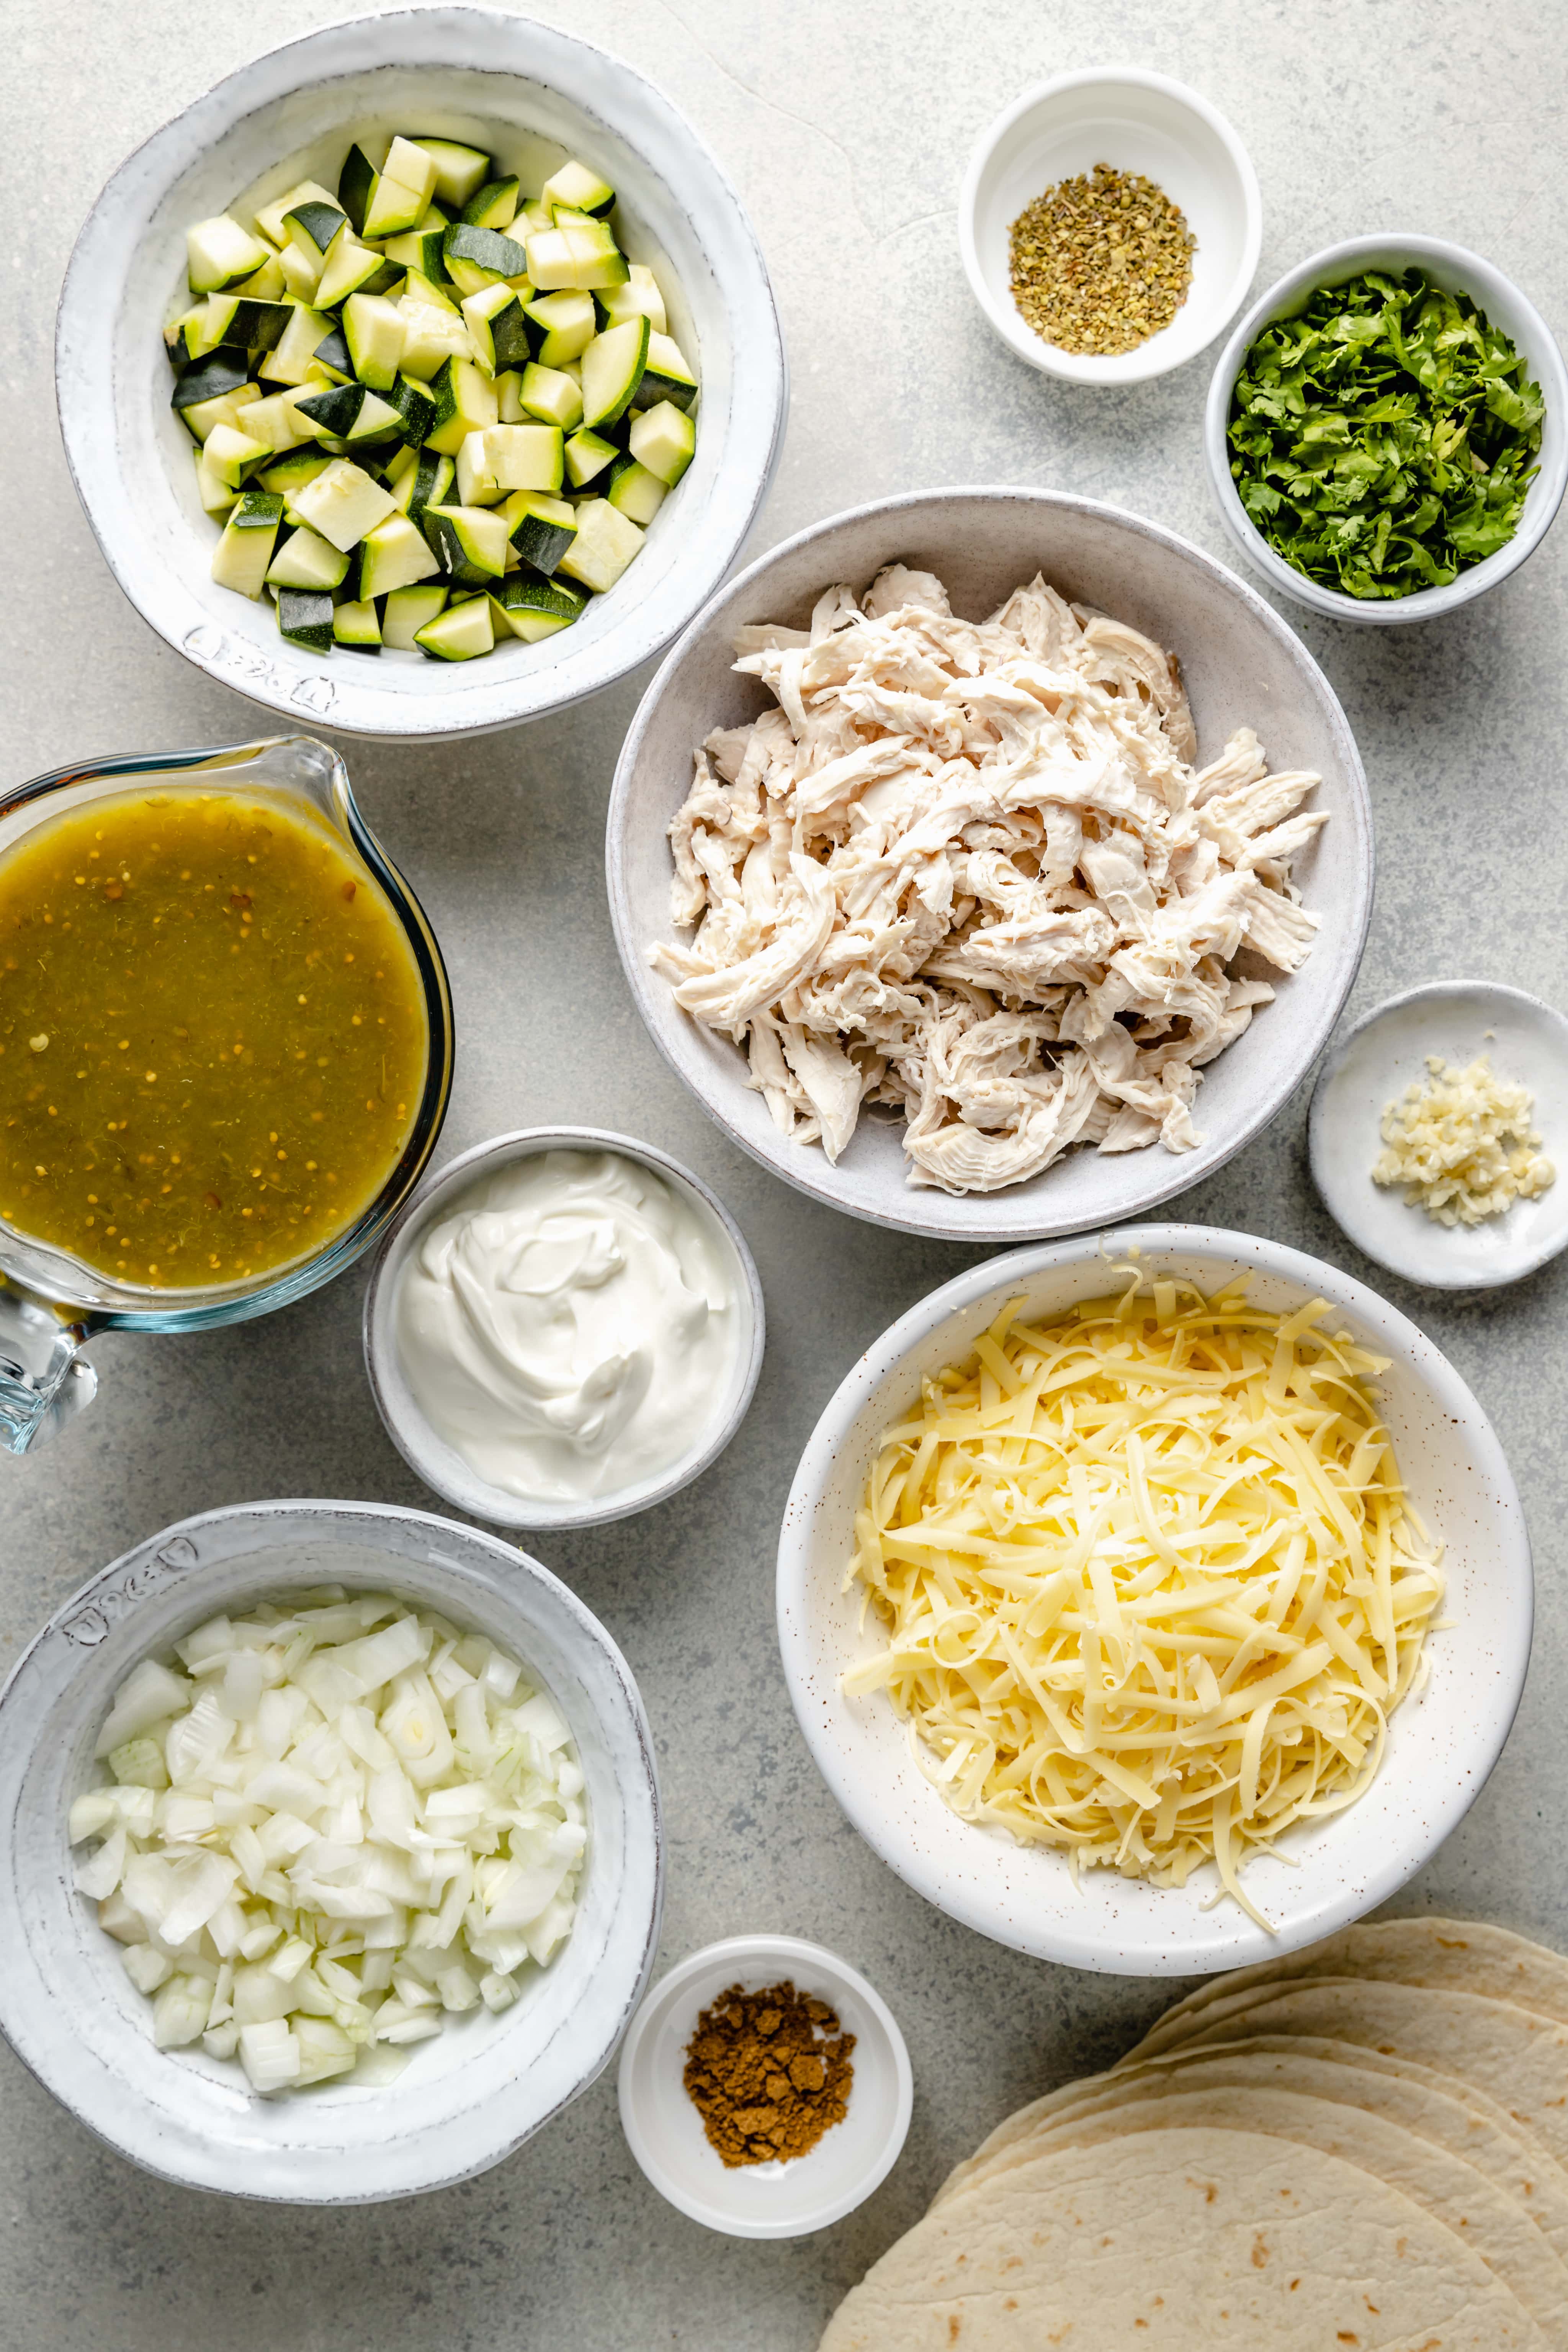
What You Need to Make These Green Chicken Enchiladas
- Shredded Chicken: you’ll need two cups of shredded chicken for these enchiladas. This is a great recipe to make when you have leftover roasted chicken that you want to repurpose.
- Greek yogurt: to make a delicious creamy enchilada filling we’re using a little whole milk Greek yogurt.
- Cilantro: be sure to use both the stems and the leaves for the best flavor.
- Enchilada Sauce: for this recipe we’re using green enchilada sauce. Feel free to grab your favorite brand! Be sure to pay attention to whether or not the enchilada sauce has gluten in it if you are sensitive to that.
- Veggies: I love adding some extra veggies to my enchiladas so you’ll sauté a little diced white onion, zucchini, and garlic to add to the filling.
- Spices: for this recipe we’re using a combination of cumin, dried oregano, salt, and pepper.
- Lime Juice: a little fresh lime juice helps to add some delicious flavor to the enchilada filling.
- Tortillas: you’ll need 8 flour tortillas for this recipe. I include some tips below if you need to keep this recipe gluten free.
- Cheese: for ultimate cheesy goodness we’re using delicious melty Monterey Jack cheese.
If You Love Enchiladas Then You’re Going to Love These Recipes
How to Make Green Chile Chicken Enchiladas in a Few Simple Steps
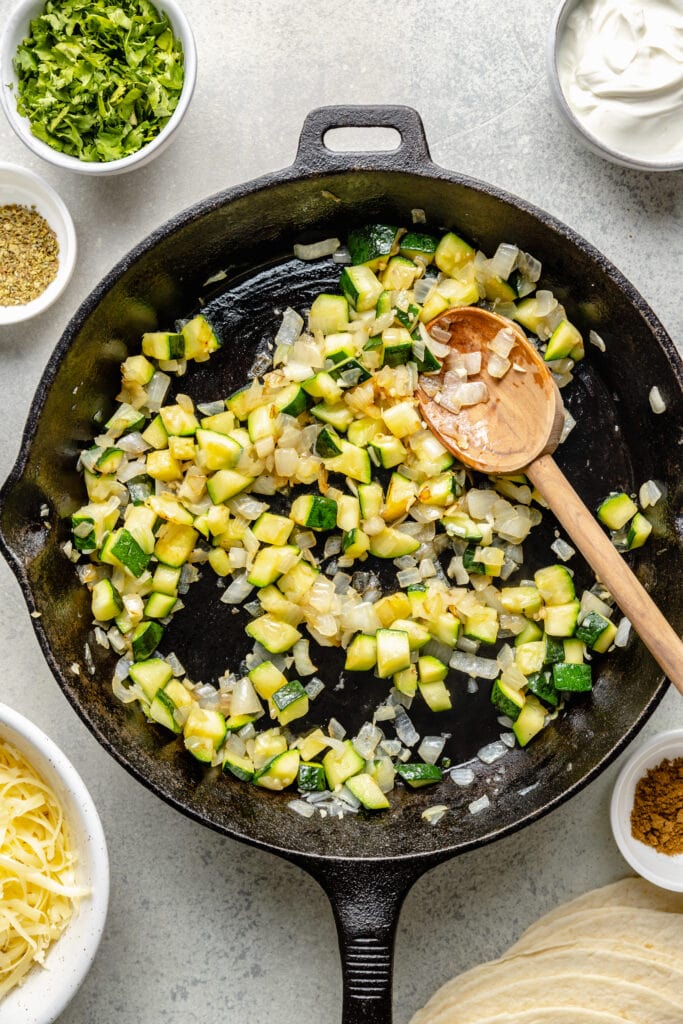
Sauté the Veggies: Sauté some diced onion, zucchini, and minced garlic in a little olive oil until tender.
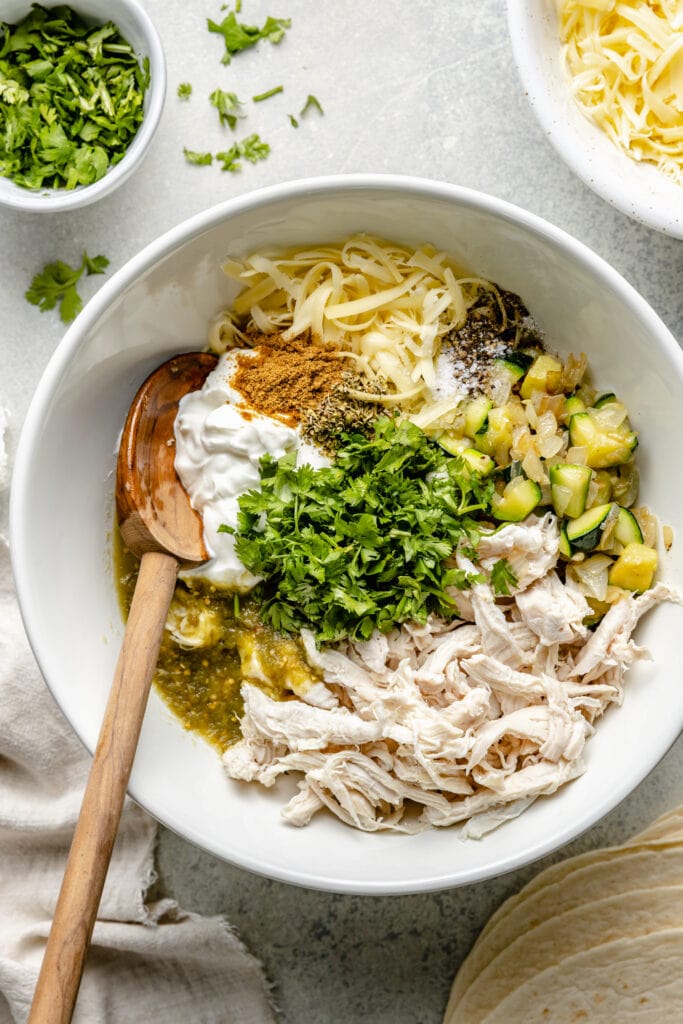
Prep the Chicken Enchilada Filling: Add the shredded chicken, Greek yogurt, cheese, spices, enchilada sauce and sautéd veggies to a mixing bowl and stir until well combined. Now your enchilada filling is done!
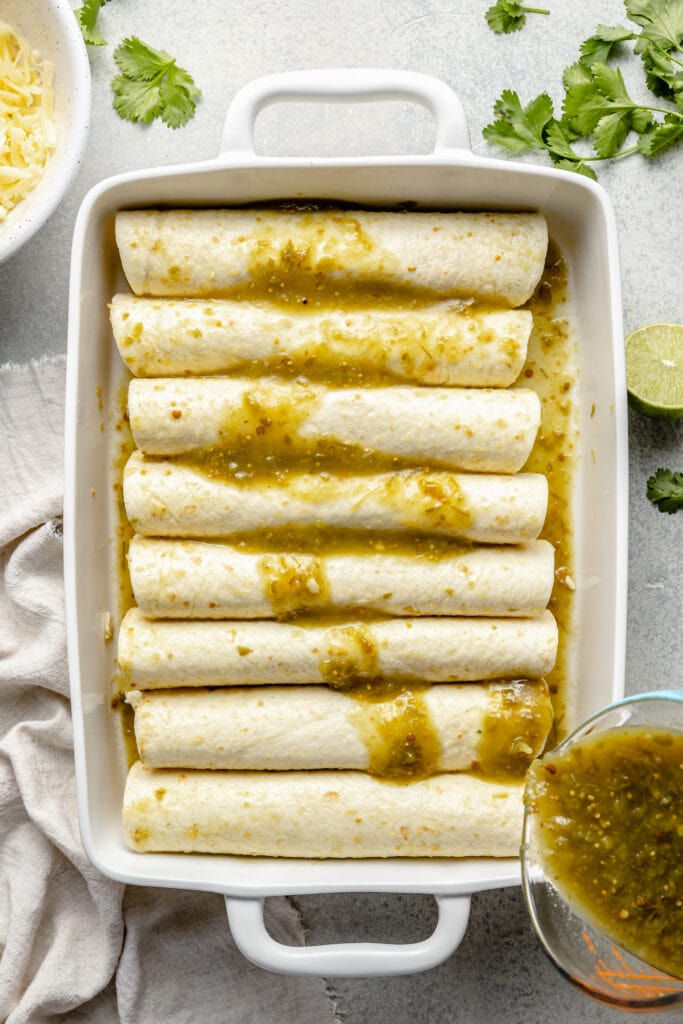
Roll the Enchiladas: Pour a some sauce in the bottom of your baking dish to start. Next, microwave the flour tortillas a bit to make sure they’re pliable. Next, pour some green enchilada sauce onto a plate and gently dip a tortilla into the sauce until lightly coated on both sides. Scoop some of the filling into the tortilla and then gently roll up and place in the baking dish, seam side down. Repeat until all of the enchiladas are rolled and ready to go!
Top with Cheese and Sauce: You’ll pour the remaining enchilada sauce over the enchiladas and then top them with a good layer of cheese.
Bake and Enjoy!: Bake the enchiladas at 400 degrees for 15-20 minutes or until the top becomes golden brown and bubbly. Garnish with your favorite toppings (I have lots of ideas below) and then enjoy!
Helpful Ingredient Substitutions and Variations
- Chicken – if you need to make a vegetarian version of this recipe, you can swap the shredded chicken for one to tow cans of black beans instead. You could also try this Vegetarian Enchilada Casserole if you like!
- Greek Yogurt – you can swap the plain Greek yogurt for sour cream in the filling if you prefer.
- Cheese – I love the creamy melty-ness of Monterrey cheese in this recipe, but feel free to use whatever cheese your prefer. Pepper jack cheese would be a delicious addition!
- Tortillas – if you need to keep this recipe gluten free you can swap the flour tortillas for corn tortillas or your favorite grain free tortillas.
- Veggies – these enchiladas a pretty forgiving and a great way to use up some extra veggies you may have in the fridge. Bell peppers, mushrooms, and fresh spinach could all work.
A Few Easy Ways to Cook Chicken for Enchiladas
- Use leftover rotisserie chicken – this is my favorite thing to do when making these enchiladas. Just grab a grocery store rotisserie chicken and pull the meat from the bones for this recipe.
- Bake in the oven – drizzle a pound and a half of boneless skinless chicken breast with a little olive oil and a sprinkle of salt and pepper. Bake on a parchment lined sheet pan for 20-25 minutes at 400 degrees or until the chicken reaches an internal temperature of 165 degrees. Once the chicken is fully cooked, use two forks to shred the meat.
- Use leftover roasted chicken – if I have a little extra time, I love to make my roasted chicken and use any leftovers for this recipe.
My Favorite Enchilada Making Tips and Tricks
- For the best results, I highly recommend shredding your own cheese instead of buying a pre-shredded bag. Pre-shredded cheese often contains stabilizers and doesn’t melt as nicely as blocks of cheese that are hand shredded. To make things easier and save time, you can use a food processor to grate your own cheese.
- Be sure to let the enchiladas rest for a few minutes before serving. This will ensure that they hold together a bit better when serving.
- If you want the cheese on top of the enchiladas to be a bit more brown, feel free to place them under the broiler for a minute or so before removing from the oven.
Want to Prep These in Advance?
Yes! If you like you can prepare these enchiladas up to a day in advance. Just assemble everything and then cover tightly with foil before placing in the fridge.
When you are ready to bake the casserole, remove it from the fridge and place on the counter for 20 minutes and allow it to come to room temperature before baking.
Topping Ideas and a Few Side Dish Suggestions
There are so many ways you can top these enchiladas once they are out of the oven and they are all delicious.
Here are a few of my favorite topping ideas:
- sliced avocado
- chopped cilantro
- salsa verde or your favorite salsa of choice
- diced red onion or pickled onions
- fresh limes
- sliced jalapeno peppers
Need some side dish ideas? I’ve got you covered there, too! Here are a few of my favorite things to pair with your enchiladas:
- Cilantro Lime Coconut Rice
- Herbed Brown Butter Cheddar Cornbread
- Delicious Mexican Street Corn Salad
- Avocado Corn Salsa
- Pico de Gallo

How to Store, Freeze, and Reheat these Easy Green Chicken Enchiladas
- Store: You can store any leftover enchiladas, tightly covered, in the fridge for up to three to four days.
- Freeze: to freeze the enchiladas first let them come to a complete cool. Then transfer them to a freezer safe container. The enchiladas will be good in the freezer for up to 3 months.
- Reheat: to reheat the enchiladas from frozen you can remove them from the freezer and place in the fridge to thaw completely and then reheat in the microwave or in a 350 degree oven.
More Really Delicious Recipes to Try Next
- Black Bean and Corn Salad
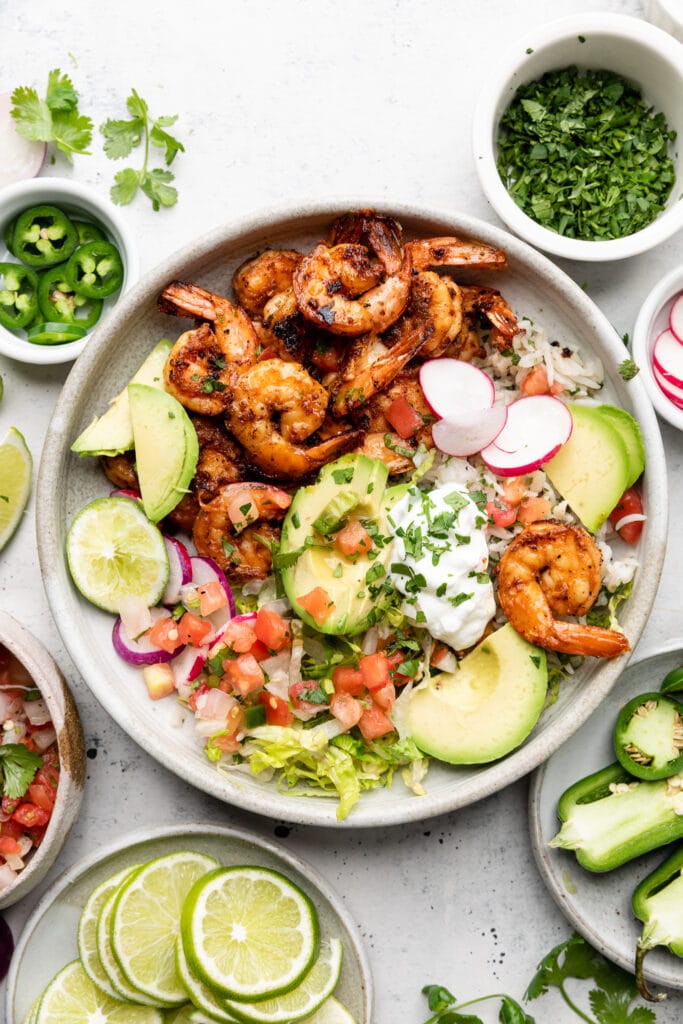
- Shrimp Tacos with Chipotle Cabbage Slaw
- Sheet Pan Chicken Burrito Bowls
- Roasted Chipotle Cauliflower Tacos
I hope you give these Chicken Enchiladas a try! They are so easy to make and delicious! If you do give this recipe a try, let me know! Leave a comment with a star rating below. You can also snap a photo & tag @allthehealthythings on INSTAGRAM. Your reviews and ratings help support All the Healthy Things and make it possible for me to continue to create the recipes you trust and love.
Print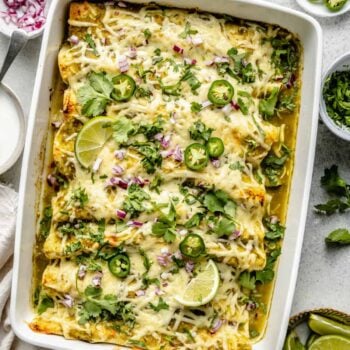
Green Chicken Enchiladas
- Prep Time: 30 minutes
- Cook Time: 30 minutes
- Total Time: 1 hour
- Yield: 8 1x
- Category: Dinner
- Method: Oven
- Cuisine: Mexican-Inspired
- Diet: Gluten Free
Description
These delicious Green Chicken Enchiladas are so good, easy to make, and a delicious way to use leftover chicken. They are the perfect easy weeknight meal that you will love!
Ingredients
For the Filling:
- 2 cups shredded chicken
- 1 cup diced white onion
- 1 clove garlic, minced
- 1 small zucchini, diced
- 1/2 cup whole milk Greek yogurt
- 1/2 cup shredded Monterrey Jack cheese
- 1/4 cup cilantro leaves, chopped
- 1/3 cup green enchilada sauce
- 1/2 teaspoon cumin
- 1/2 teaspoon dried oregano
- juice of 1 lime
- salt and pepper, to taste
- 8 flour tortillas
- 2 1/3 cups green enchilada sauce, divided
- 1 1/2 cups shredded Monterey Jack cheese
Instructions
- Preheat oven to 400 degrees and grease 9×13 baking dish with avocado spray.
- Heat a large skillet over medium high heat. Once hot, add the avocado oil, diced onion, diced zucchini, and minced garlic. Sauté the garlic, onion, and zucchini in avocado oil until tender. Set aside.
- Make the Filling: Add the shredded chicken, sautéed garlic, onion, and zucchini, Greek yogurt, cheese, cilantro, enchilada sauce, cumin, oregano, lime juice, salt, and pepper to a large mixing bowl. Stir until everything is well combined.
- Assemble the Enchiladas: Pour 1/3 a cup of enchilada sauce in the bottom of a 9×13 baking dish. Next,microwave the flour tortillas for 30 seconds to 1 minute, flipping halfway through, until warm and pliable. Next, pour 1/2 cup of enchilada sauce on a large plate. One at a time, gently dip a tortilla in the enchilada sauce until lightly coated on both sides. Scoop around 1/3 a cup of the filling into the tortilla and then gently roll up and place in the baking dish, seam side down. Repeat the process until all 8 enchiladas have been made.
- Pour the remaining enchilada sauce over the enchiladas and then top with the remaining shredded Monterey Jack cheese.
- Bake the enchiladas at 400 degrees for 15-20 minutes or until the top becomes golden brown and bubbly. Garnish with cilantro, diced red onion, sliced jalapeño, and lime wedges before serving. You could also add a drizzle of Greek yogurt or sour cream that has been thinned with lime juice if you like. Enjoy!
Recipe by: Ashlea Carver / All the Healthy Things | Photography by: Eat Love Eat


Delicious and healthy! Thanks! 😊
Made these tonight and they were a huge hit! We added some chopped green bell peppers, and a can of green chilies to the mixture. Used pepperjack cheese. Also after cooking, topped with Trader Joe’s tomato-less corn salsa on as well as with avocado slices and it was delicious! Recipe was easy to follow and not too many ingredients. Definitely will make this again!!
I make this every few months. Usually I use a Costco rotisserie chicken and all gf ingredients so it is safe for my celiac family. I appreciate the healthier ingredients so this delicious recipe is lighter overall while still indulgent. Makes great lunch leftovers too!
Seems quick and easy but I prefer to make my own enchilada sauce it just tastes better.
These are so good! Perfectly cheesy with a but of crunch. Thank you!
Easy to make and so delicious! I used whole wheat tortillas, left the zucchini out and served it on the side. Reheat wonderfully for meal prep. Will be on rotation for the future – boyfriend could eat the whole batch.
This recipe was just perfect, moist and flavorful. Lots of compliments!
This is one of my favorite recipes of all time! I add a small can of diced green chiles and 1 diced jalepenos and it is delicious. My family requests this 24/7!!!
Another delicious meal that is now a go to for my family.
Loved this recipe! So tasty and very easy to make!
Another excellent recipe from ATHT. You will love these enchiladas. They reheat really well too!
We really enjoyed this recipe! It was easy to make and didn’t take long to cook. Served with rice and black beans on the side. I could imagine adding a can of black beans or corn to the filling would be good! Looking forward to making this recipe again soon. #ATHTCookingClub
We really enjoyed this recipe! It was quick to put together, as I used leftover rotisserie chicken and it didn’t take long to sauté the zucchini and onion. My tortillas were a bit larger, so it didn’t feel like there was a ton of filling in it. If I use the same tortillas next time, I might consider adding a can of beans or corn to bulk it up a bit. But I served it with rice and black beans on the side and it was filling! Will definitely be making this again.
We recently had enchiladas that weren’t a big hit, so I’ve been looking for a good recipe. This is definitely it! I doubled the recipe and generously filled 16 8” (I think) tortillas. I completely spaced on cooking the onion and zucchini ahead of time, but they were soft and cooked through by the time I was done baking. I bought a 28oz can of green enchilada sauce, and I was worried about there not being enough with me doubling the recipe, so I skipped putting the sauce in the filling. Instead I put two cans of diced green chiles. It worked out great! There was enough sauce without it being too much at the end. As a personal preference, I’ll likely add more cheese to the filling next time. This was so good! Even my 10 and 13 year old loved it and got seconds. I can’t wait to have leftovers for lunch tomorrow. #ATHTCookingClub