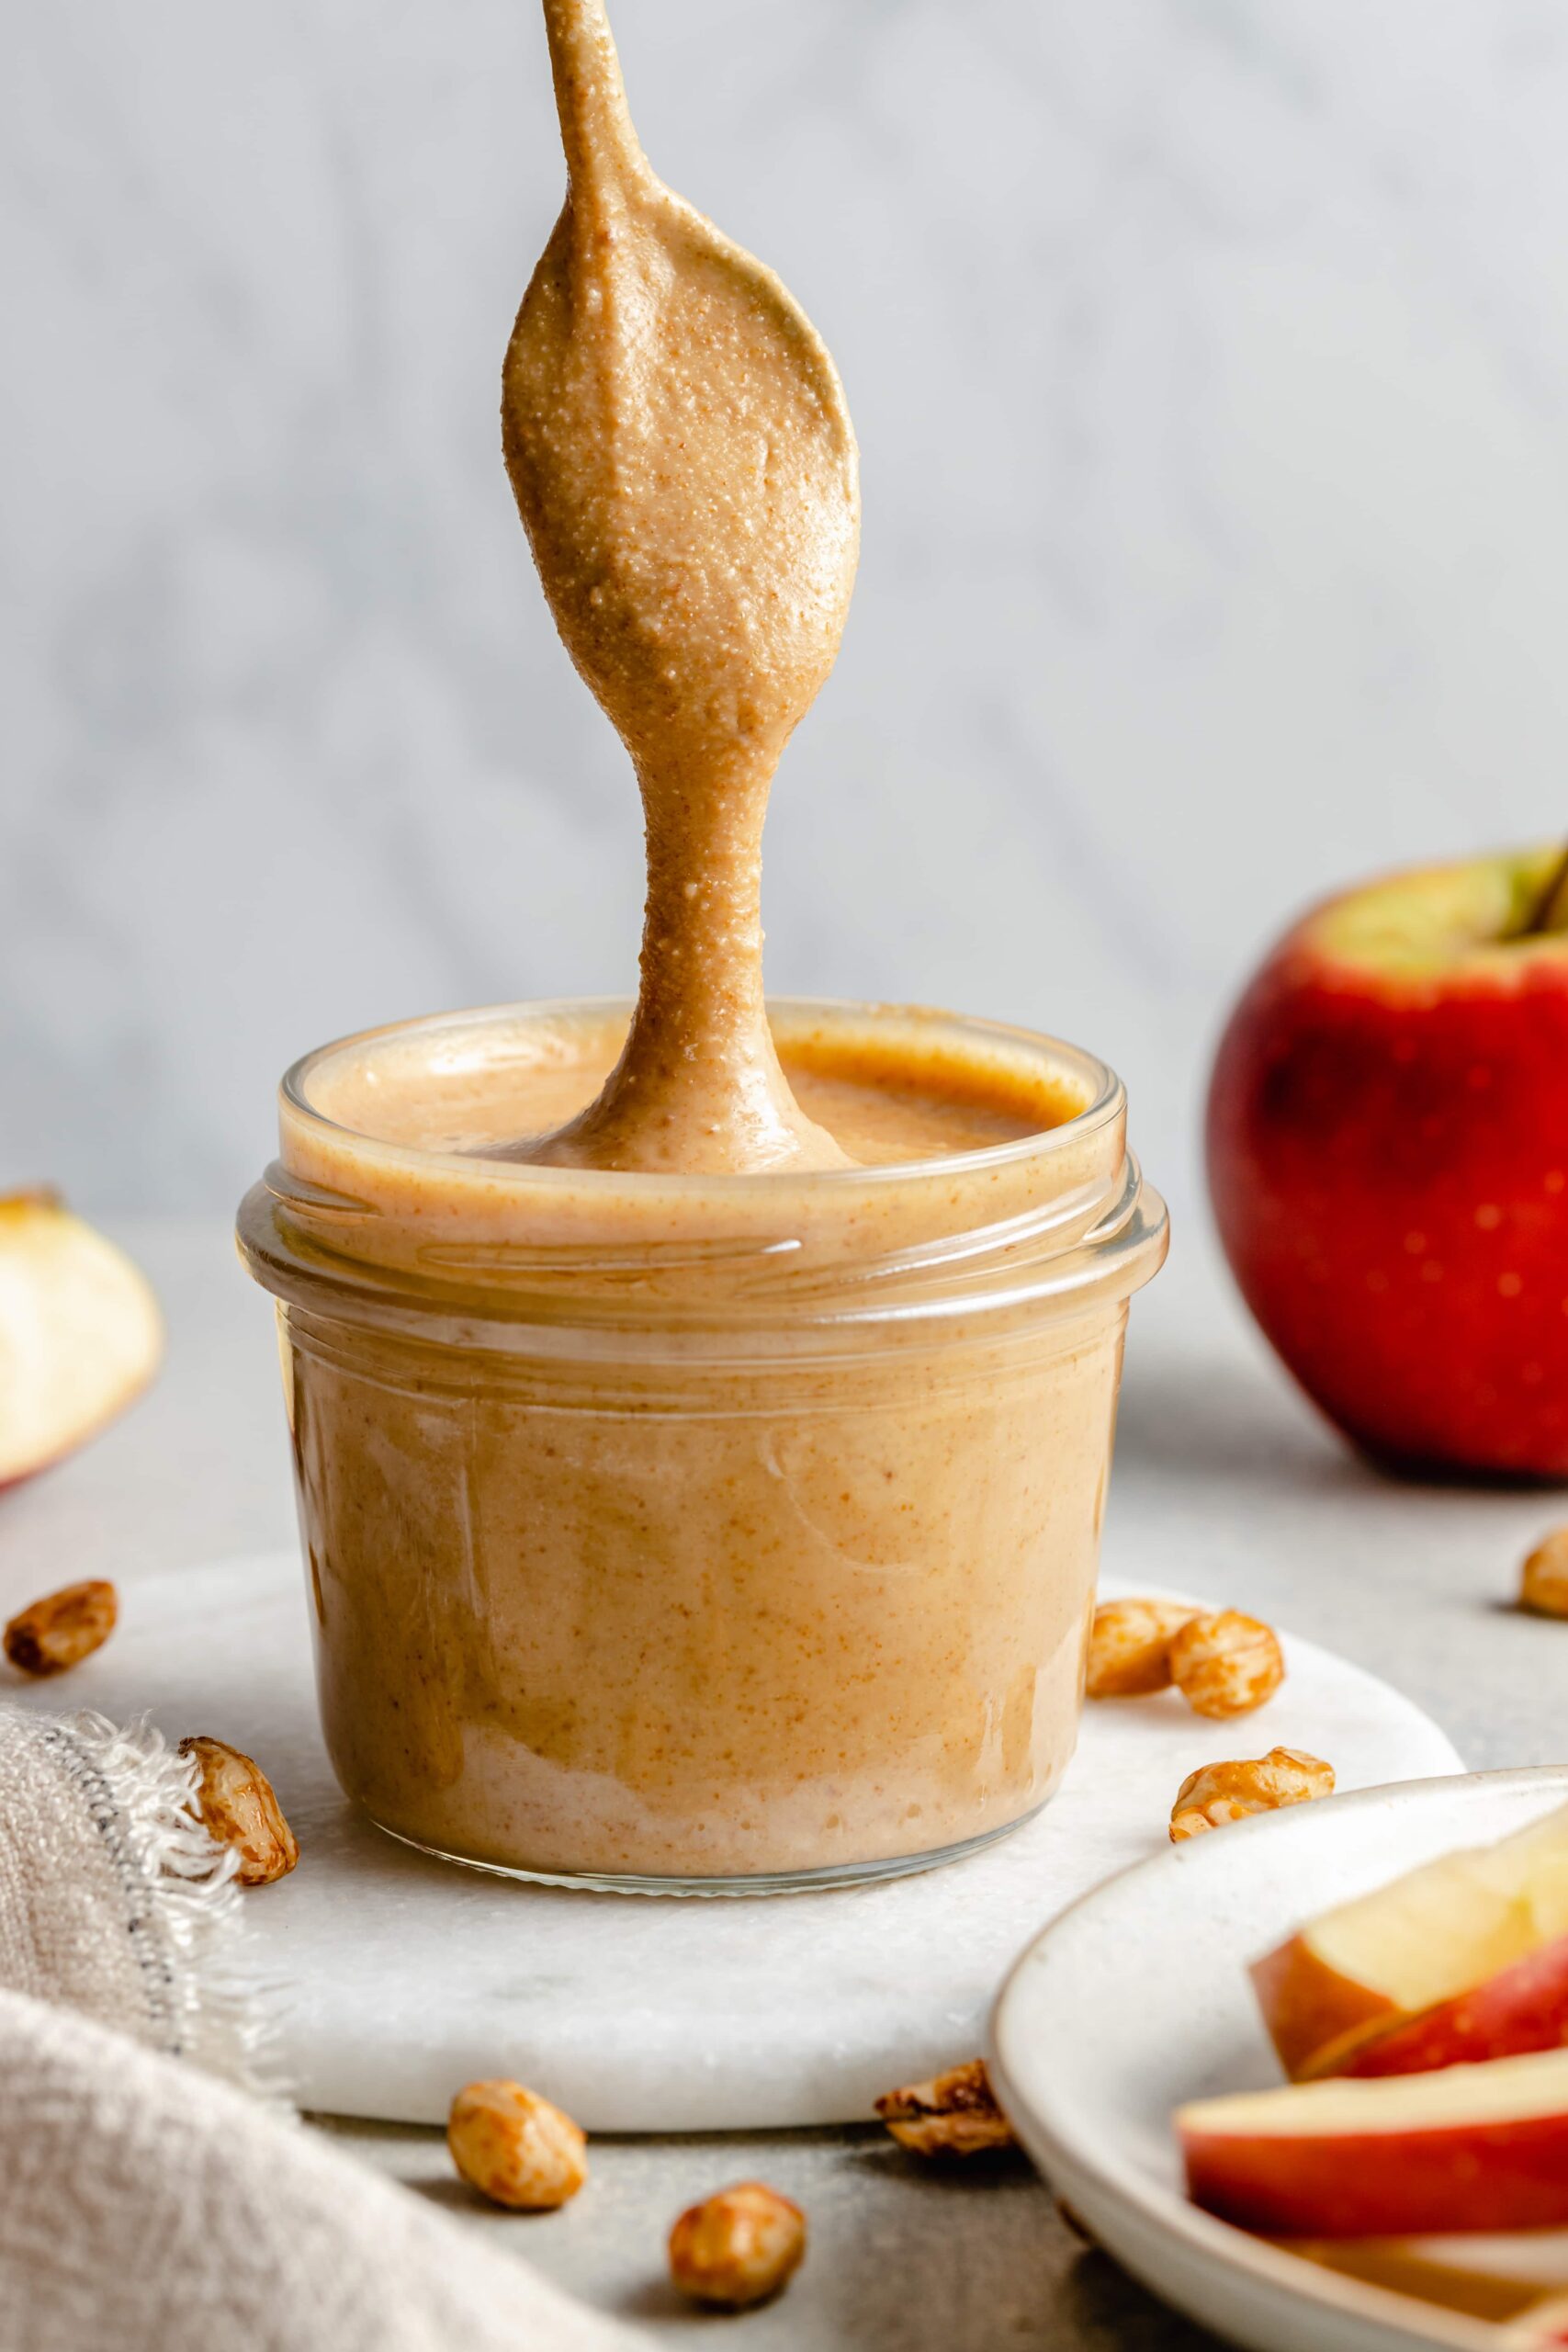
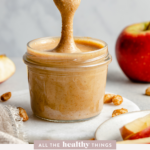
This creamy Homemade Peanut Butter is so easy to make! All you need are a few simple ingredients to make a homemade batch of peanut butter to eat on its own or use in a variety of different recipes.

I am so excited to bring you another post in our All the Healthy Things “Just the Basics” series. These posts are focused on helping you master basics in the kitchen and, hopefully, inspiring you with a few new ideas along the way.
If you are new to cooking, or just need a refresher on the basics, these posts are designed to help you feel more confident in the kitchen. Once you have a handle on a few basic concepts and techniques, you can easily build upon them to create new and exciting recipes dishes without a second thought.
If you have ever wondered how some people just seem to know how to cook without a recipe or can quickly throw together a meal in a moment’s notice, it’s likely because they have a good grasp of the basics. I want that for you! It’s my hope that every just the basics post helps you feel more comfortable so that you can enjoy your time spent in the kitchen even more!
If you haven’t already be sure to check out the other how-to guides in the series.
Here are a few of our most popular posts:
- How to Make Cashew Milk
- How to Make Homemade Tzatziki Sauce
- How to Make Easy Quick Pickled Onions
- How to Bake Sweet Potatoes
- How to Make Oat Flour
The Best Honey Roasted Homemade Peanut Butter
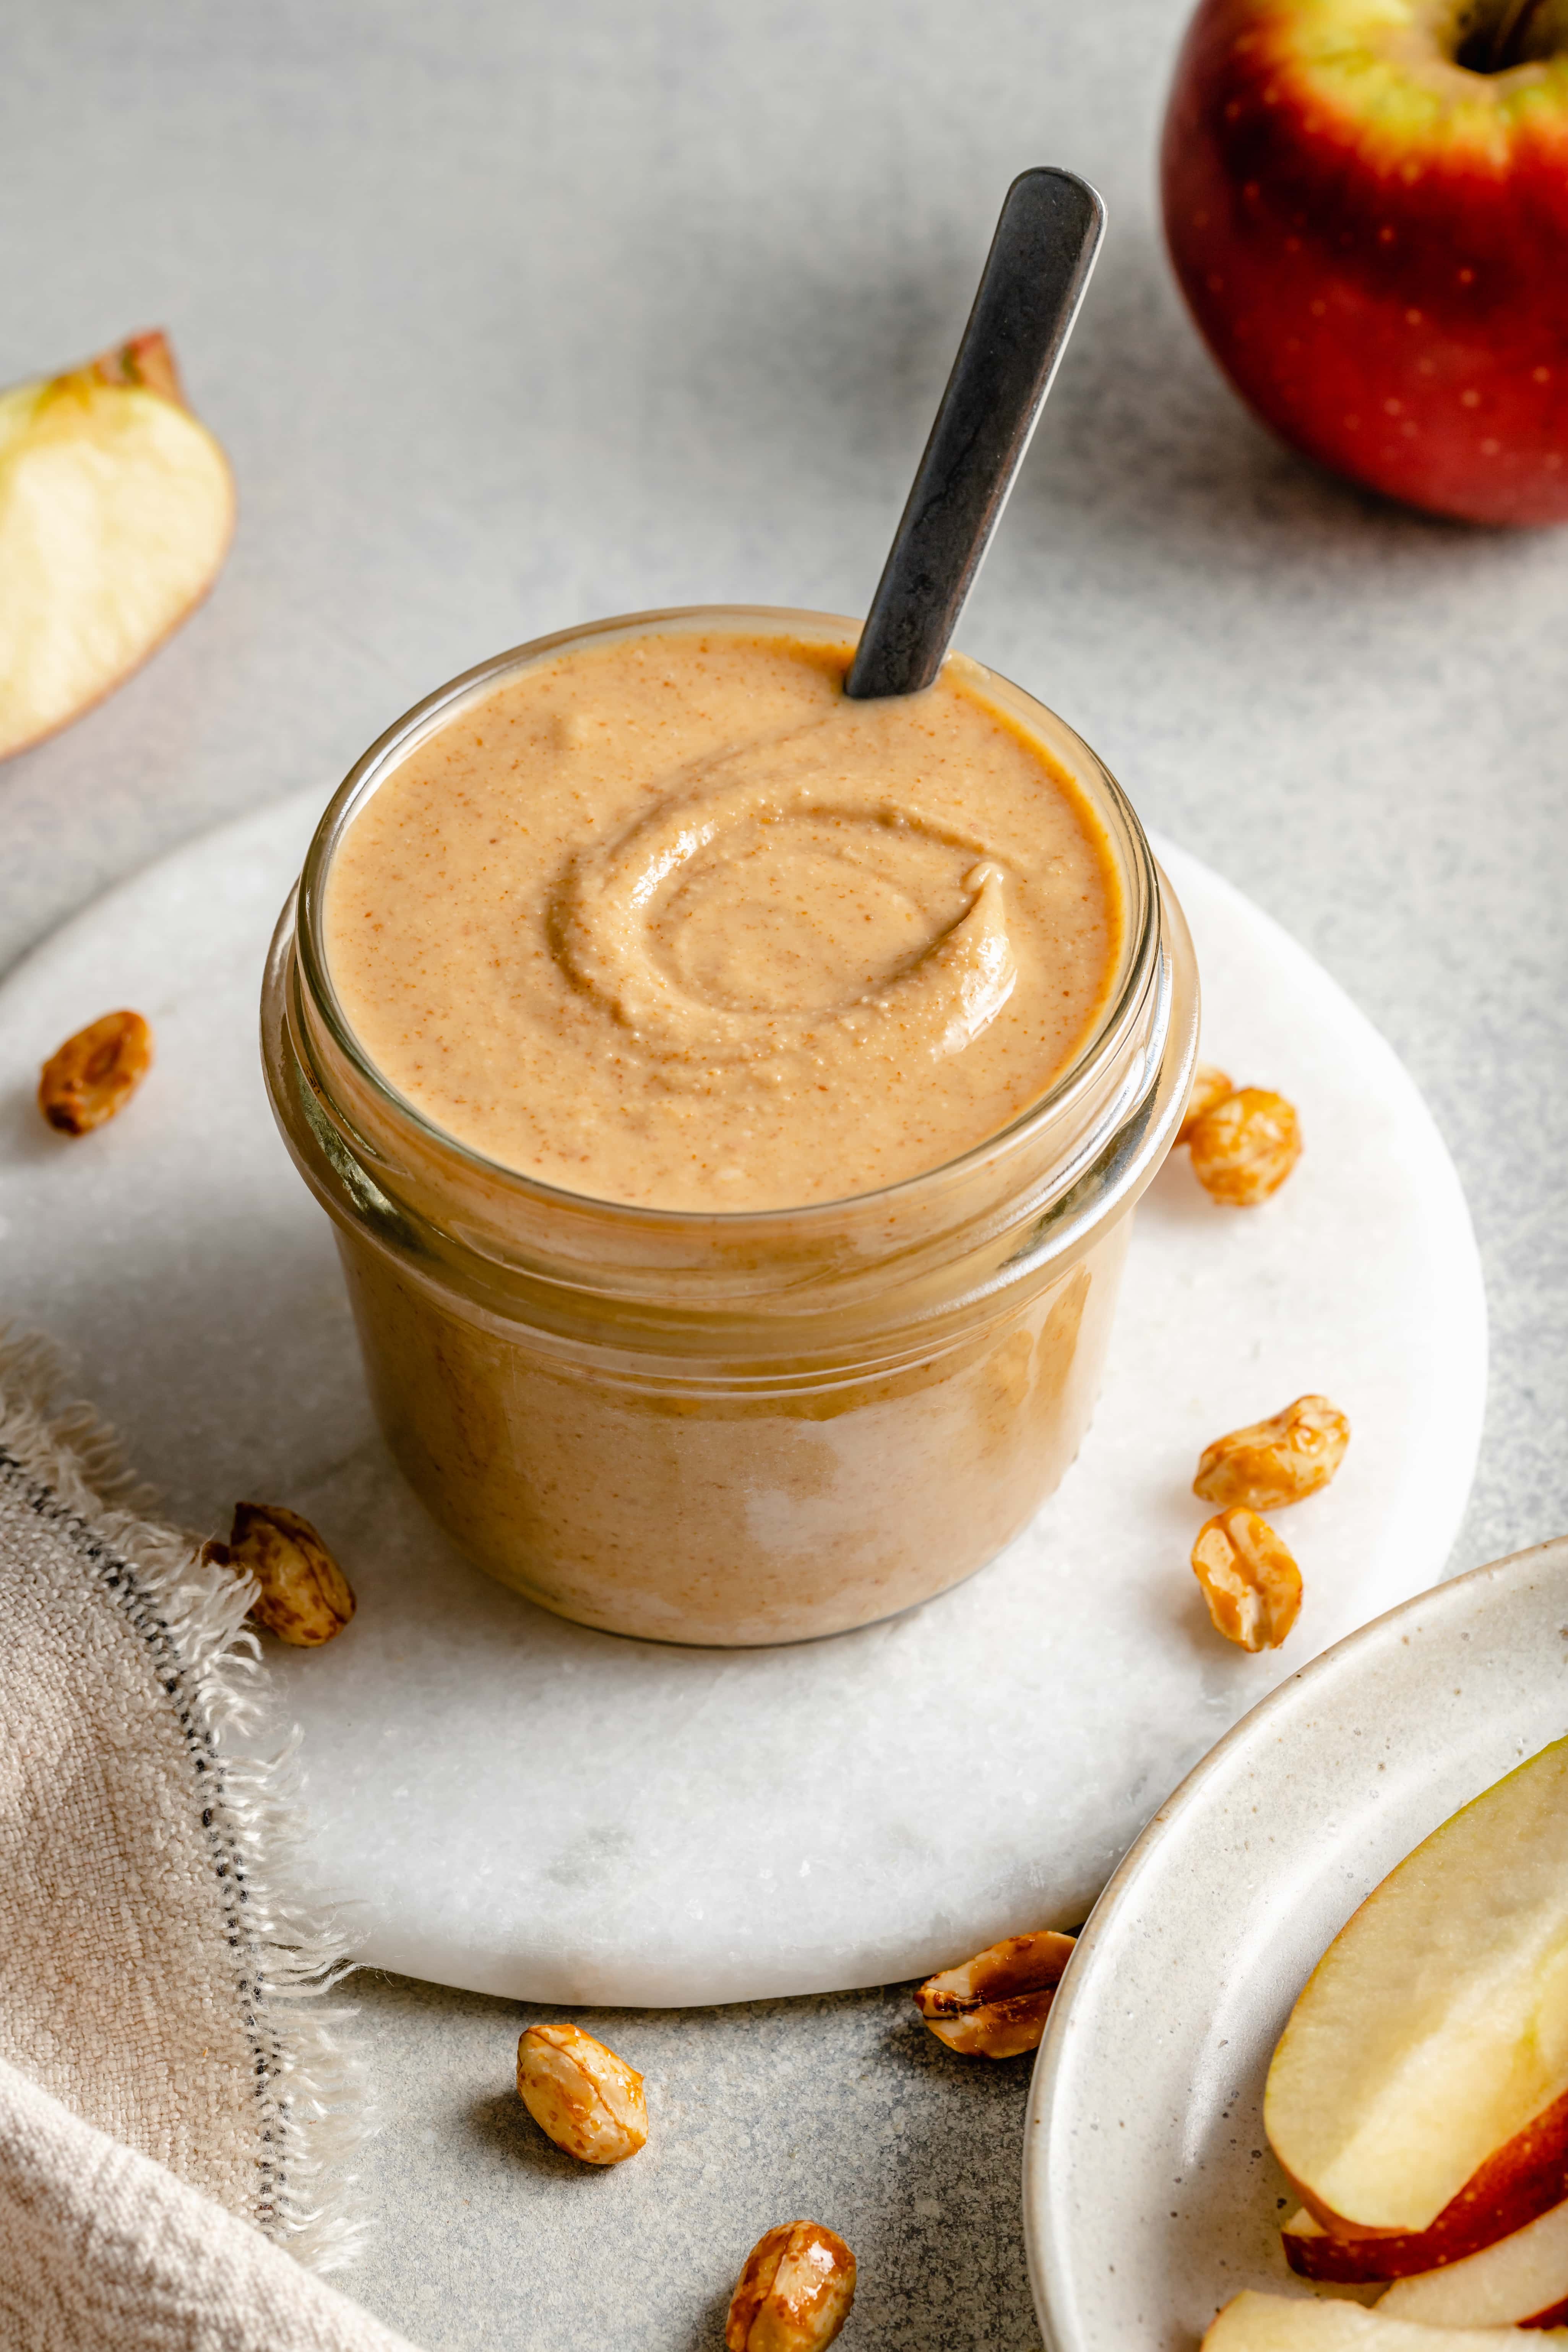
If you love creamy peanut butter (like I do!) then you are going to love this recipe! It’s smooth, creamy, not overly sweet, and has that delicious honey roasted flavor that everyone loves.
Making your own peanut butter may sound intimidating but trust me it couldn’t be easier to make! All you need are a few simple ingredients to make a homemade batch of peanut butter than can easily be eaten on its own or used in several different recipes.
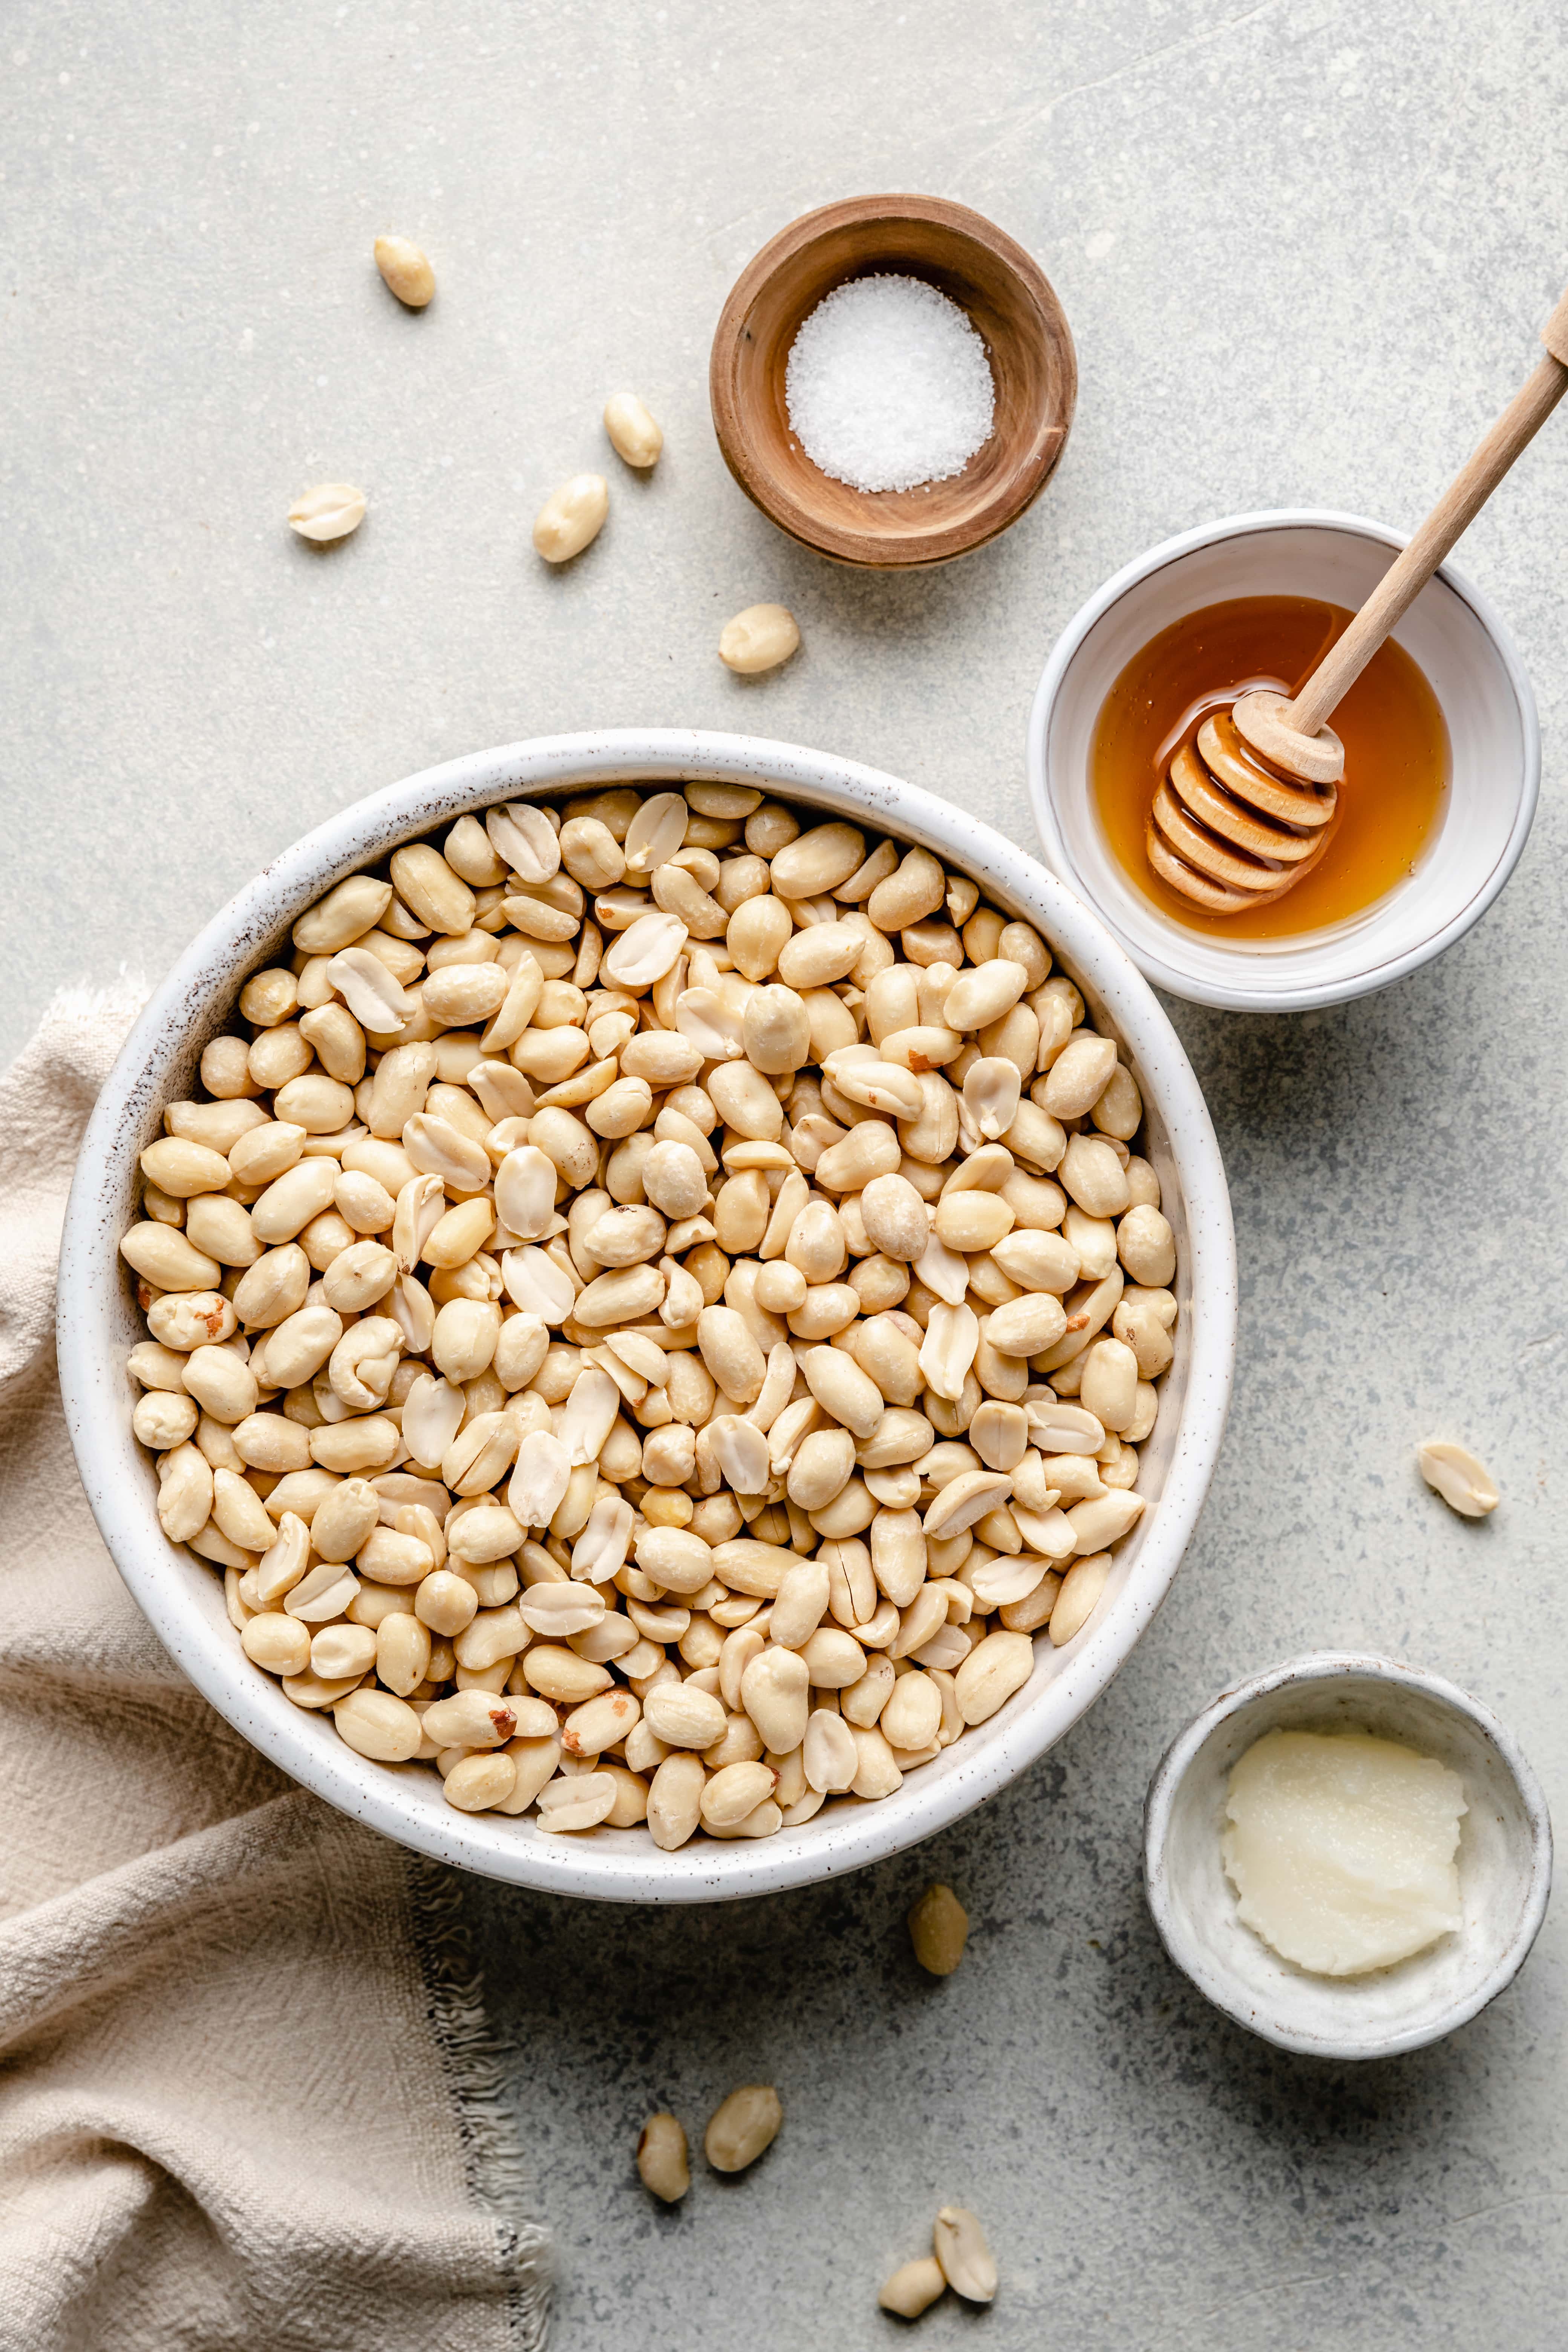
Homemade Peanut Butter Ingredients
Raw Peanuts: you’ll need one pound of raw peanuts to make this nut butter. We’re using raw peanuts, instead of roasted, because we’re roasting the peanuts for a few minutes ourselves before blending them into creamy peanut butter.
Honey: to create that delicious honey roasted flavor you’ll need a bit of honey to coat the peanuts before roasting.
Salt: a generous pinch of salt helps to give the peanut butter flavor while also glancing the sweetness.
Coconut Oil: if you want an extra smooth and creamy peanut butter you can add a bit of coconut oil once it’s started to blend. If you are allergic to coconut, or just want to leave it out, feel free to do so! I often make this peanut butter recipe without adding any extra oils.
Recipe Variations
- Leave out the honey – if you want a less sweet and more standard peanut butter recipe then feel free to skip the honey before roasting.
- Add a bit of vanilla – if you really want to add a bit more flavor, you can add a teaspoon of vanilla extract to the peanuts before roasting.
- Swap the honey for maple syrup – you can easily swap the honey for maple syrup in this recipe if you prefer!
Helpful Kitchen Tools
High Powered Blender: I love to make this recipe in a high-powered blender like a Vitamix. Peanuts easily break down in a high-powered blender which makes it a great option for making peanut butter quickly.
Food Processor: Don’t have a blender? Feel free to use your food processor! A standard food processor is another great option – you’ll just need a little patience.
Mixing Bowl: Use this to toss the peanuts with the honey before roasting.
Sheet Pan: You’ll need a sheet pan to roast the peanut before blending into peanut butter.
Parchment Paper: Use this to line the sheet pan to avoid any sticky mess from the honey roasted peanuts.
Measuring Cups and Spoons: Standard cup and tablespoon measures should do the trick here.
Air-Tight Storage Container: Once you’ve made your peanut butter you’ll need somewhere to store it! Be sure to pick a storage container with an air-tight seal to ensure the peanut butter stays fresh.
How to Make Homemade Peanut Butter
Step One: Preheat oven to 350 degrees and line a large baking sheet with parchment paper.
Step Two: Combine the peanuts and honey in a large mixing bowl and stir until the peanuts are coated with the honey.
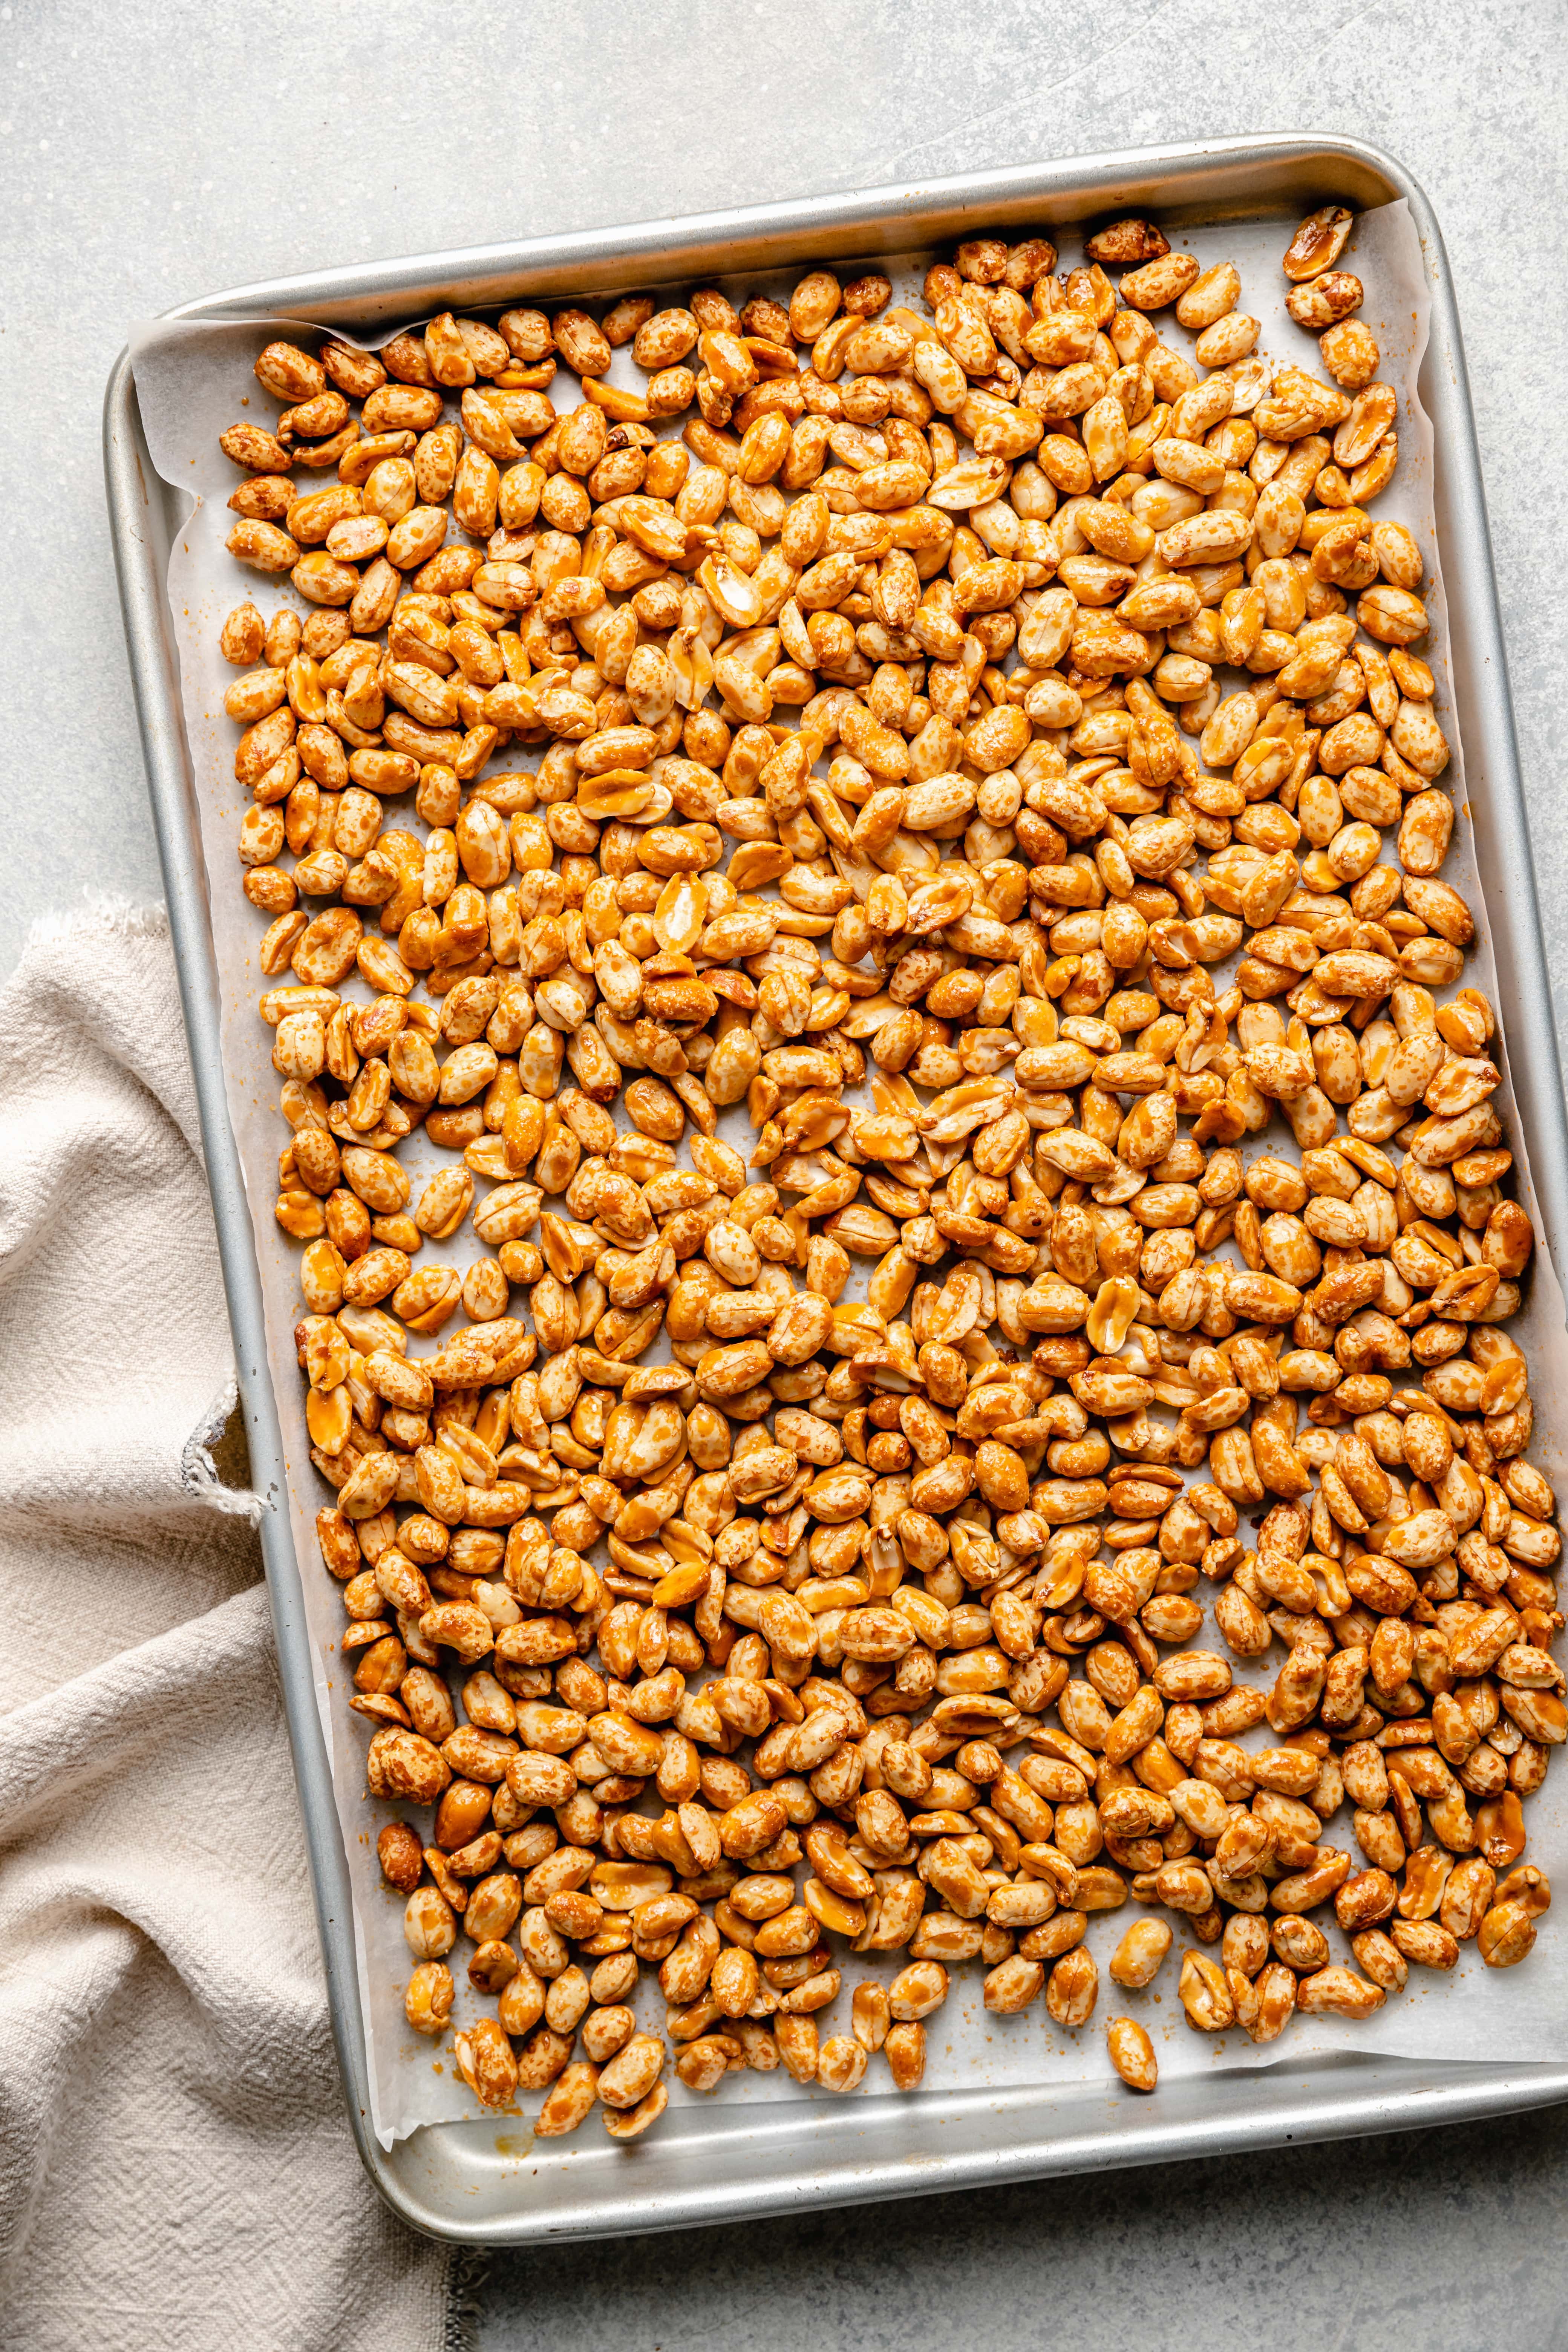
Step Three: Spread the peanuts in an even layer on the lined baking sheet and roast for 13-15 minutes or until they’ve begun to caramelize and brown. Remove them from the oven and let cool.
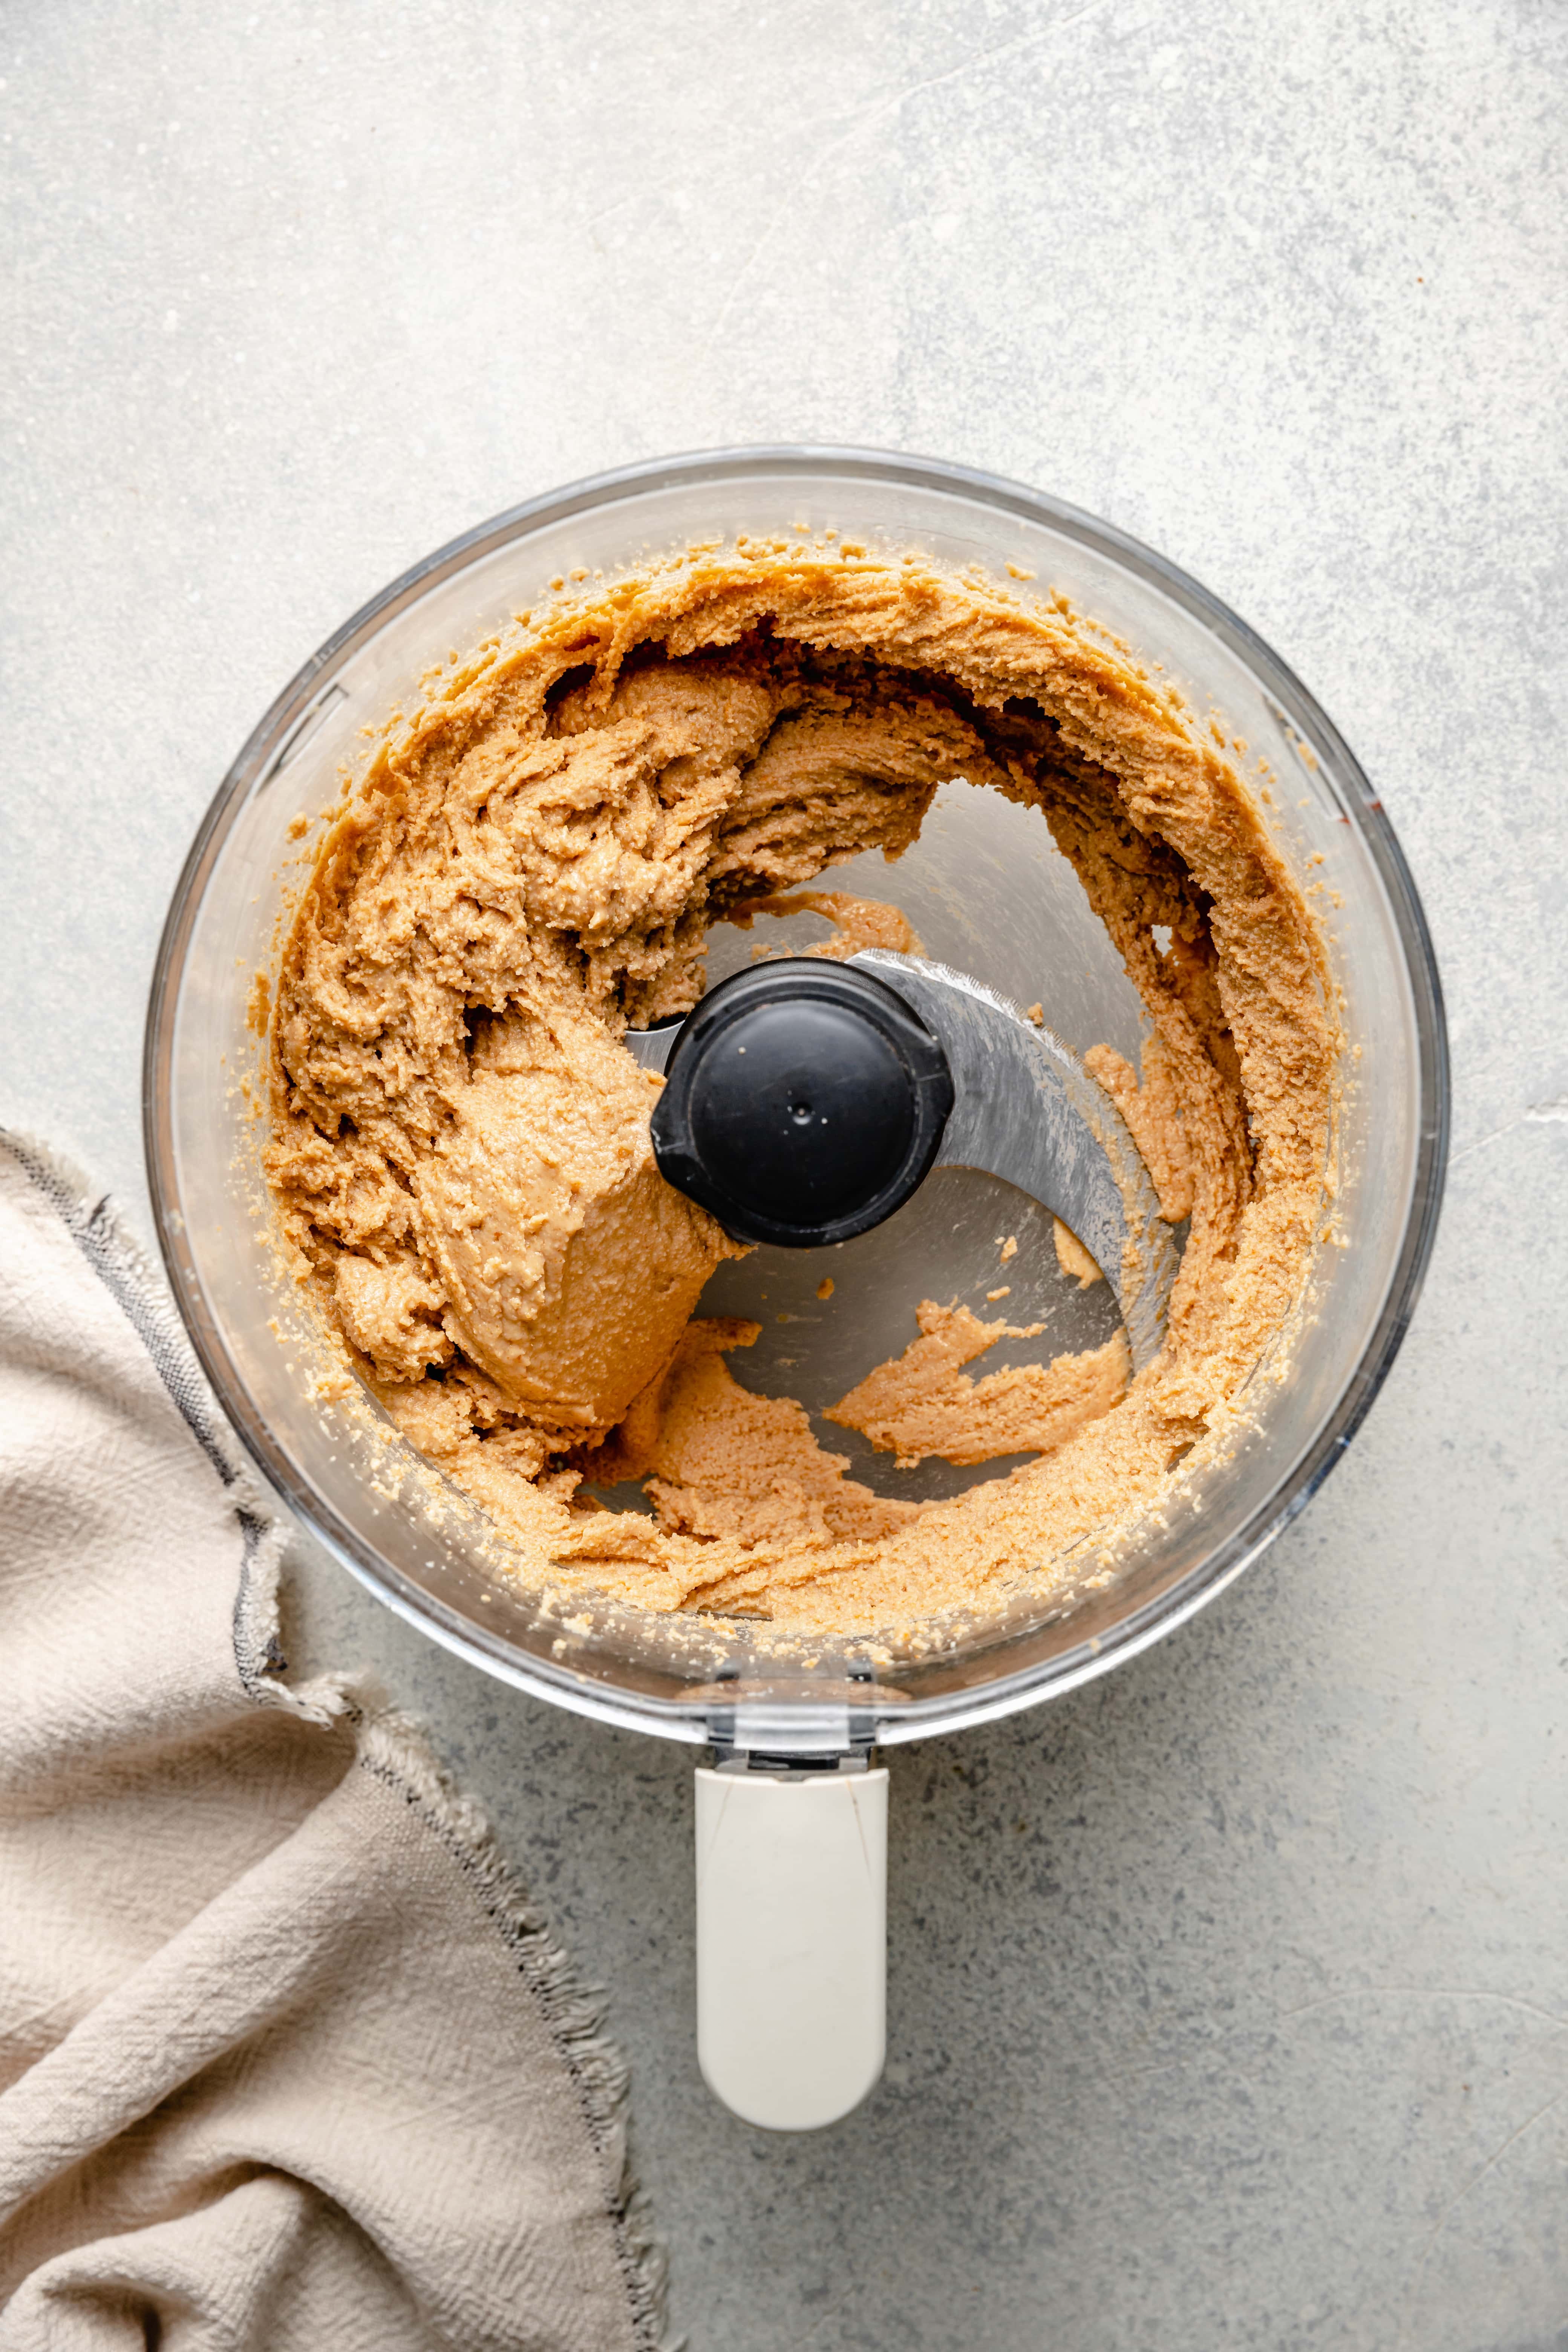
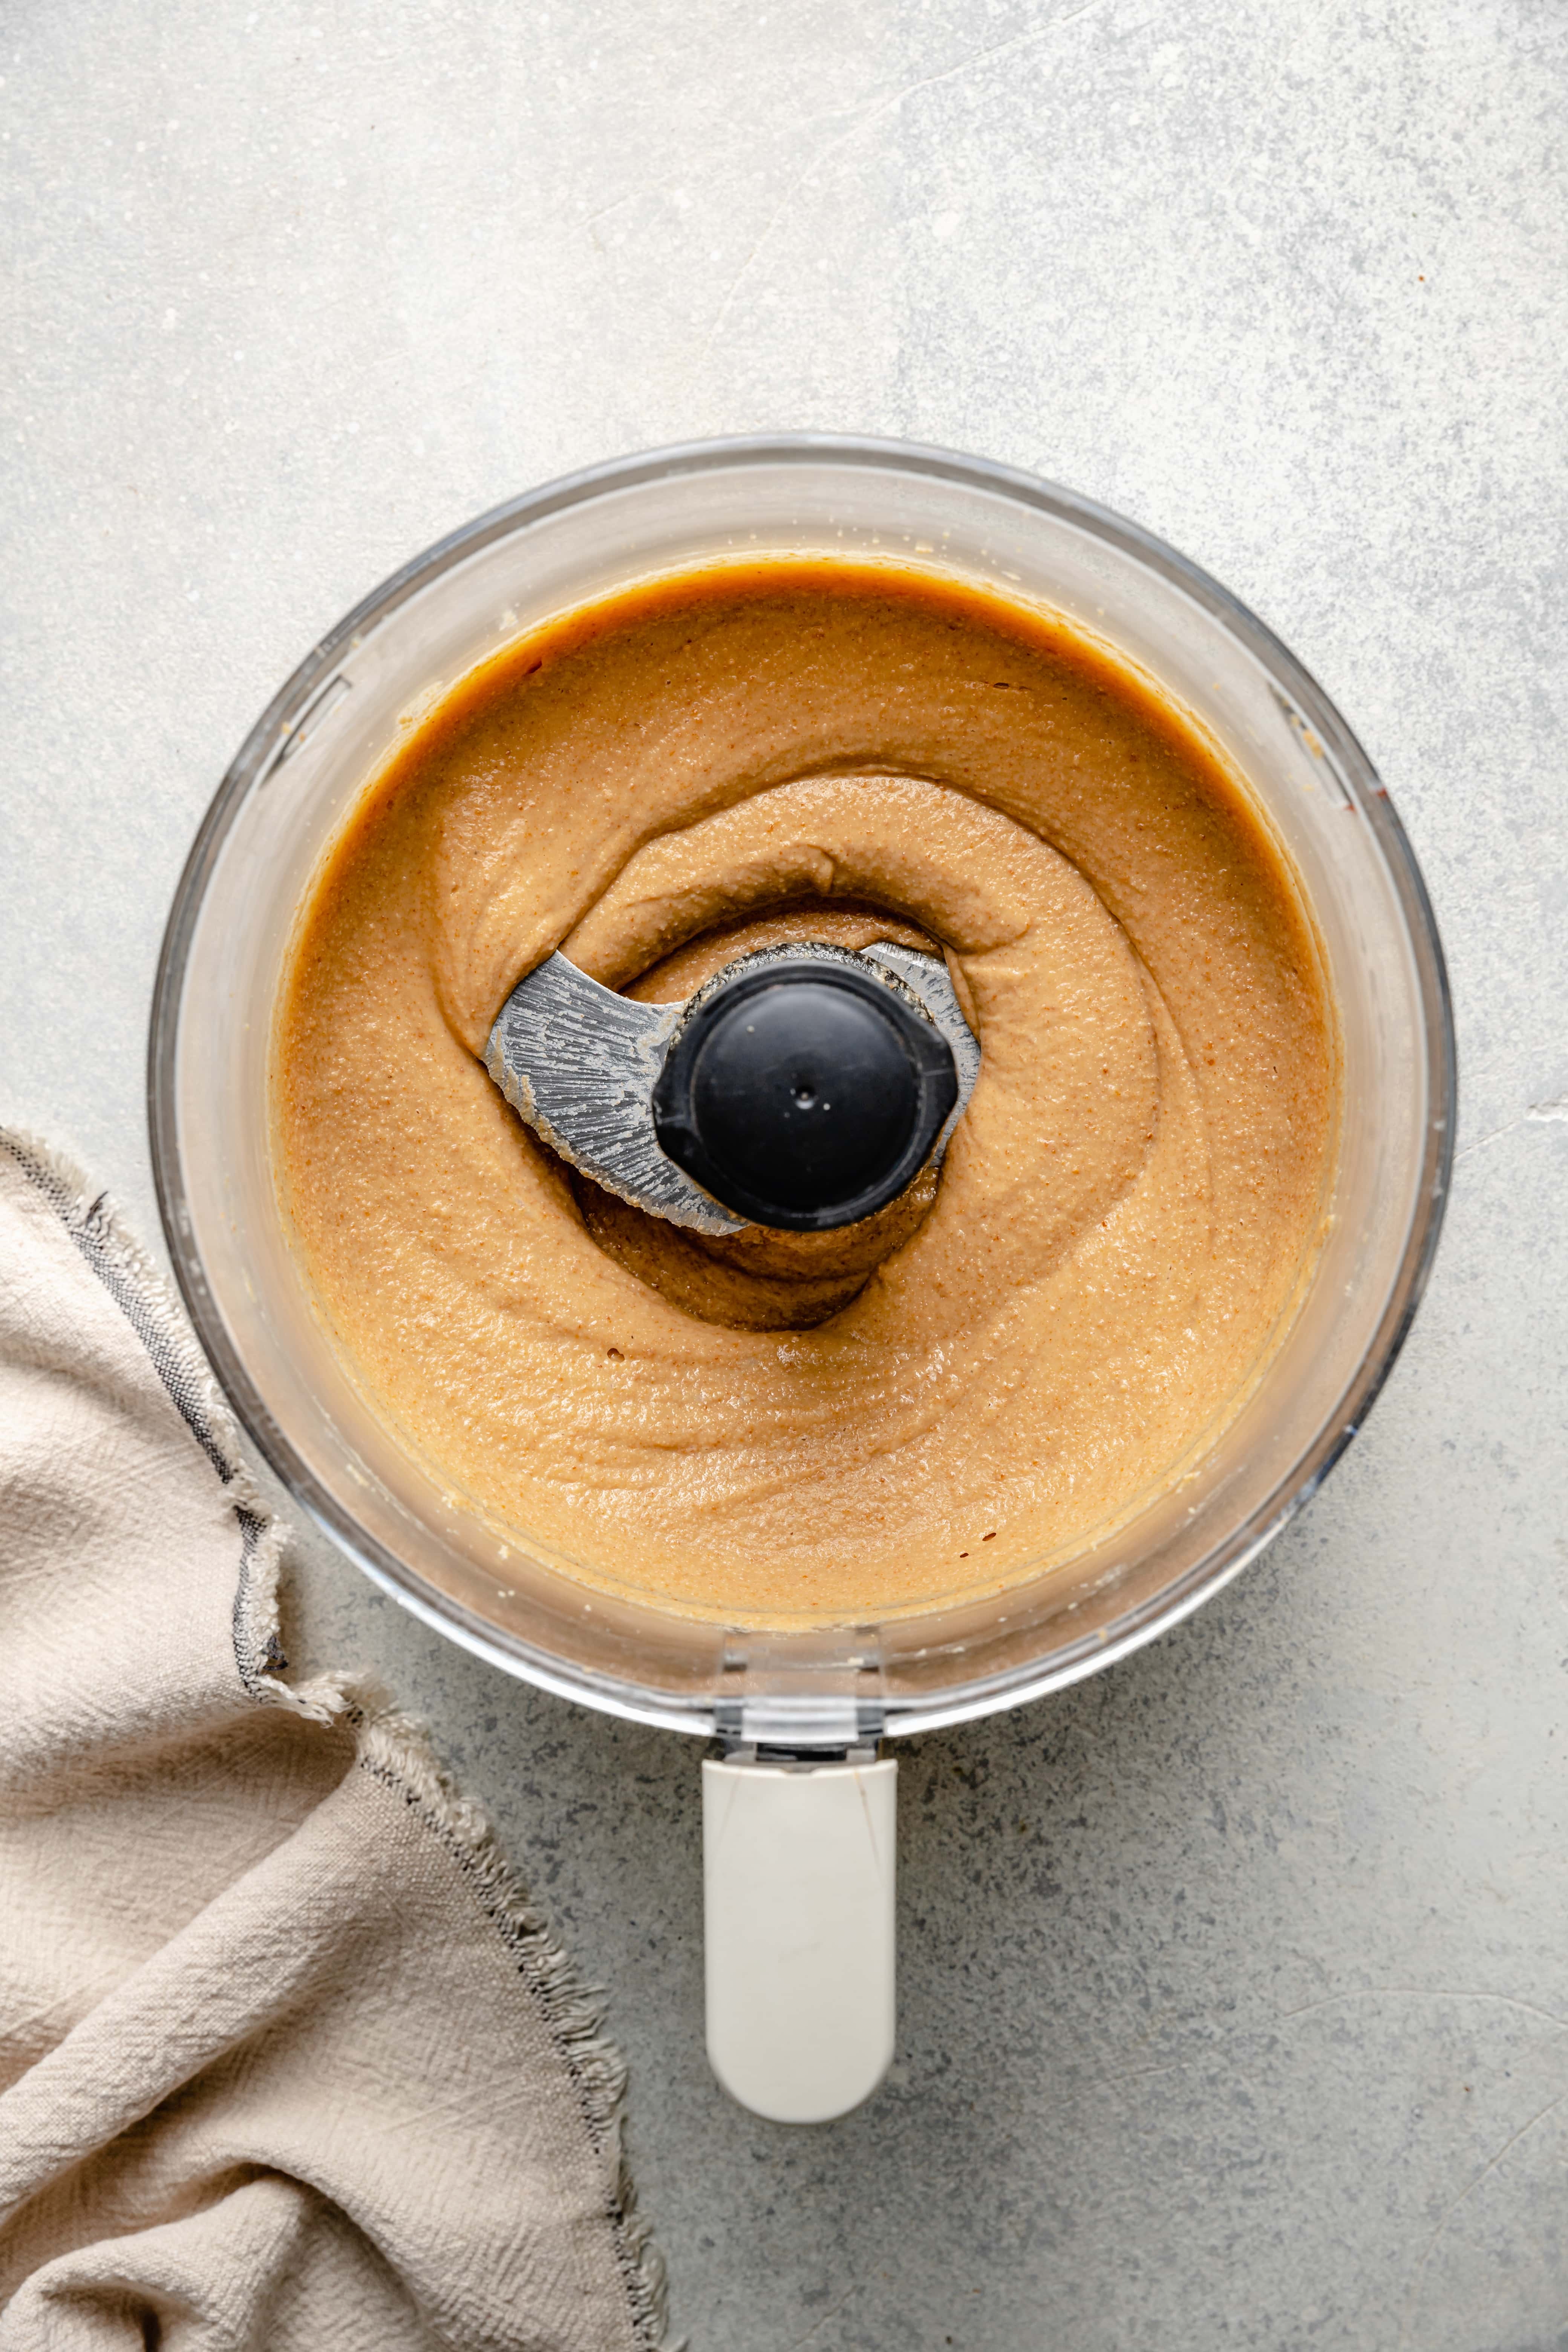
Step Four: Place the cooled peanuts in the bowl of a food processor or high powered blender along with 1/2 tablespoon of coconut oil. Process or blend the peanuts until creamy, scraping down the sides as necessary. The time will vary here depending on what kind of food processor or blender you have. Just keep going until the peanuts turn into a creamy butter. If your peanut butter is having a hard time becoming creamy, try adding another 1/2/ tablespoon of coconut oil.
Step Five: Transfer the peanut butter into an air-tight jar for storage.
Optional Flavor Combinations
This peanut butter is a great base recipe for some fun flavor combinations! You can easily make your own flavored peanut butter with just a few simple additions.
- Honey & Cinnamon Peanut Butter – try adding 1 teaspoon (or more!) of cinnamon to the peanuts before roasting.
- Chocolate Peanut Butter – want a chocolate peanut butter? try adding 1/2 tablespoon of cocoa powder.
- Pumpkin Spice Peanut Butter – this may be my favorite version! add 1 teaspoon of pumpkin pie spice to the peanuts before roasting and swap the honey for maple syrup.
- Chai Peanut Butter – another delicious combo! add 1 teaspoon of chai spice to the peanuts before roasting.
How Long Does Homemade Peanut Butter Last
If you store your homemade peanut butter in an air-tight container it will last in the pantry for around one month. Be sure to store it in a cool dark place.
Delicious Ways to Use Peanut Butter
- Add a spoonful to this delicious and reader favorite Strawberry Peanut Butter Smoothie
- Make this Thai-Inspired Crunch Salad with creamy peanut dressing
- Whip up a batch of this homemade puppy chow
- Make these easy homemade chocolate peanut butter cups
- Drizzle it on top of these peanut butter banana overnight oats
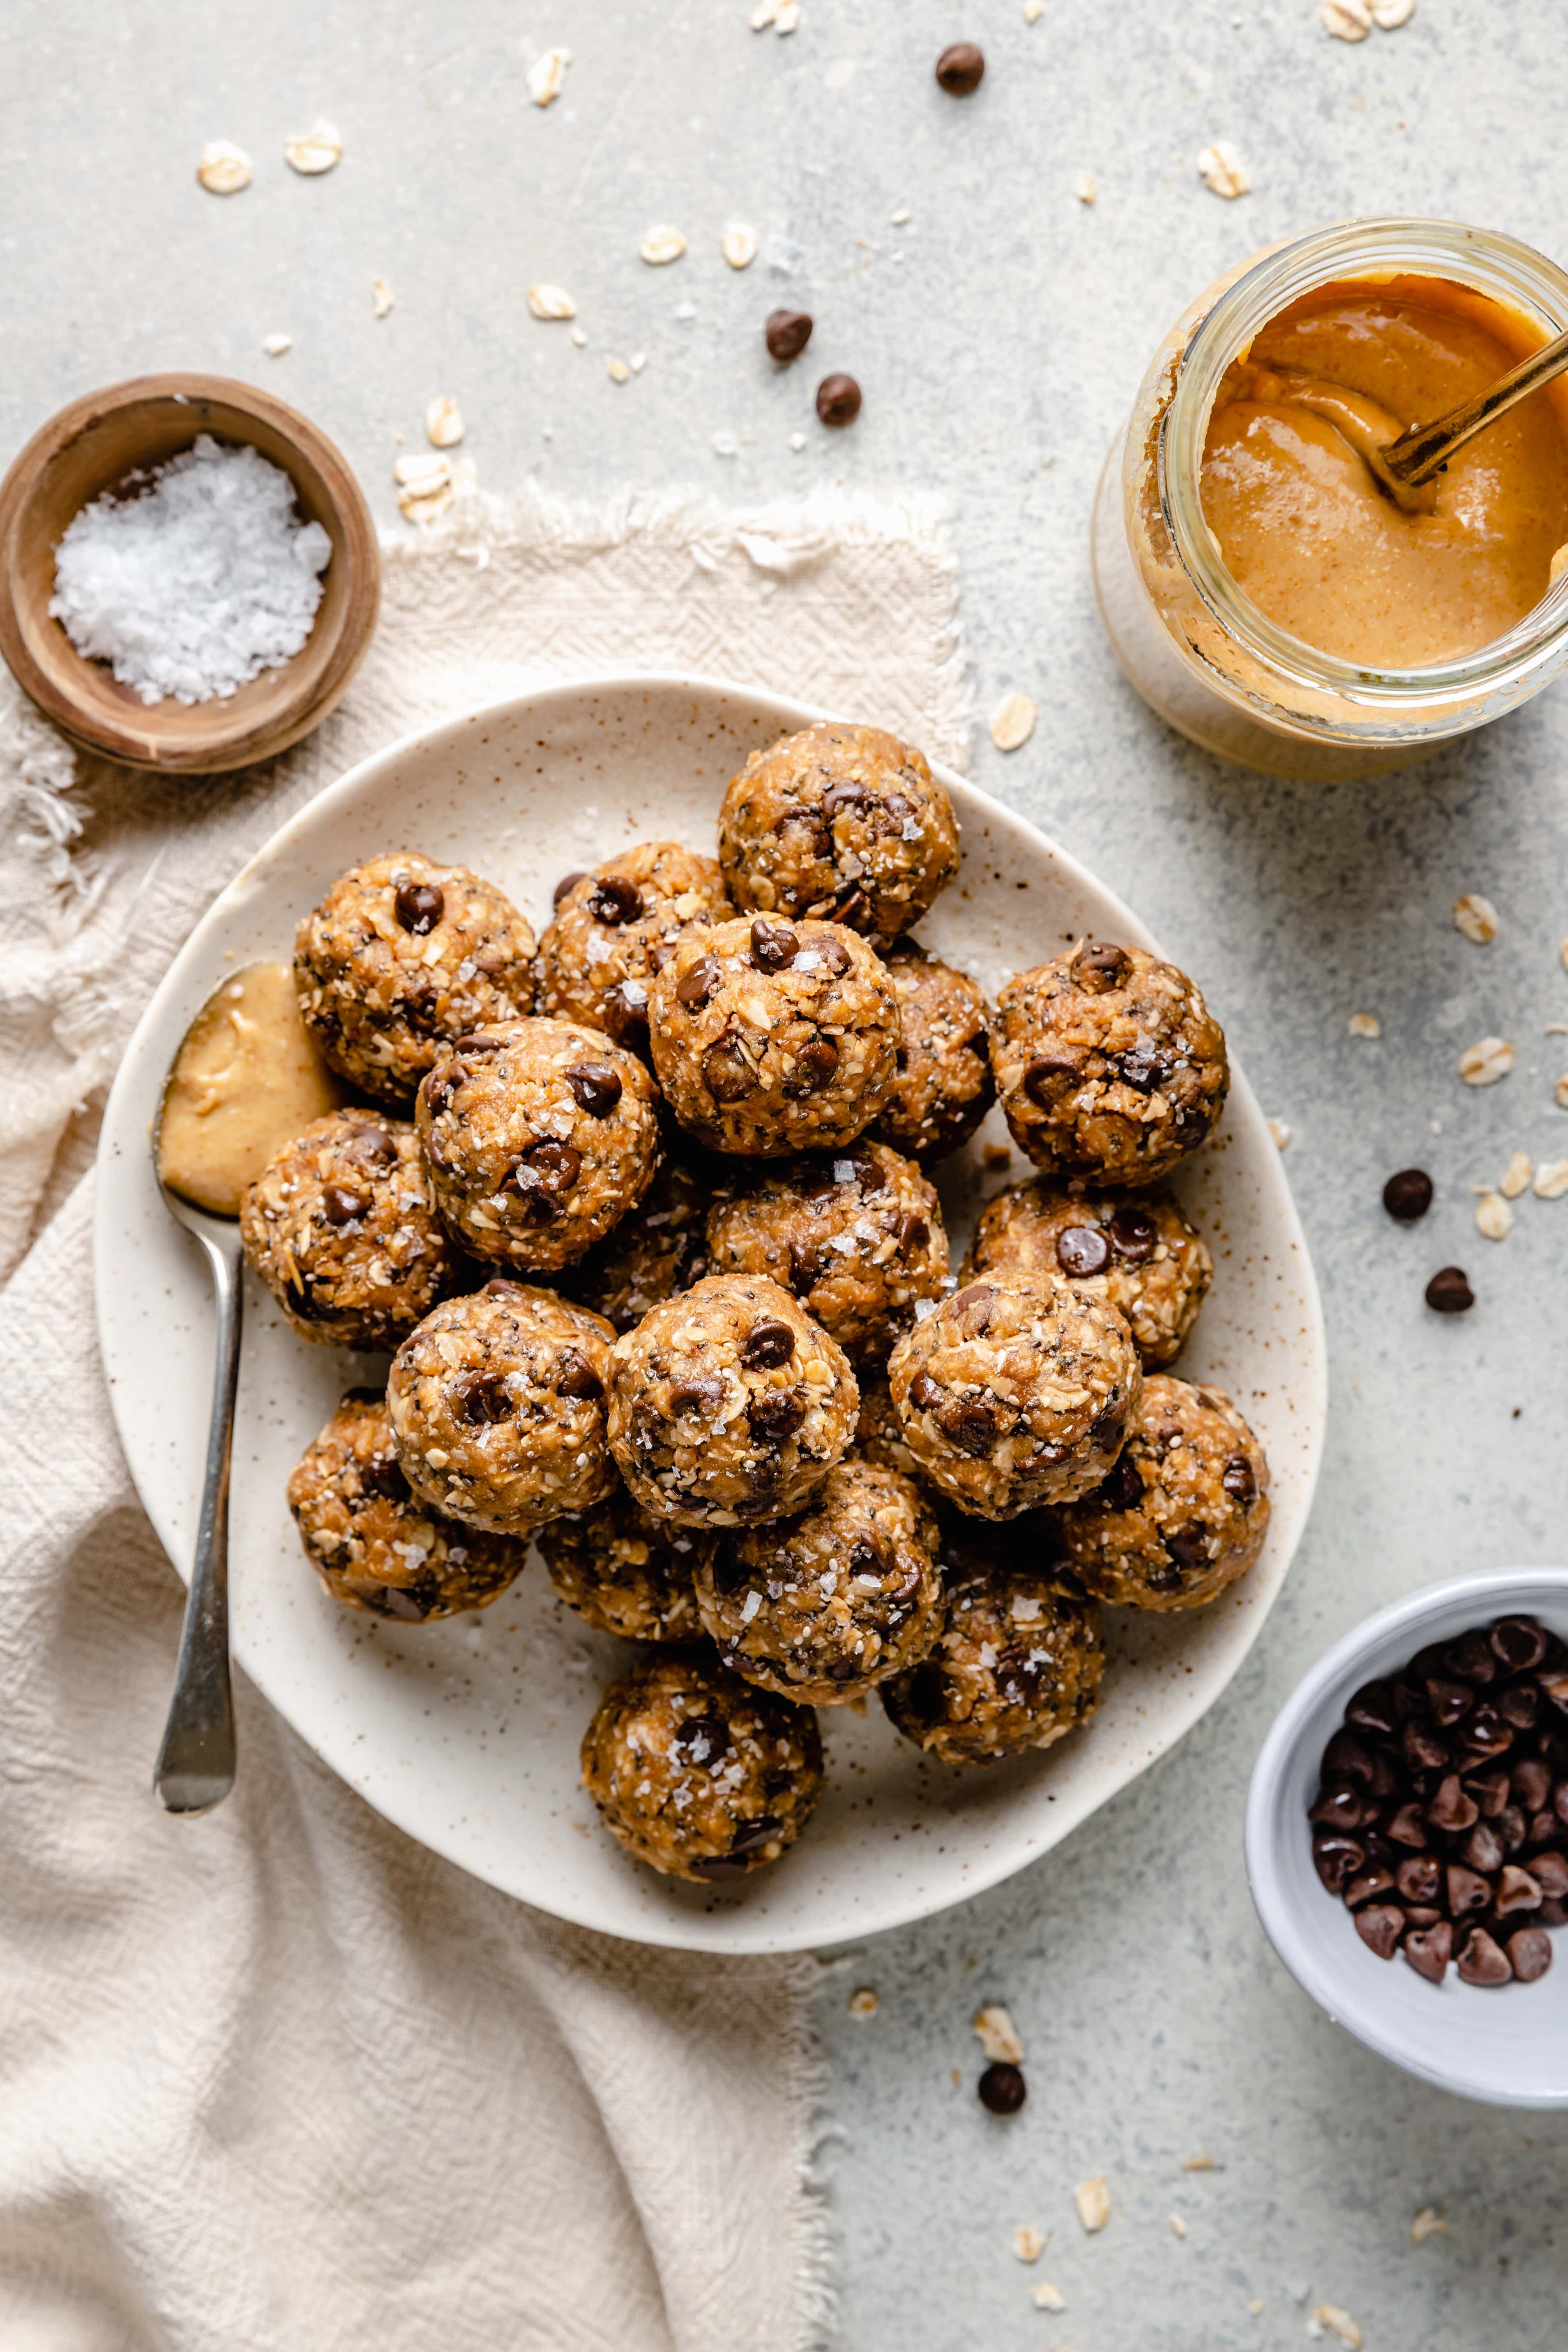
- Make these peanut butter energy balls
More Nut Butter Recipes You’ll Love
- Peanut Butter Banana Cottage Cheese Ice Cream
- No Bake Peanut Butter Bars
- Dark Chocolate Almond Butter Cups
- Chocolate Raspberry Cashew Butter Cups
- Healthy Peanut Butter Rice Crispy Treats
- Almond Flour Peanut Butter Cookies
I hope you give this Homemade Peanut Butter a try! They are so easy to make and delicious! If you do give this recipe a try, let me know!
Leave a comment with a star rating below. You can also snap a photo & tag @allthehealthythings on INSTAGRAM. Your reviews and ratings help support All the Healthy Things and make it possible for me to continue to create the recipes you trust and love.
Print
Homemade Peanut Butter
- Prep Time: 10 minutes
- Cook Time: 15 minutes
- Total Time: 25 minutes
- Yield: 24 1x
- Category: Snacks
- Method: Roasting
- Cuisine: American
- Diet: Gluten Free
Description
This creamy Homemade Peanut Butter is so easy to make! All you need are a few simple ingredients to make a homemade batch of peanut butter to eat on its own or use in a variety of different recipes.
Ingredients
- 2 cups or 16oz raw peanuts
- 1/2 teaspoon salt
- 1 1/2 tablespoons honey
- 1/2 – 1 tablespoon coconut oil
Instructions
- Preheat oven to 350 degrees and line a large baking sheet with parchment paper.
- Combine the peanuts and honey in a large mixing bowl and stir until the peanuts are coated with the honey.
- Spread the peanuts in an even layer on the lined baking sheet and roast for 13-15 minutes or until they’ve begun to caramelize and brown. Remove them from the oven and let cool.
- Place the cooled peanuts in the bowl of a food processor or high powered blender along with 1/2 tablespoon of coconut oil. Process or blend the peanuts until creamy, scraping down the sides as necessary. The time will vary here depending on what kind of food processor or blender you have. Just keep going until the peanuts turn into a creamy butter. If your peanut butter is having a hard time becoming creamy, try adding another 1/2/ tablespoon of coconut oil.
- Transfer the peanut butter into an air-tight jar for storage.
Recipe by: Ashlea Carver / All the Healthy Things | Photography by: Eat Love Eat

Delicious! Except I followed the instructions under the recipe and never did the steps mention to put in salt. I didn’t and it tastes grade.