This easy homemade pumpkin puree is a staple in my kitchen during the holiday season. If you have never made pumpkin puree from scratch, this helpful tutorial will walk you through it, step by step.

I am so excited to bring you another post in our All the Healthy Things “Just the Basics” series. These posts are focused on helping you master basics in the kitchen and, hopefully, inspiring you with a few new ideas along the way.
If you are new to cooking, or just need a refresher on the basics, these posts are designed to help you feel more confident in the kitchen. Once you have a handle on a few basic concepts and techniques, you can easily build upon them to create new and exciting recipes dishes without a second thought.
If you have ever wondered how some people just seem to know how to cook without a recipe or can quickly throw together a meal in a moment’s notice, it’s likely because they have a good grasp of the basics. I want that for you! It’s my hope that every just the basics post helps you feel more comfortable so that you can enjoy your time spent in the kitchen even more!
If you haven’t already be sure to check out the other how-to guides in the series.
Here are a few of our most popular posts:
- How to Make Cream Cheese Frosting
- How to Make Cashew Milk
- How to Make Homemade Tzatziki Sauce
- How to Make Easy Quick Pickled Onions
- How to Bake Sweet Potatoes
- How to Make Oat Flour
- How to Brown Butter

What is Pumpkin Puree?
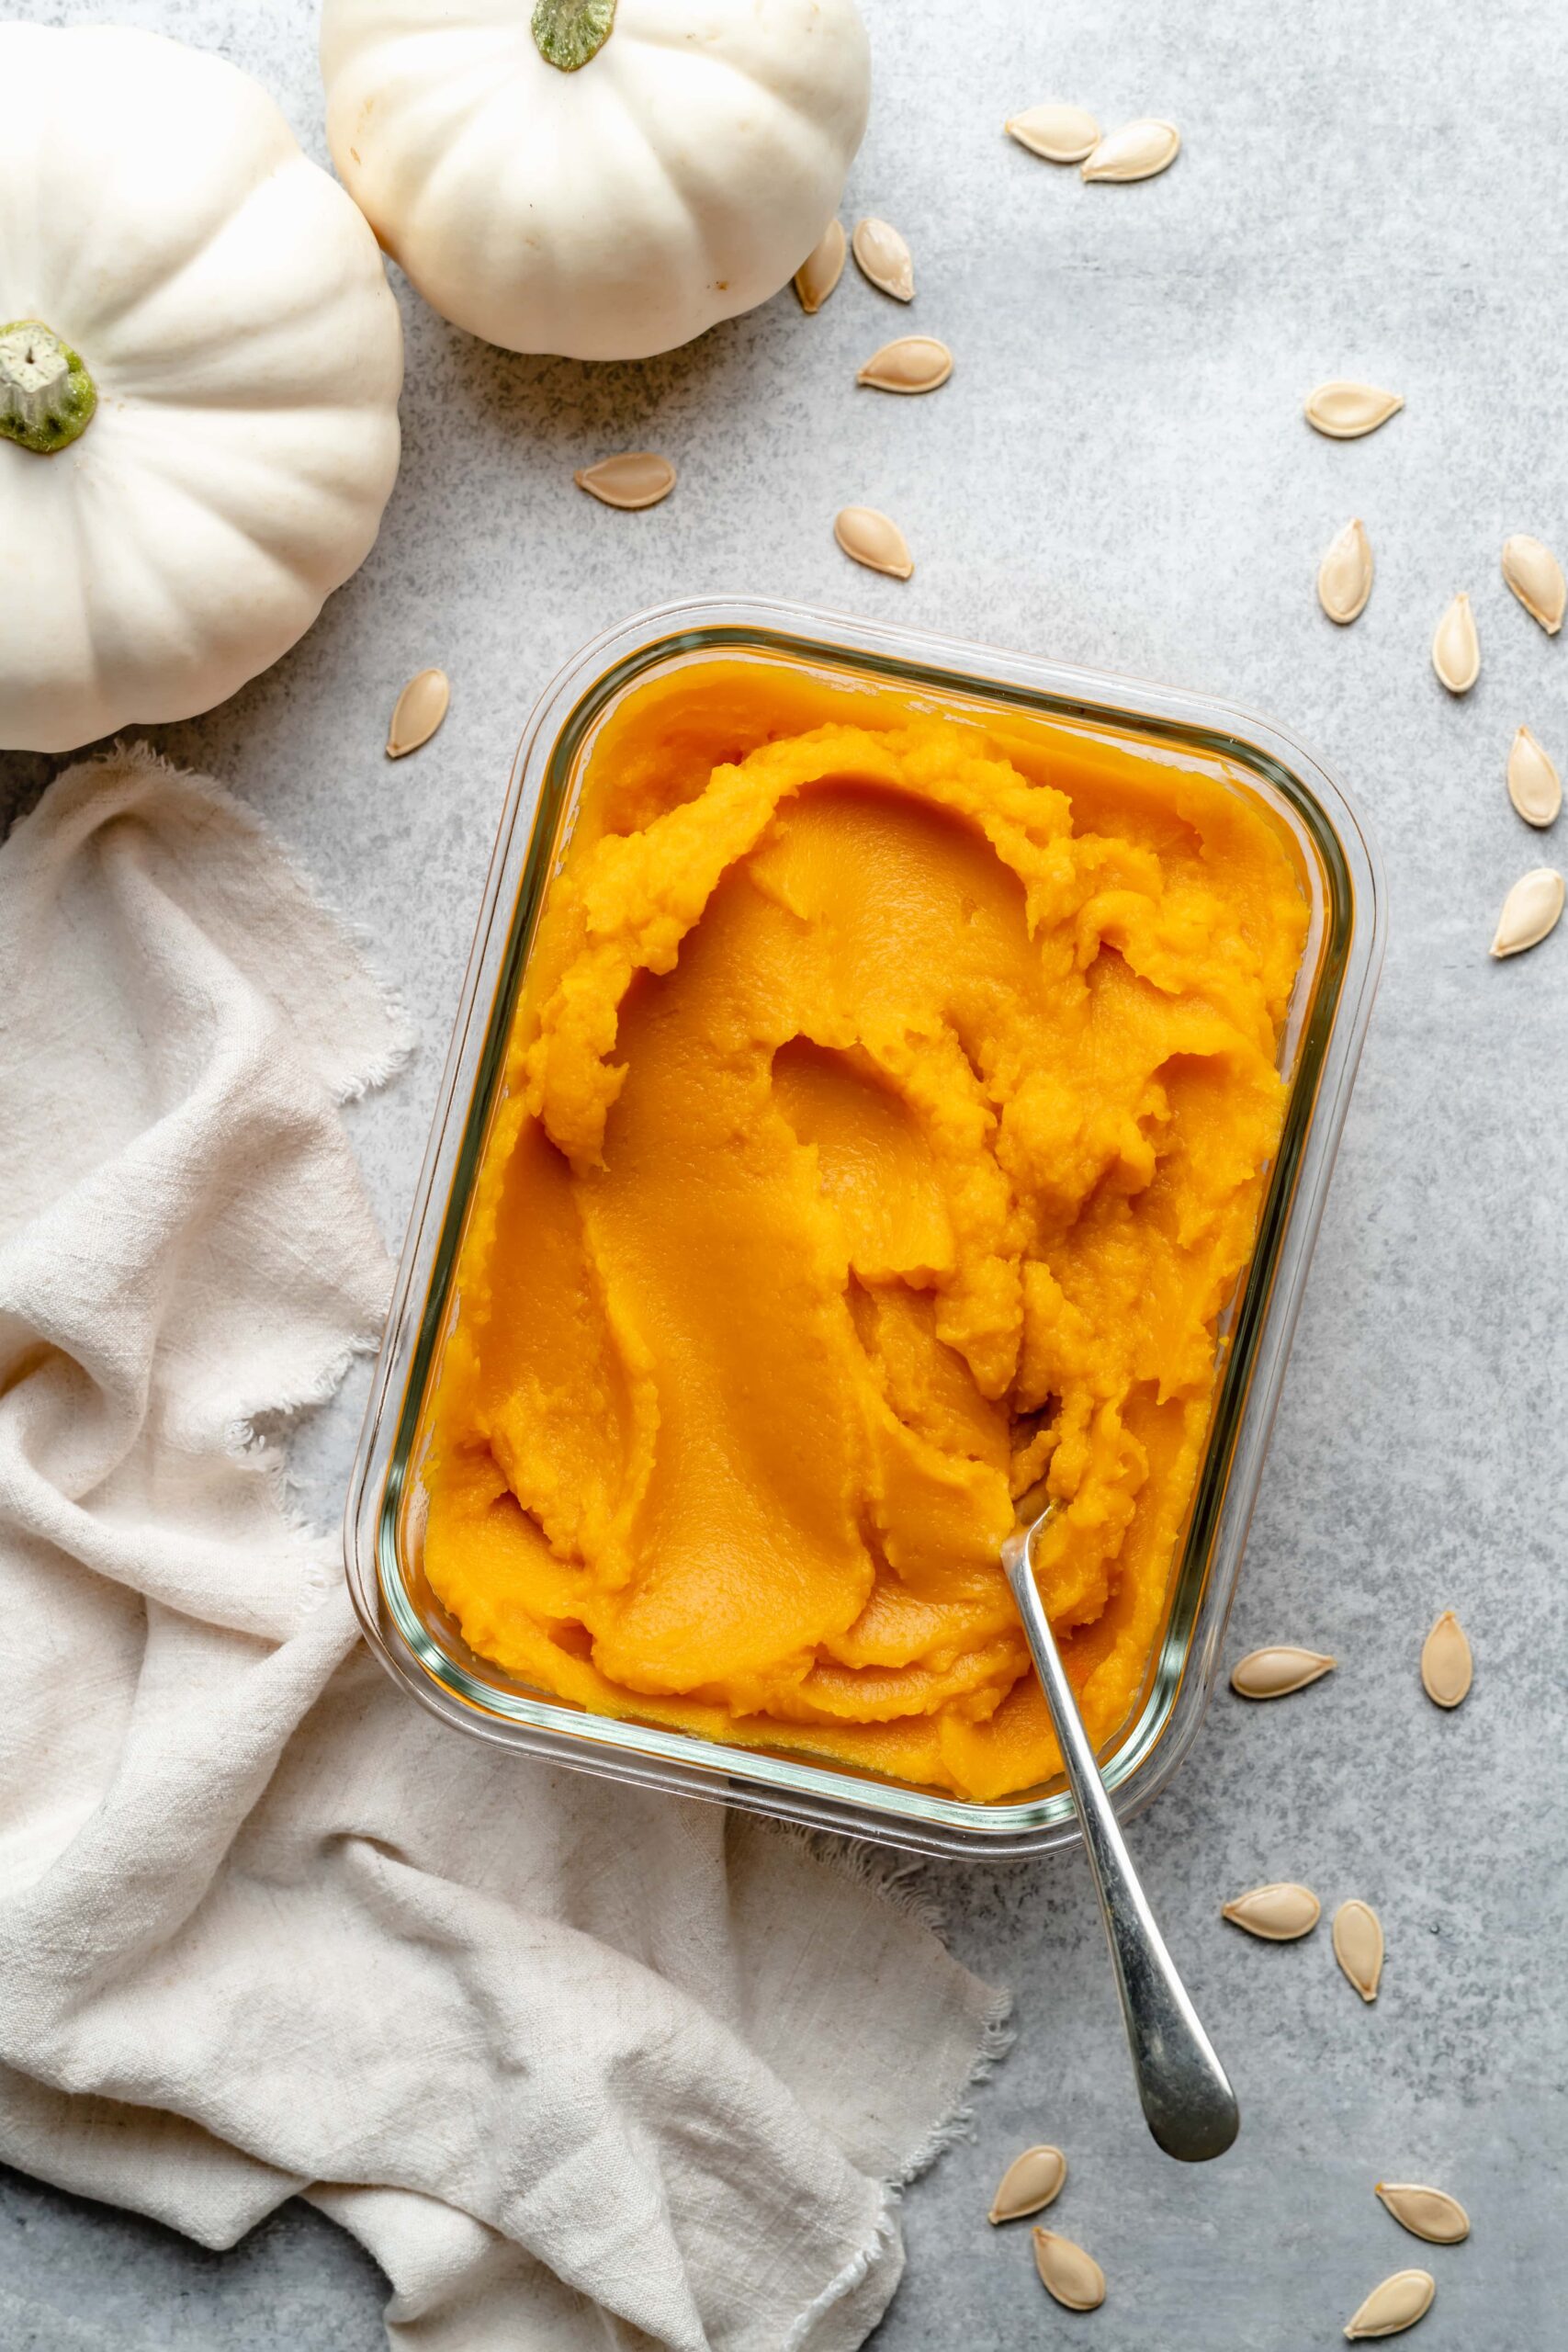
Pumpkin puree is really as simple as it sounds. It’s the pureed flesh of a cooked pumpkin and one of the most commonly used ingredients in my kitchen during the fall and winter months.
I use pumpkin puree in all sorts of things. It’s my go to for sweet baked goods like muffins and breads, but it also can be used in more savory dishes such as chilies and stews.
Watch How to Make This Recipe
The overall process of making pumpkin puree is simple. Once you’ve cooked the pumpkin (my preferred method is roasting!), you’ll simply puree the flesh in a food processor or blender until it is smooth and creamy puree.
Why Make Your Own Homemade Pumpkin Puree?
- Easy – once you know the method, making your own homemade pumpkin puree is incredibly easy to do.
- Never Run Out – one of the worst things is needing a can of pumpkin puree and not being able to find it at the store. When you know how to make your own, you’ll never run out.
- Control What’s In It – most pumpkin puree only contains pumpkin but if you want to add different spices or flavors to your puree, then making it yourself is the way to go.
The Best Pumpkin to Use
The best pumpkins to use for making pumpkin puree, or any baking, are small “sugar pumpkins” or “pie pumpkins”. These pumpkins have a sweeter flesh and are not as watery or stringy as the large pumpkins commonly used for carving and making jack-o-lanterns.
Helpful Kitchen Tools
How to Cook a Pumpkin
Step One: First, preheat your oven to 400 degrees.
Step Two: Use a sharp knife to slice the pumpkin in half lengthwise. Then, use a large spoon to scrape the seeds from the inner cavity of the pumpkin and remove them. You can either toss them or save them to make roasted pumpkin seeds.
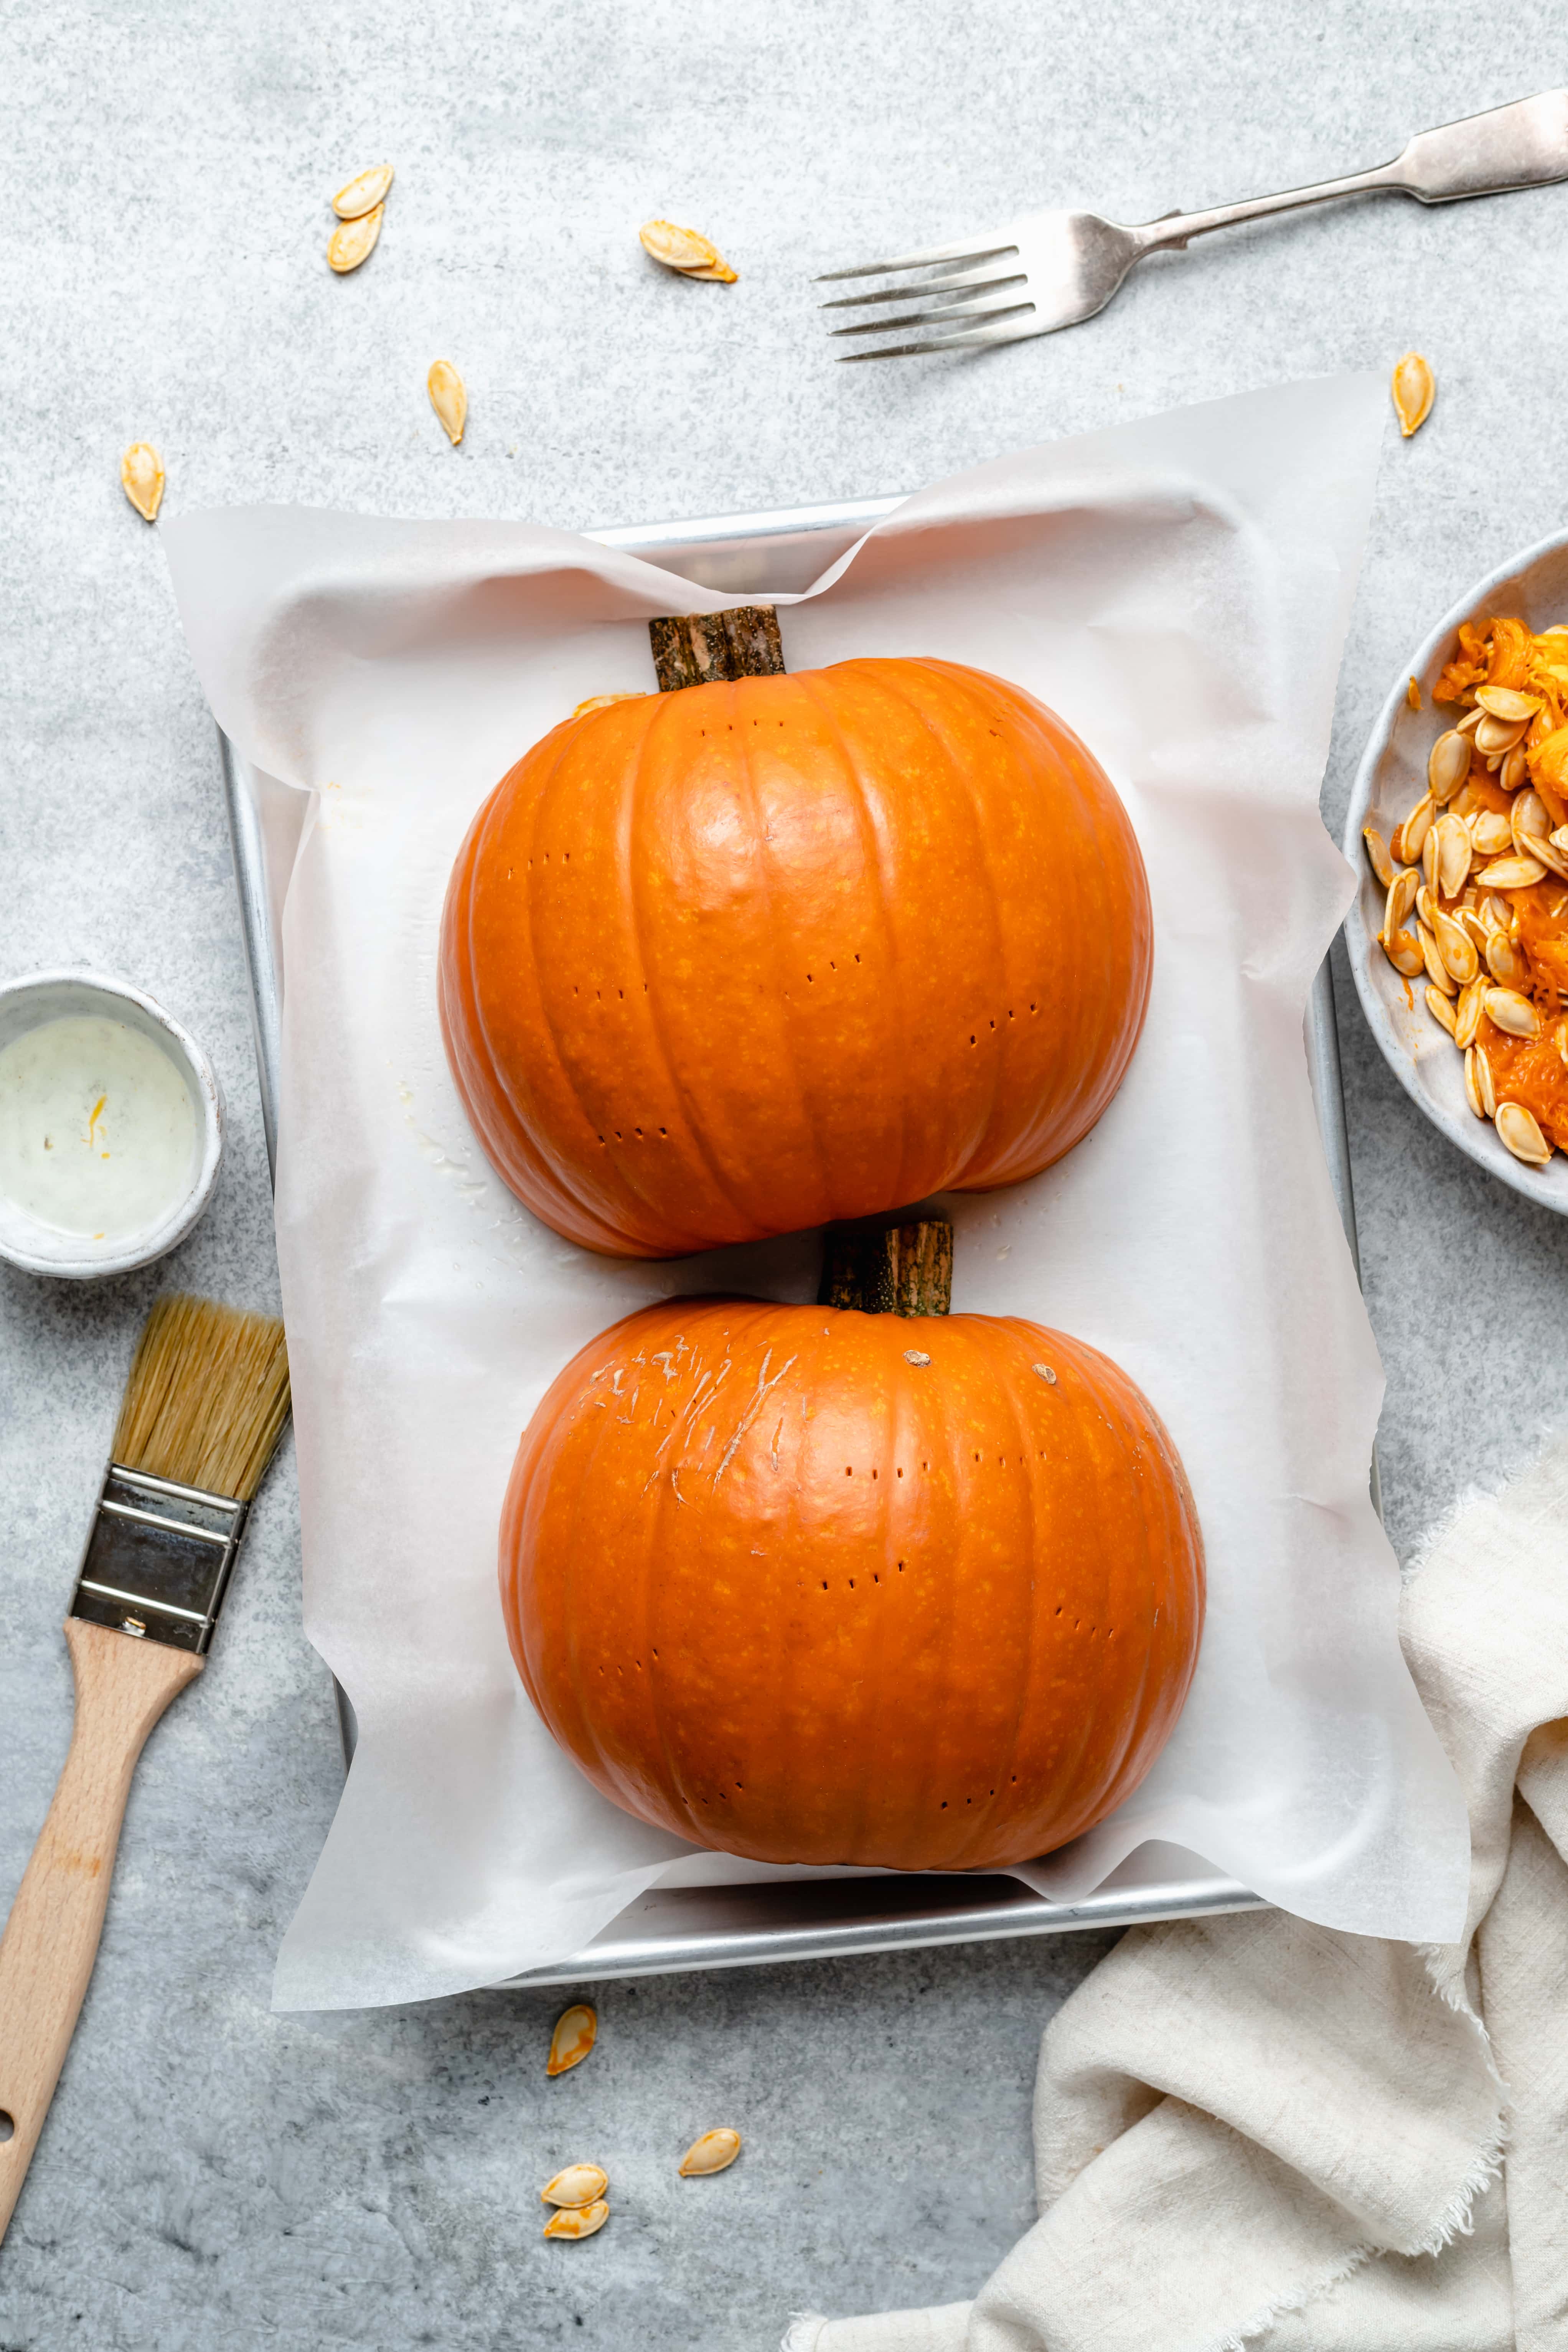
Step Three: Brush or drizzle the halves with coconut oil, or another neutral oil, and then place them cut side down on a sheet pan lined with parchment paper.
Step Four: Use a fork to prick the outer skin of the pumpkin a few times. This will allow any steam to escape while the pumpkin is cooking.
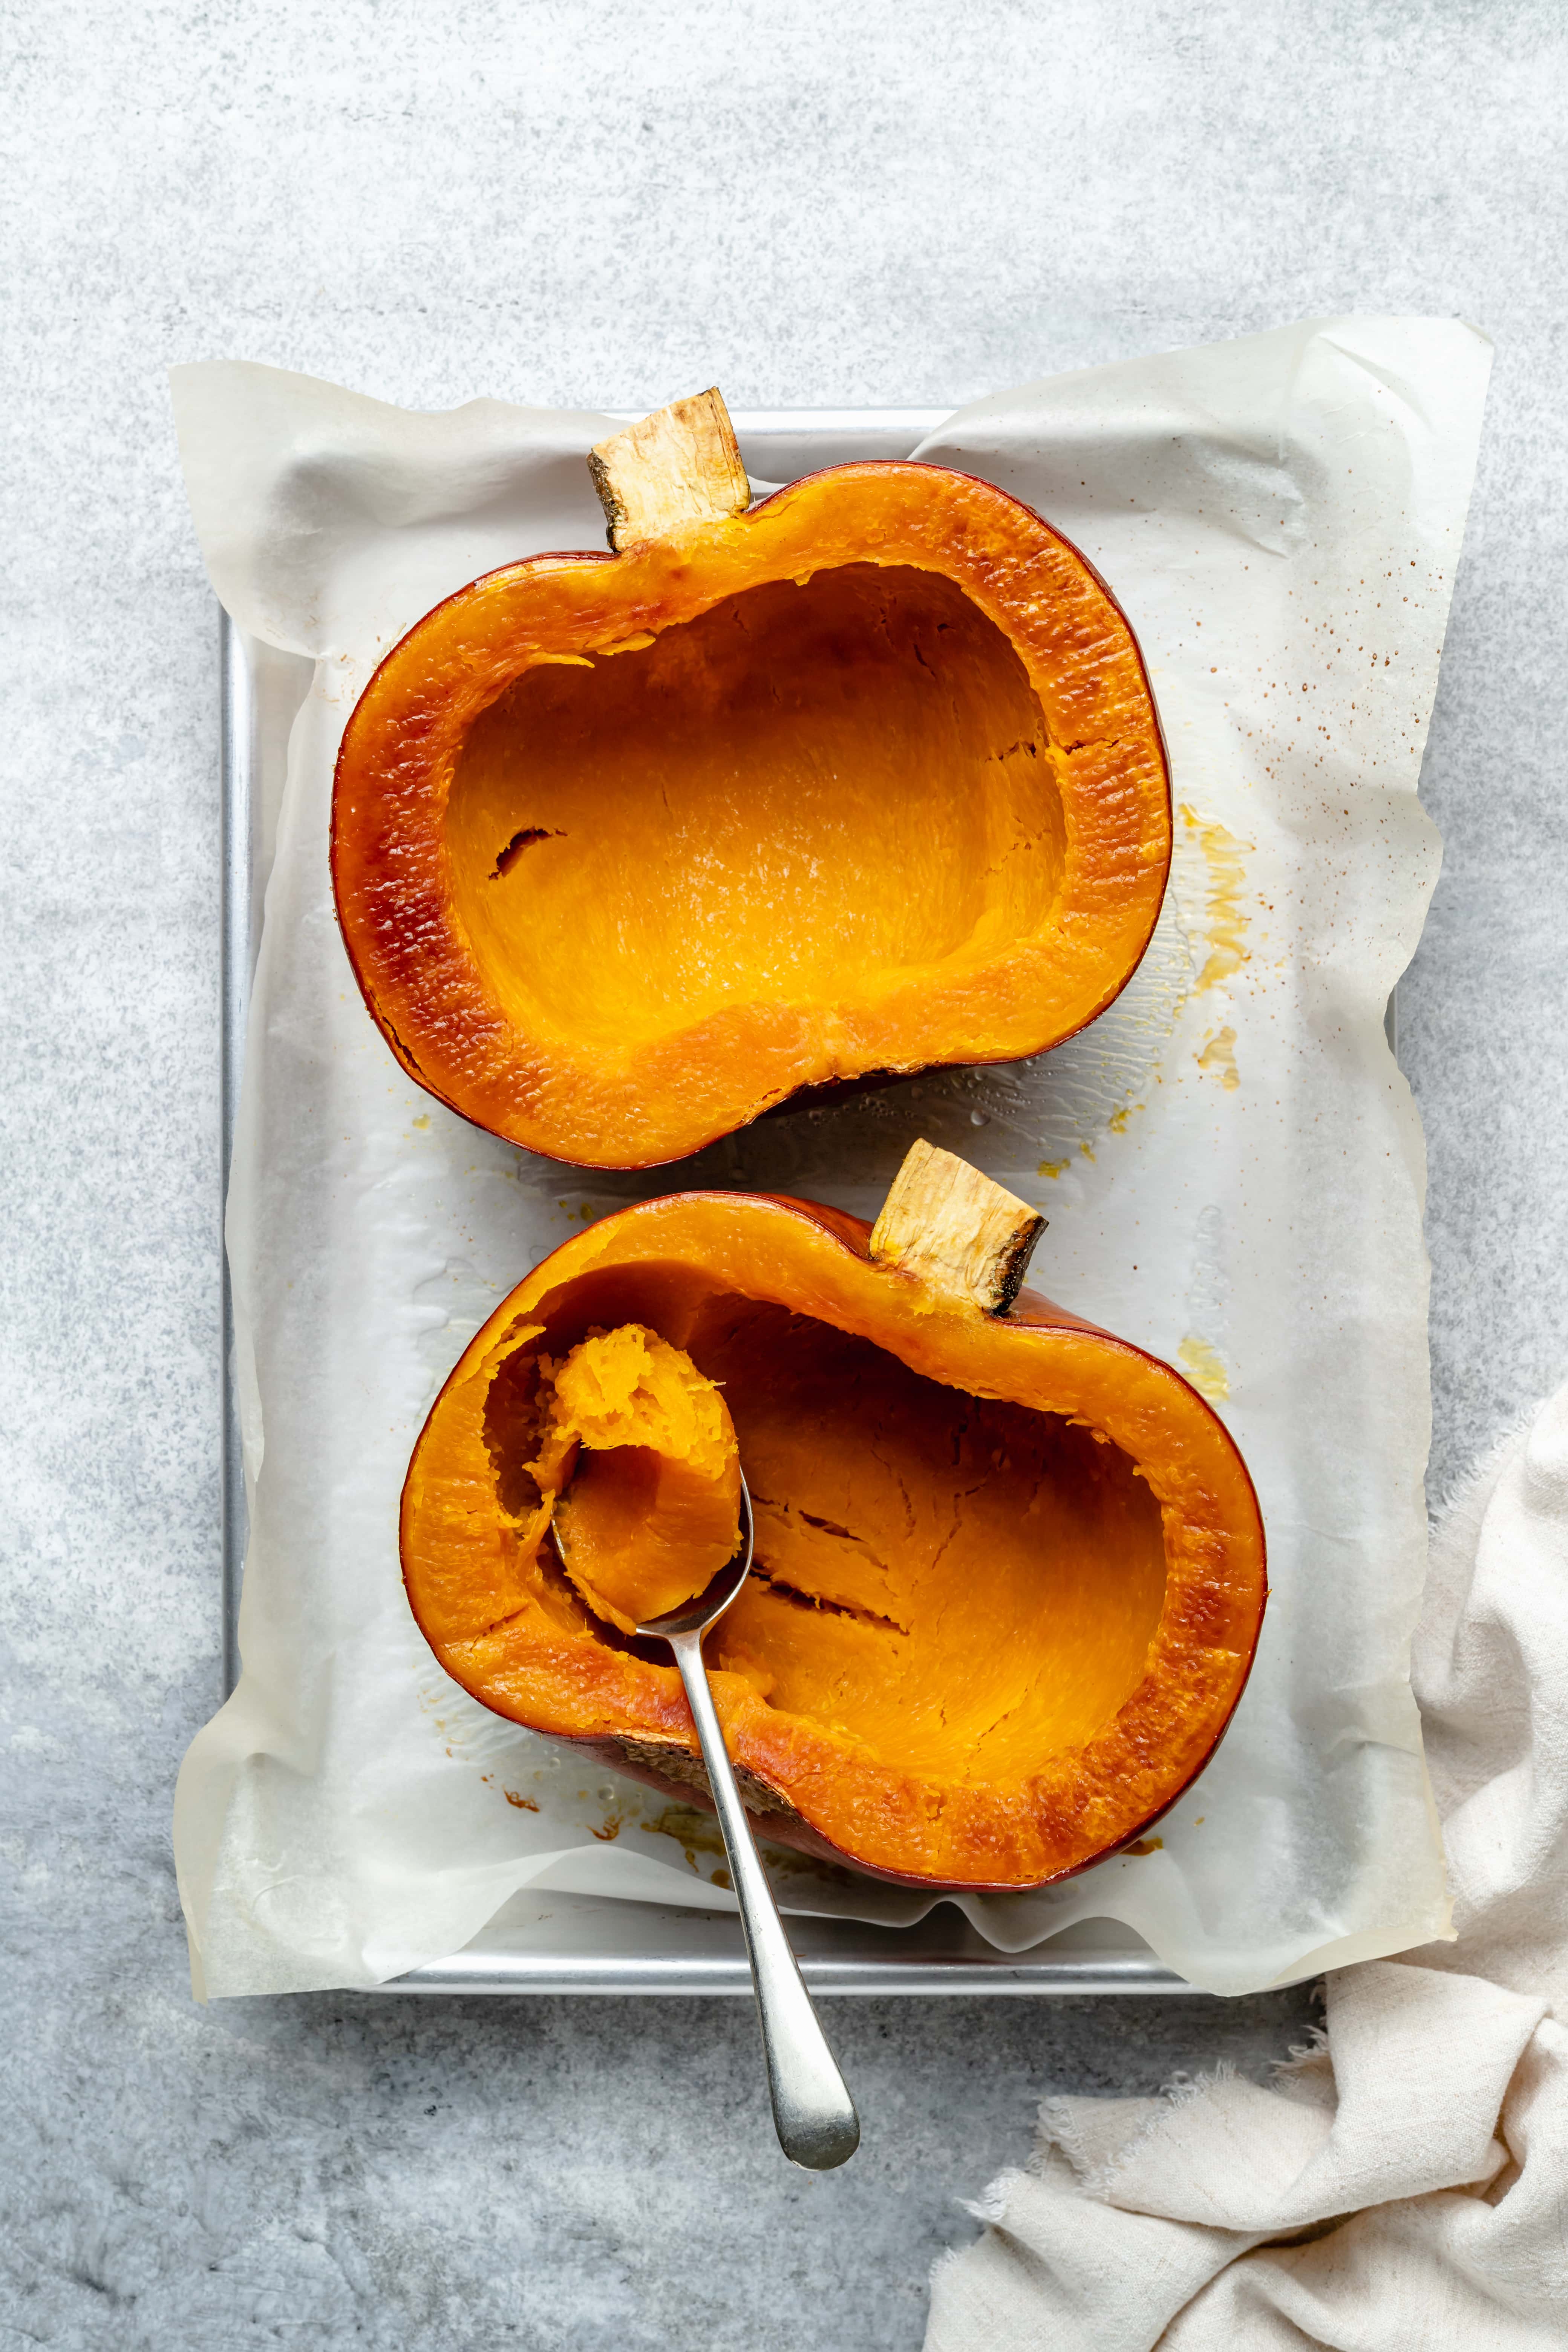
Step Five: Roast the pumpkin for 40-50 minutes until the pumpkin is tender and a knife can easily be inserted in the flesh.
Step Six: Remove the pumpkin from the oven and let it cool completely before moving onto making pumpkin puree.
How to Make Homemade Pumpkin Puree
Now that you have a fully cooked pumpkin, it’s time to make your pumpkin puree!
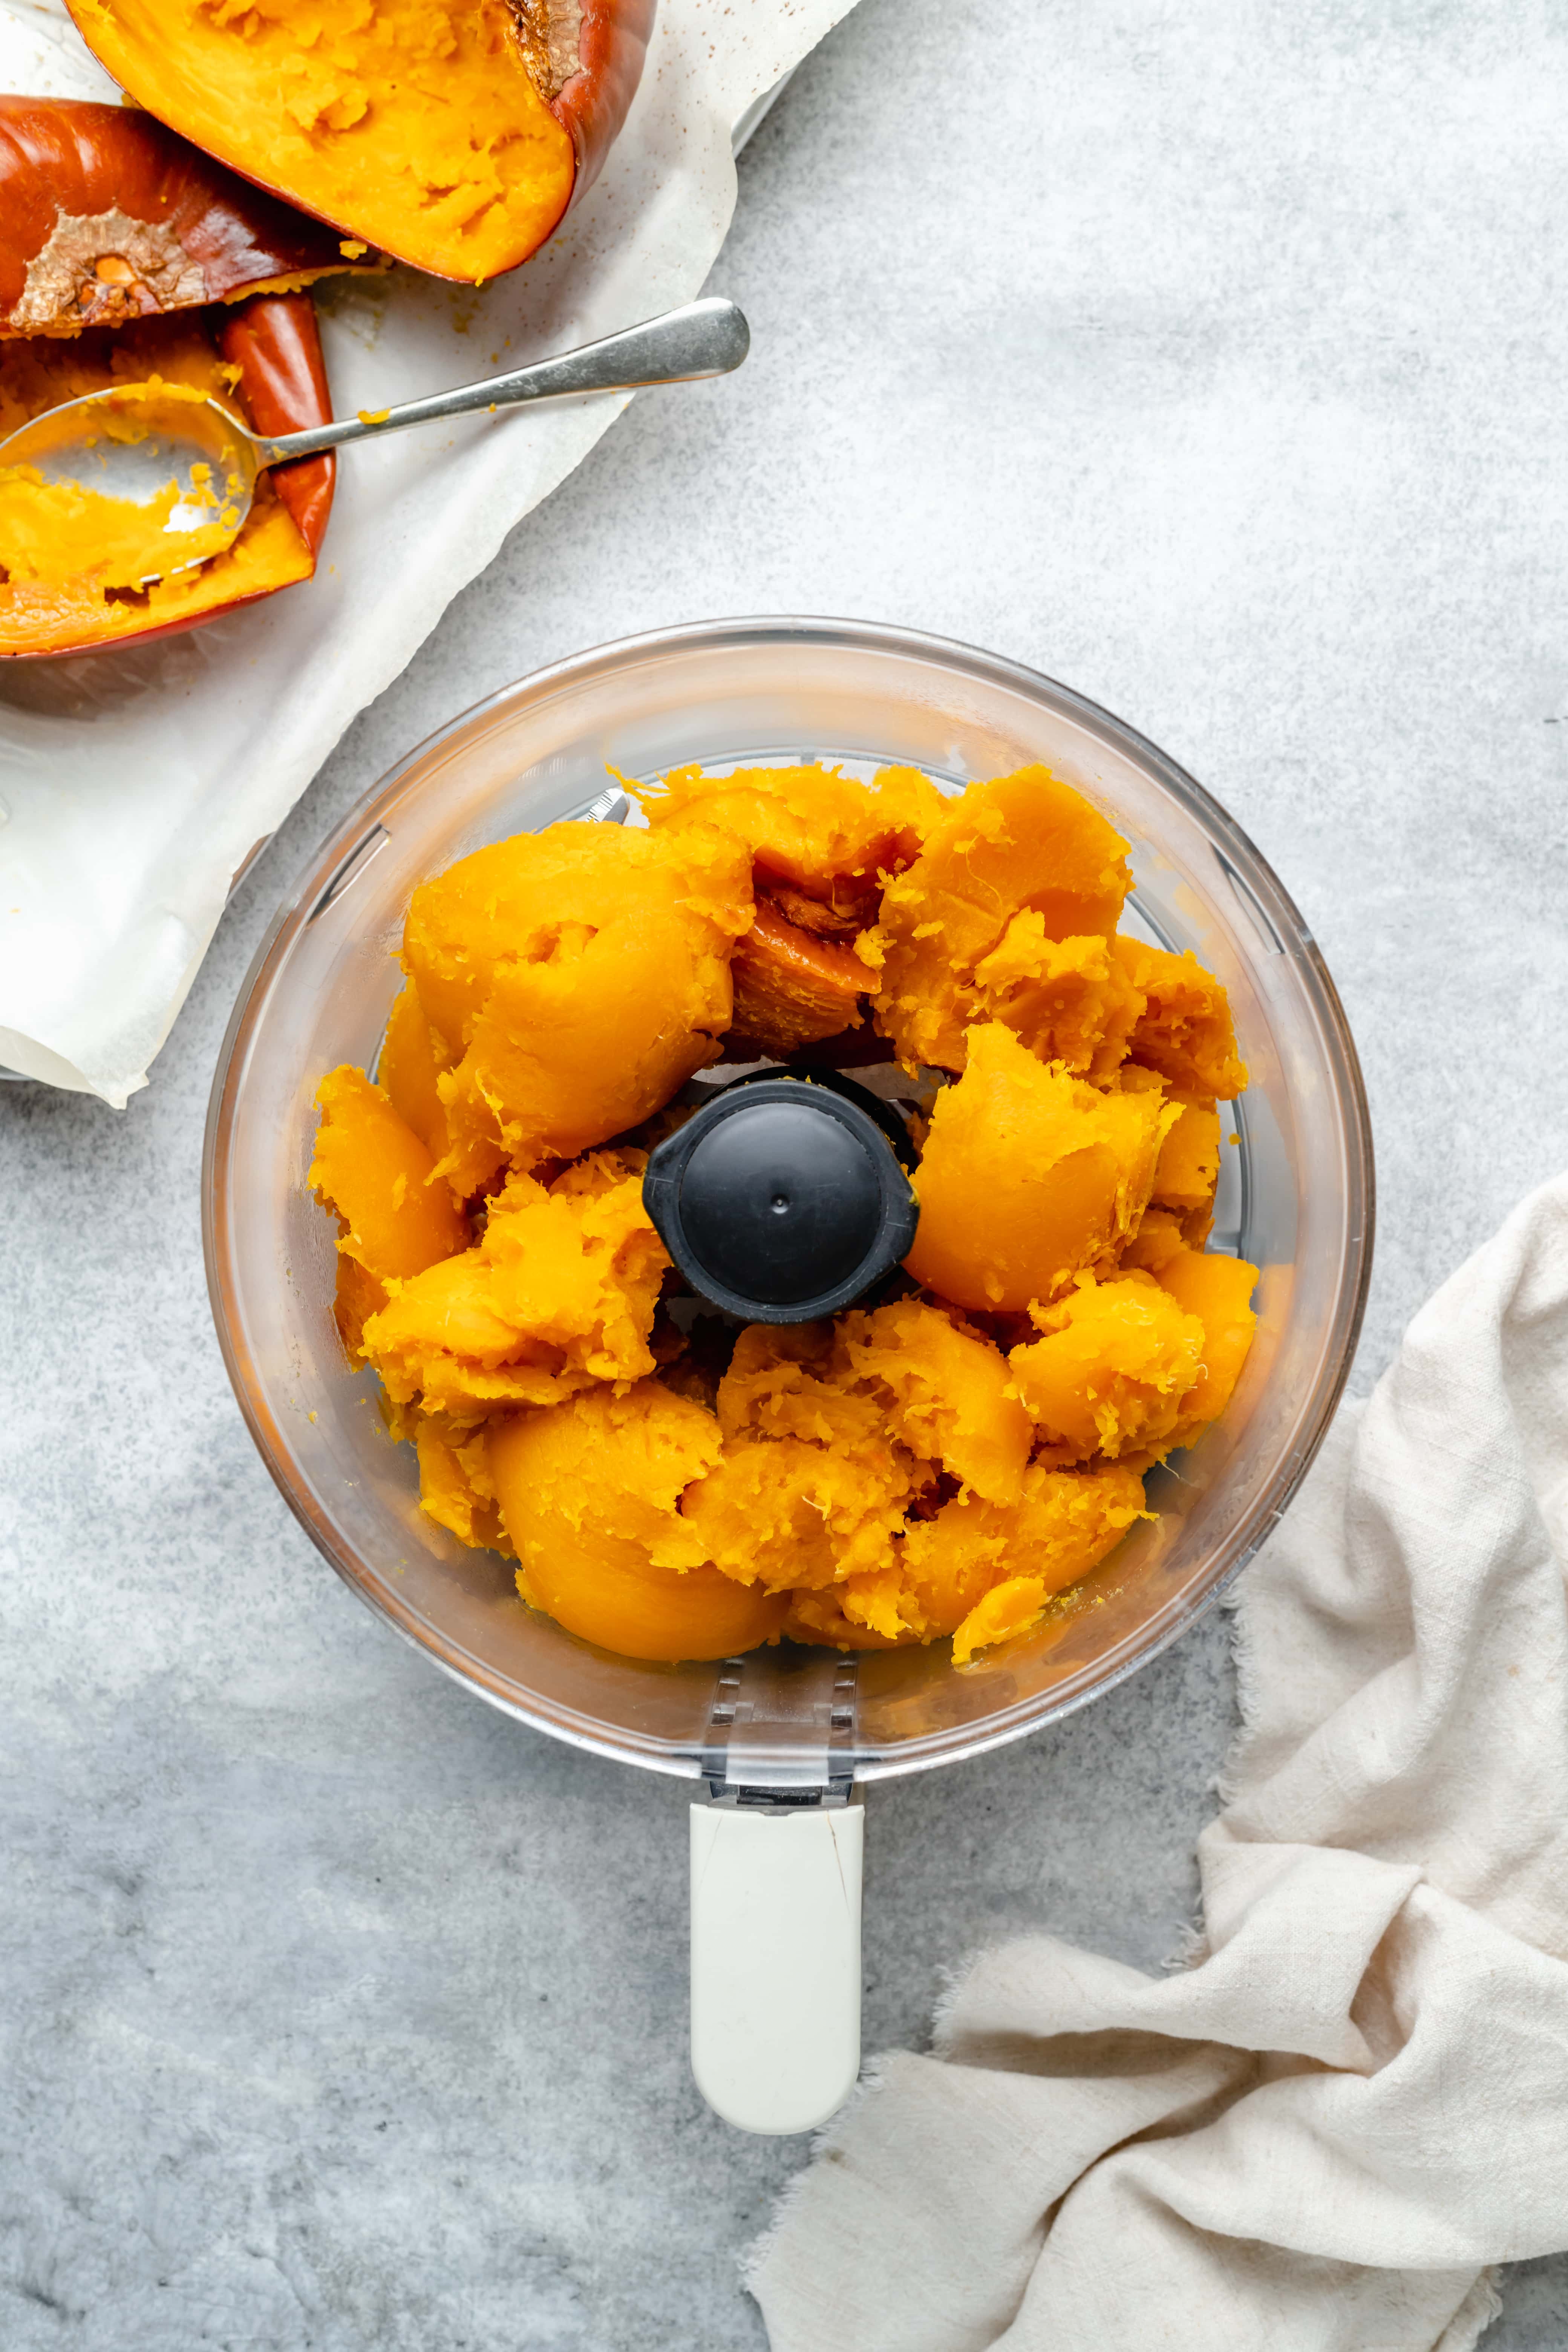
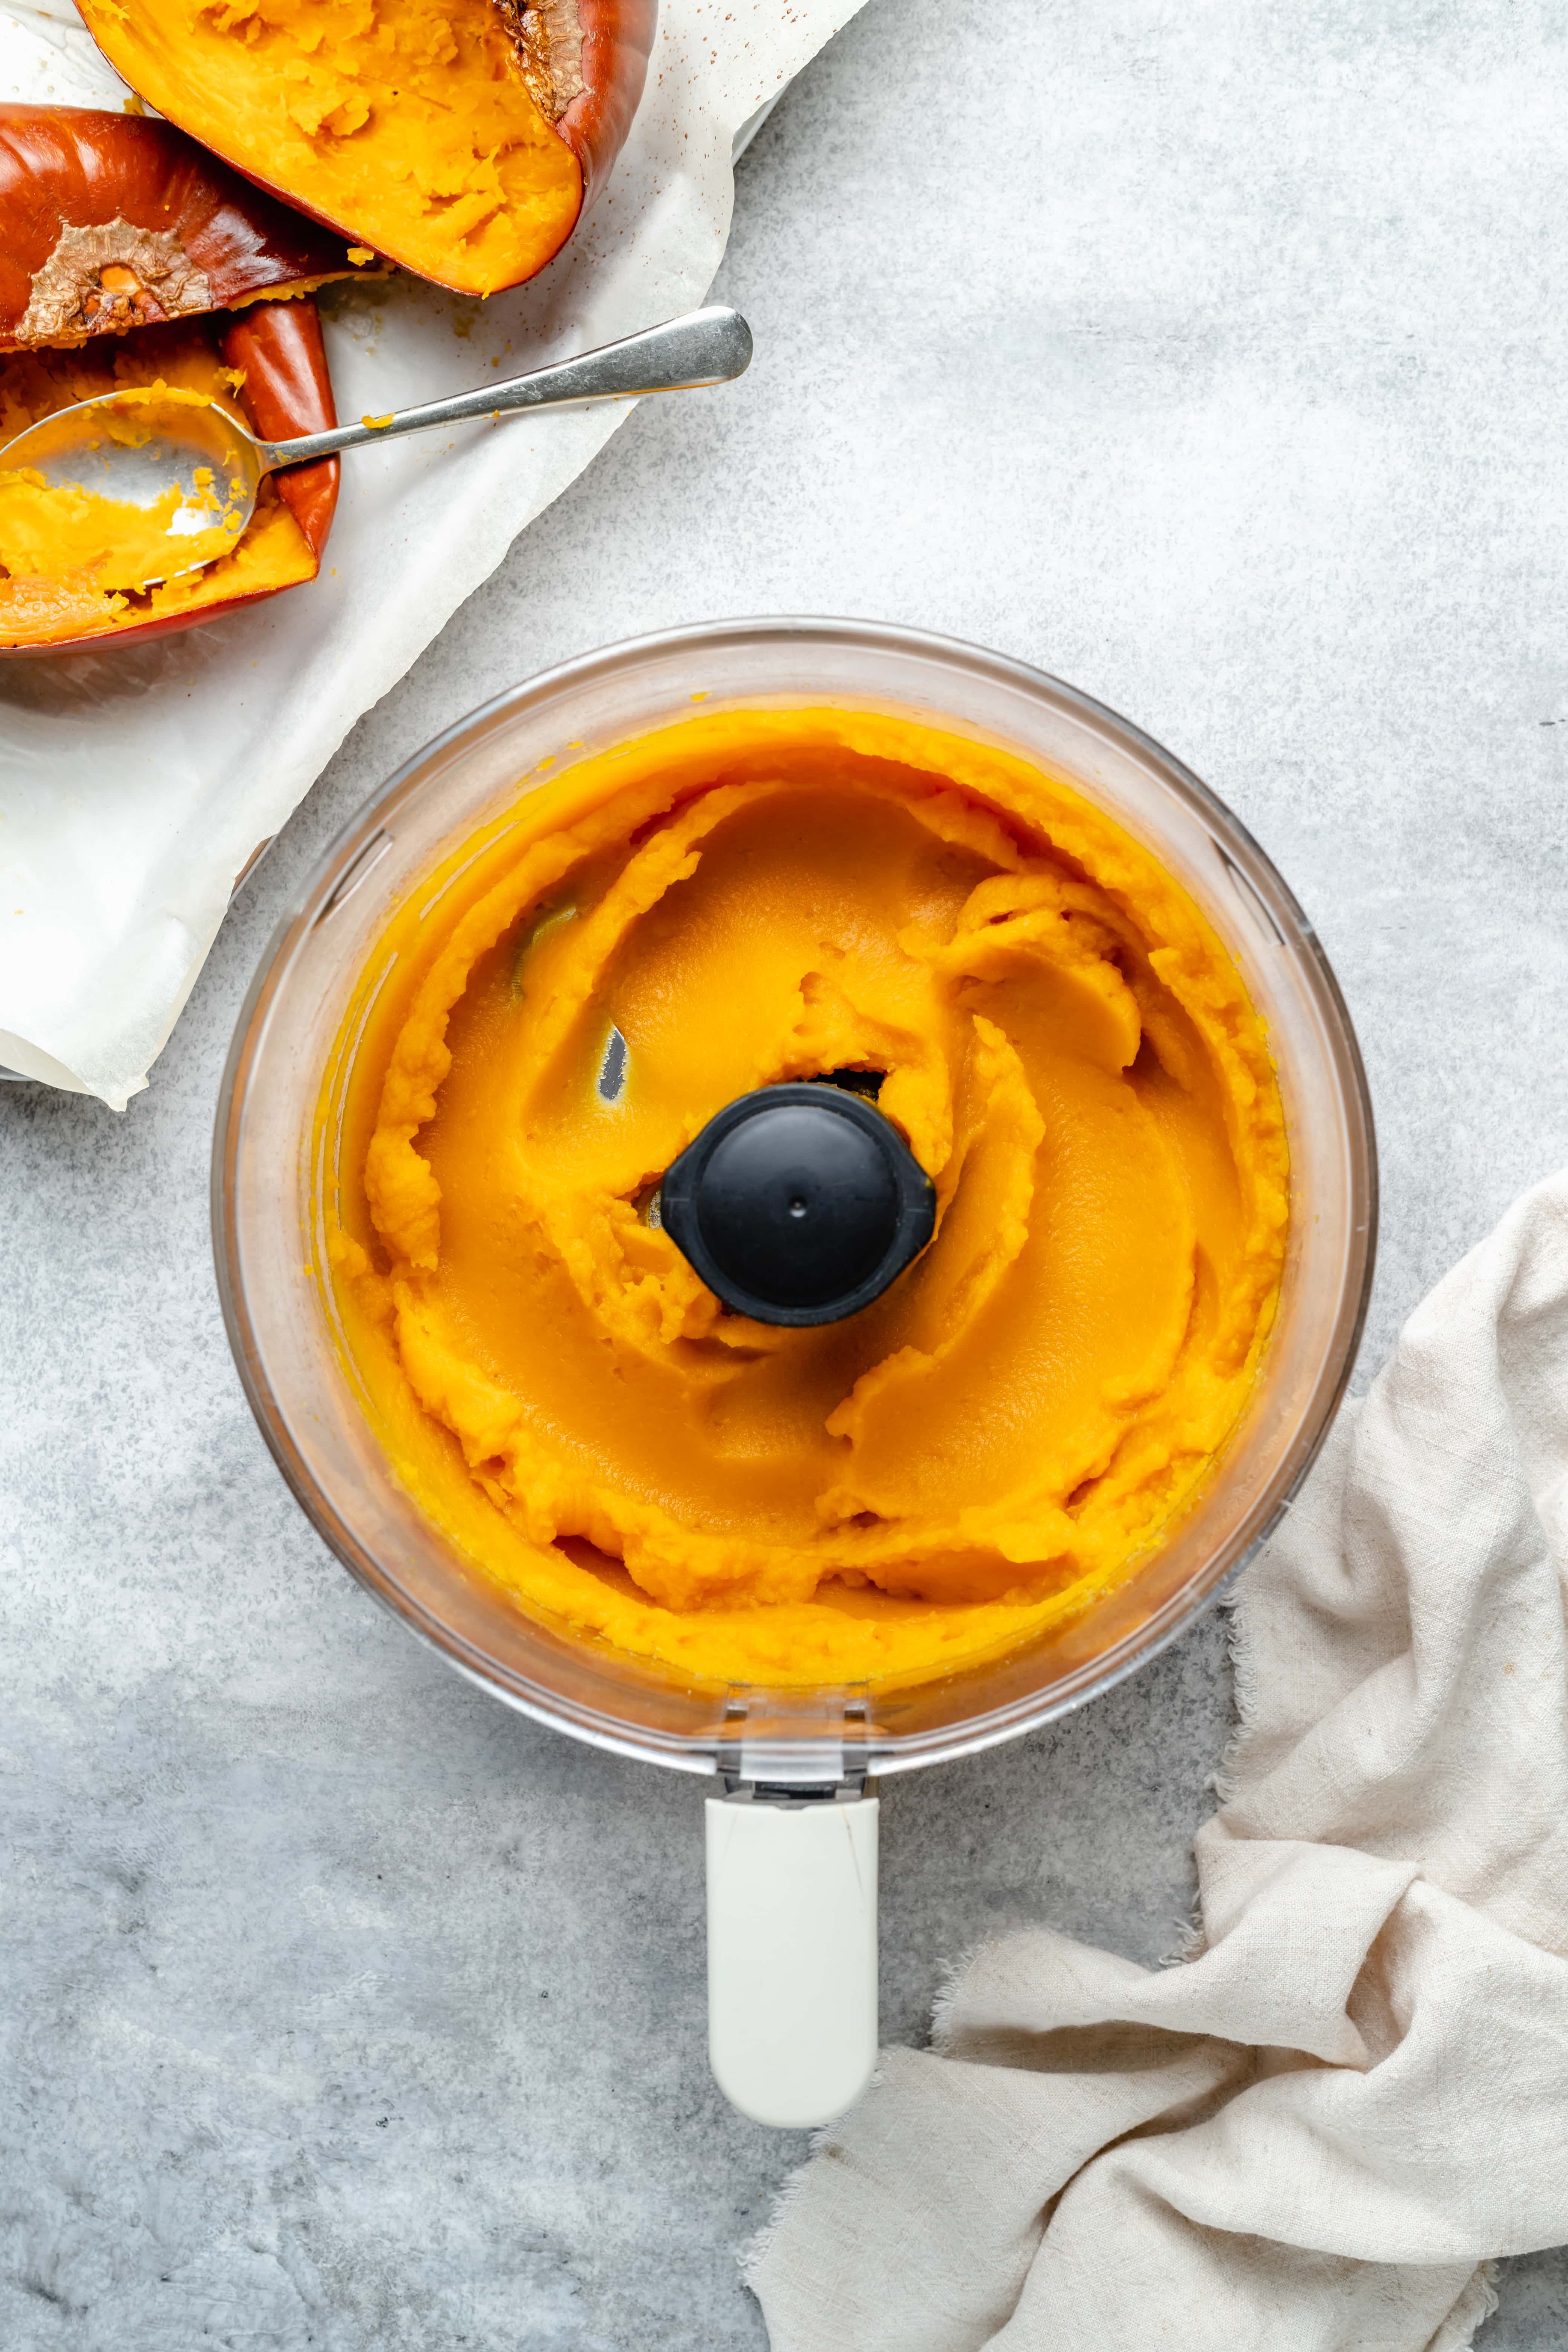
- First: Once the pumpkin is cool, use a spoon to scoop the tender, cooked flesh out of the pumpkin and into a food processor or blender.
- Next: Blend or process the pumpkin until smooth and creamy. If it has trouble blending you can add a few tablespoons of water to get it going.
- Last: Transfer to a glass storage container and store in the fridge for up to a week.
How to Store
Store the pumpkin puree in an air tight storage container in the fridge for up to a week. I like to use a canning jar or a glass Tupperware container with a tight lid.
Can You Freeze Pumpkin Puree?
Yes! You can easily store any leftover pumpkin purée in the freezer for up to a year. You can store the puree in an ice cube tray or in a freezer safe storage bag.
Tips and Tricks
- Don’t add too much water – you may not need to any water when making the pumpkin puree, but if you do, don’t add too much. This will prevent the puree from becoming too watery. If I feel like a little water is needed, I’ll add it one tablespoon at a time.
- Make it in advance – during the hectic holiday season, finding canned pumpkin can get a little tricky. I like to make a few batches of puree and keep it in the freezer to have on hand for when all of the holiday baking and pie making starts.
- Play with the flavors – it can be fun to add different spices and flavors to your pumpkin puree, even if you are using it for baking. Adding a touch of cinnamon, salt, or even maple syrup can all amplify the flavor and make your baked goods even more delicious. Be sure to label the flavored pumpkin correctly with the spices added so you know it’s not a plain batch.

Reader Favorite Recipes That Use Pumpkin Puree
The Best Healthy Pumpkin Pie Smoothie
No Bake Pumpkin Spice Energy Bites
Gluten Free Cinnamon Sugar Pumpkin Bread
Pumpkin Spice Cold Brew Coffee
Healthy Pumpkin Banana Chocolate Chip Muffins
Healthy Pumpkin Chocolate Chip Muffins
Pumpkin Chocolate Chip Oatmeal Cups
Gluten Free Pumpkin Banana Bread
I hope you give making this Homemade Pumpkin Puree a try! It’s a staple recipe during the holiday season.
If you do give this recipe a try, I want to know! Leave a comment with a star rating below. You can also snap a photo & tag @allthehealthythings on INSTAGRAM. Your reviews help support All the Healthy Things and make it possible for me to continue to create the recipes you know and love.
Print
How to Make Homemade Pumpkin Puree
- Prep Time: 5 minutes
- Cook Time: 50 minutes
- Total Time: 55 minutes
- Yield: 2 1/2 - 3 1/2 cups 1x
- Category: Sides
- Method: Baking
- Cuisine: American
- Diet: Gluten Free
Description
This easy homemade pumpkin puree is a staple in my kitchen around the holiday season. If you have never made pumpkin puree from scratch, this helpful tutorial will walk you through it, step by step.
Ingredients
- 1 – 2 or 3 pound sugar pumpkin
- 1 – tablespoon melted coconut oil
Instructions
- Preheat oven to 400 degrees.
- Slice the pumpkin in half lengthwise. Use a large spoon to remove the seeds from the inner cavity.
- Brush the halves with coconut oil and then place them cut side down on a sheet pan lined with parchment paper.
- Use a fork to prick the outer skin of the pumpkin a few times to allow any steam to escape.
- Bake the pumpkin for 40-50 minutes until the pumpkin is tender and a knife can easily be inserted in the flesh.
- Remove the pumpkin from the oven and let cool completely.
- Once the pumpkin is cool, use a spoon to scoop the flesh out of the pumpkin and into a food processor or blender.
- Blend or process the pumpkin until smooth and creamy. If it has trouble blending you can add a few tablespoons of water to get it going.
- Transfer to a glass storage container and store in the fridge for up to a week.
Recipe by: Ashlea Carver / All the Healthy Things | Photography by: Eat Love Eats


Thanks this was just what I needed! Simple and helpful steps
you’re so welcome, Kaydence!