Golden and perfectly nutty, brown butter is a delicious way to add extra flavor to baked goods and roasted veggies. Thankfully, it’s also incredibly easy to make!

I am so excited to bring you another post in our All the Healthy Things “Just the Basics” series. These posts are focused on helping you master basics in the kitchen and, hopefully, inspiring you with a few new ideas along the way.
If you are new to cooking, or just need a refresher on the basics, these posts are designed to help you feel more confident in the kitchen. Once you have a handle on a few basic concepts and techniques, you can easily build upon them to create new and exciting recipes dishes without a second thought.
If you have ever wondered how some people just seem to know how to cook without a recipe or can quickly throw together a meal in a moment’s notice, it’s likely because they have a good grasp of the basics. I want that for you! It’s my hope that every just the basics post helps you feel more comfortable so that you can enjoy your time spent in the kitchen even more!
If you haven’t already be sure to check out the other how-to guides in the series.
Here are a few of our most popular posts:
- How to Bake Sweet Potatoes
- How to Make Quinoa
- How to Roast Butternut Squash
- How to Make Cashew Milk
- How to Make Homemade Tzatziki Sauce
- How to Make Easy Quick Pickled Onions
What is Brown Butter?
Brown butter, which is also known as beurre noisette, is butter that has been melted and cooked until the milk solids in the butter have become toasted.
Gently cooking the butter removes the water content while also browning the milk solids hence the name, brown butter.
Watch How to Make Brown Butter
Browned butter has a deep, rich, nutty, and toasted aroma and flavor. To me, it smells like a delicious toasty caramel sauce.
Its rich flavor makes it the perfect addition to baked goods, roasted vegetables, fish, and the perfect topping for so many different things.
Ingredients You Need
The only ingredient you to make really delicious browned butter is, you guessed it, butter! I prefer to use a high quality grass-fed butter for the best flavor but really any butter will work.
I also like to use unsalted butter versus salted butter, especially when baking, so that I can have more control over the amount of salt in the recipe.
Helpful Kitchen Tools
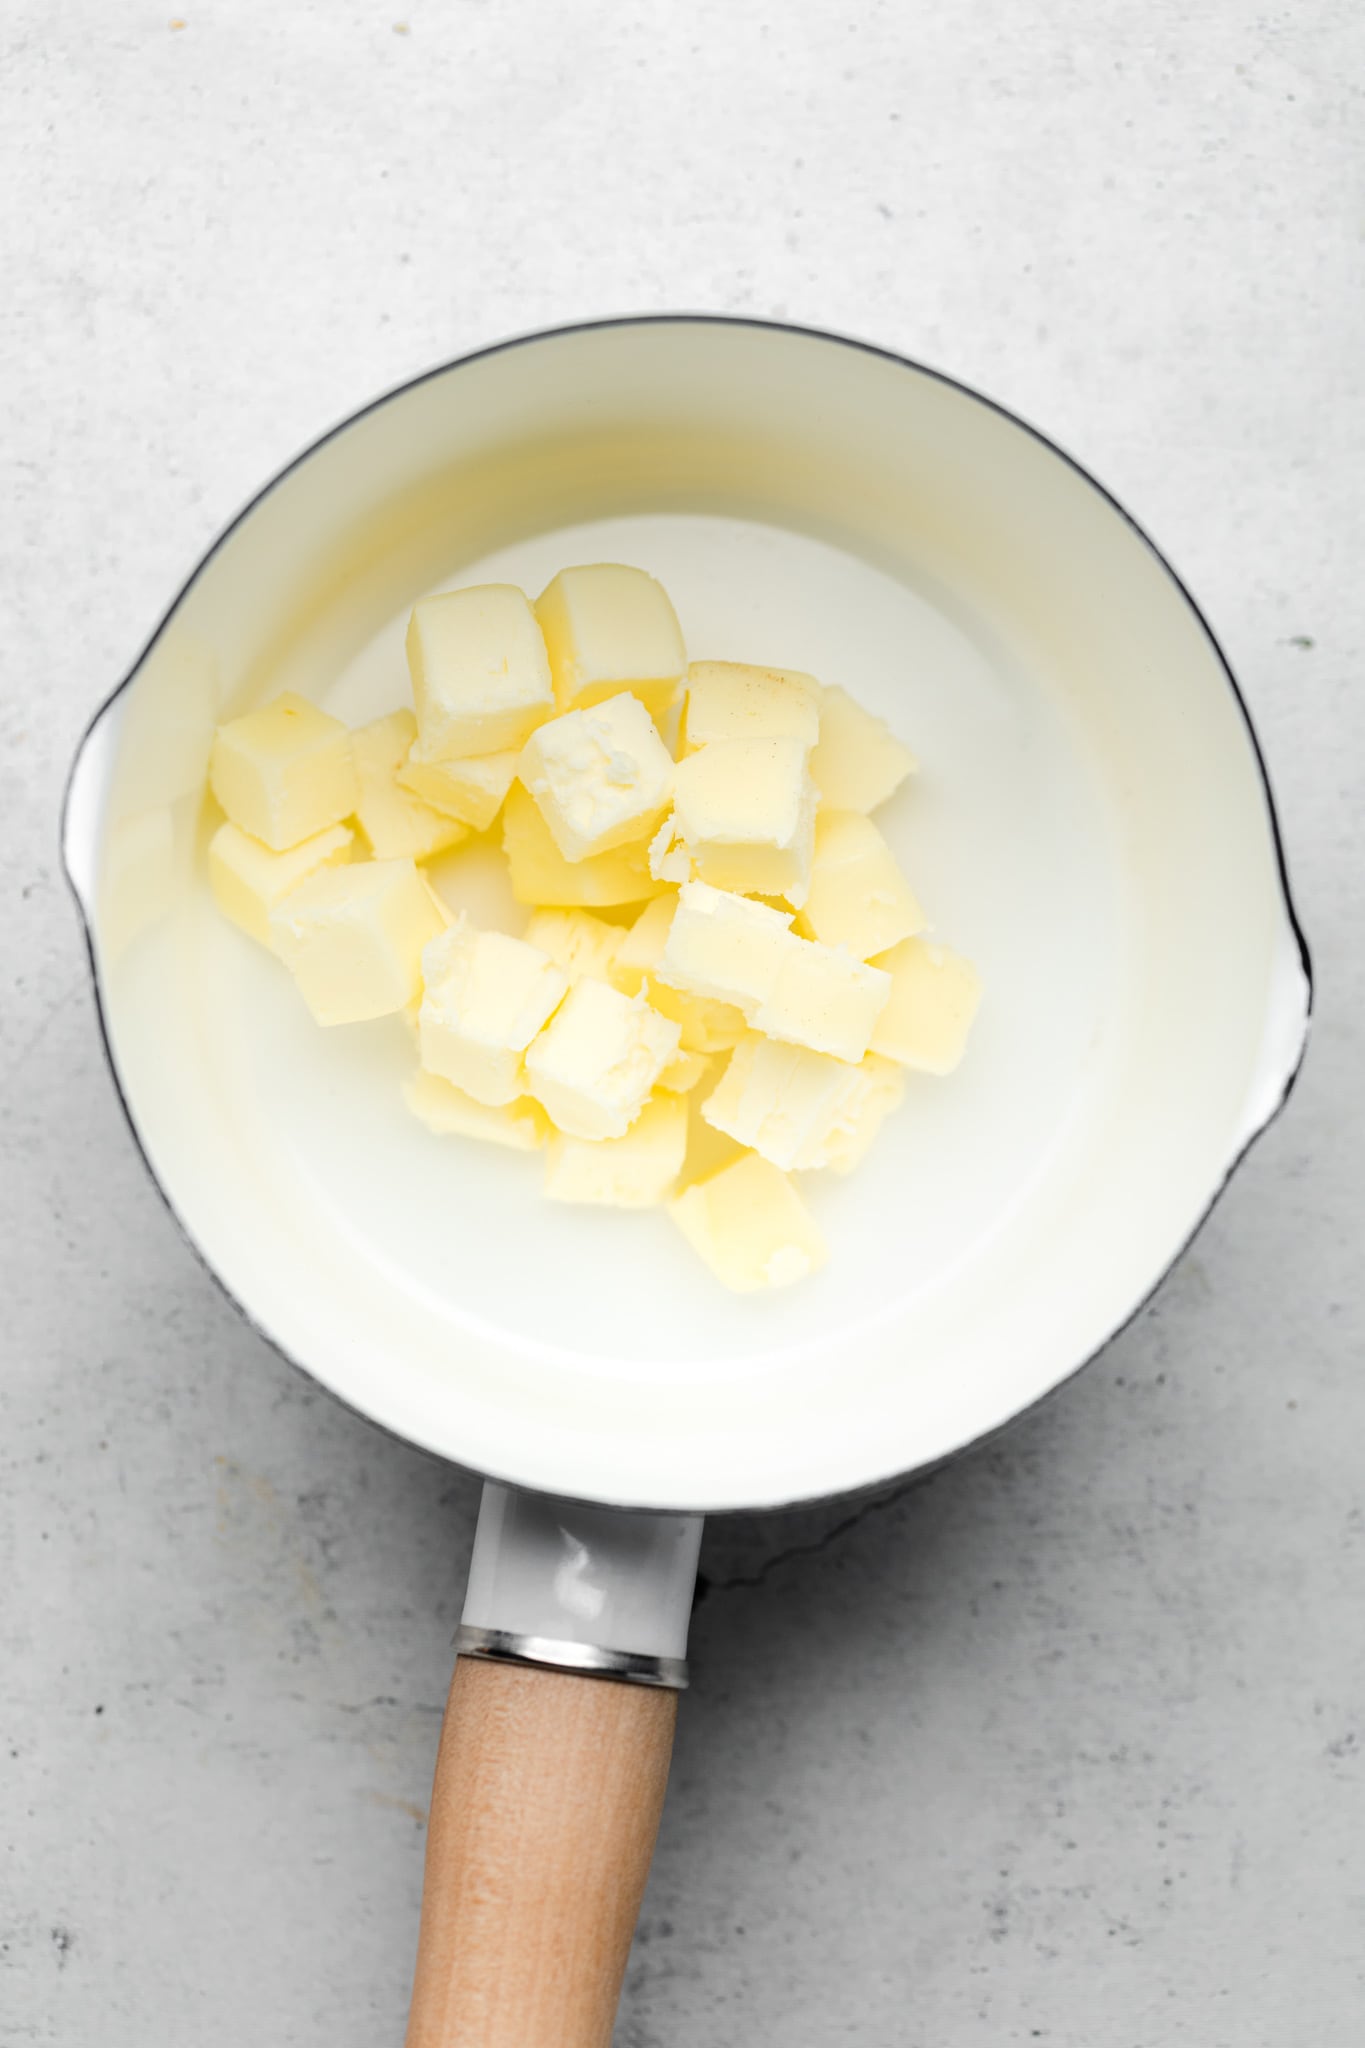
- Sharp knife – dicing the butter into roughly the same size chunks ensures that it melts evenly in the pan.
- Light colored saucepan or small pot – I prefer to use a light colored sauce pan or small pot when browning butter so that I can actually see when the brown bits are starting to form. If you use a dark colored sauce pan, it’s harder to monitor and see when those brown bits on the bottom of the pan start to form.
- Wooden spoon or silicone spatula – both a wooden spoon or a small heat safe silicone spatula work great for stirring the butter while it’s browning.
- Heat safe bowl – once the butter has browned, I like to transfer it to a heat safe bowl to cool a bit before using.
Step One: Add the diced butter to a small light colored saucepan or small pot. Heat the pan to medium heat. Stir the butter as it begins to melt as the pan heats up. As the butter melts it will begin to foam and sizzle as the water content begins to evaporate.
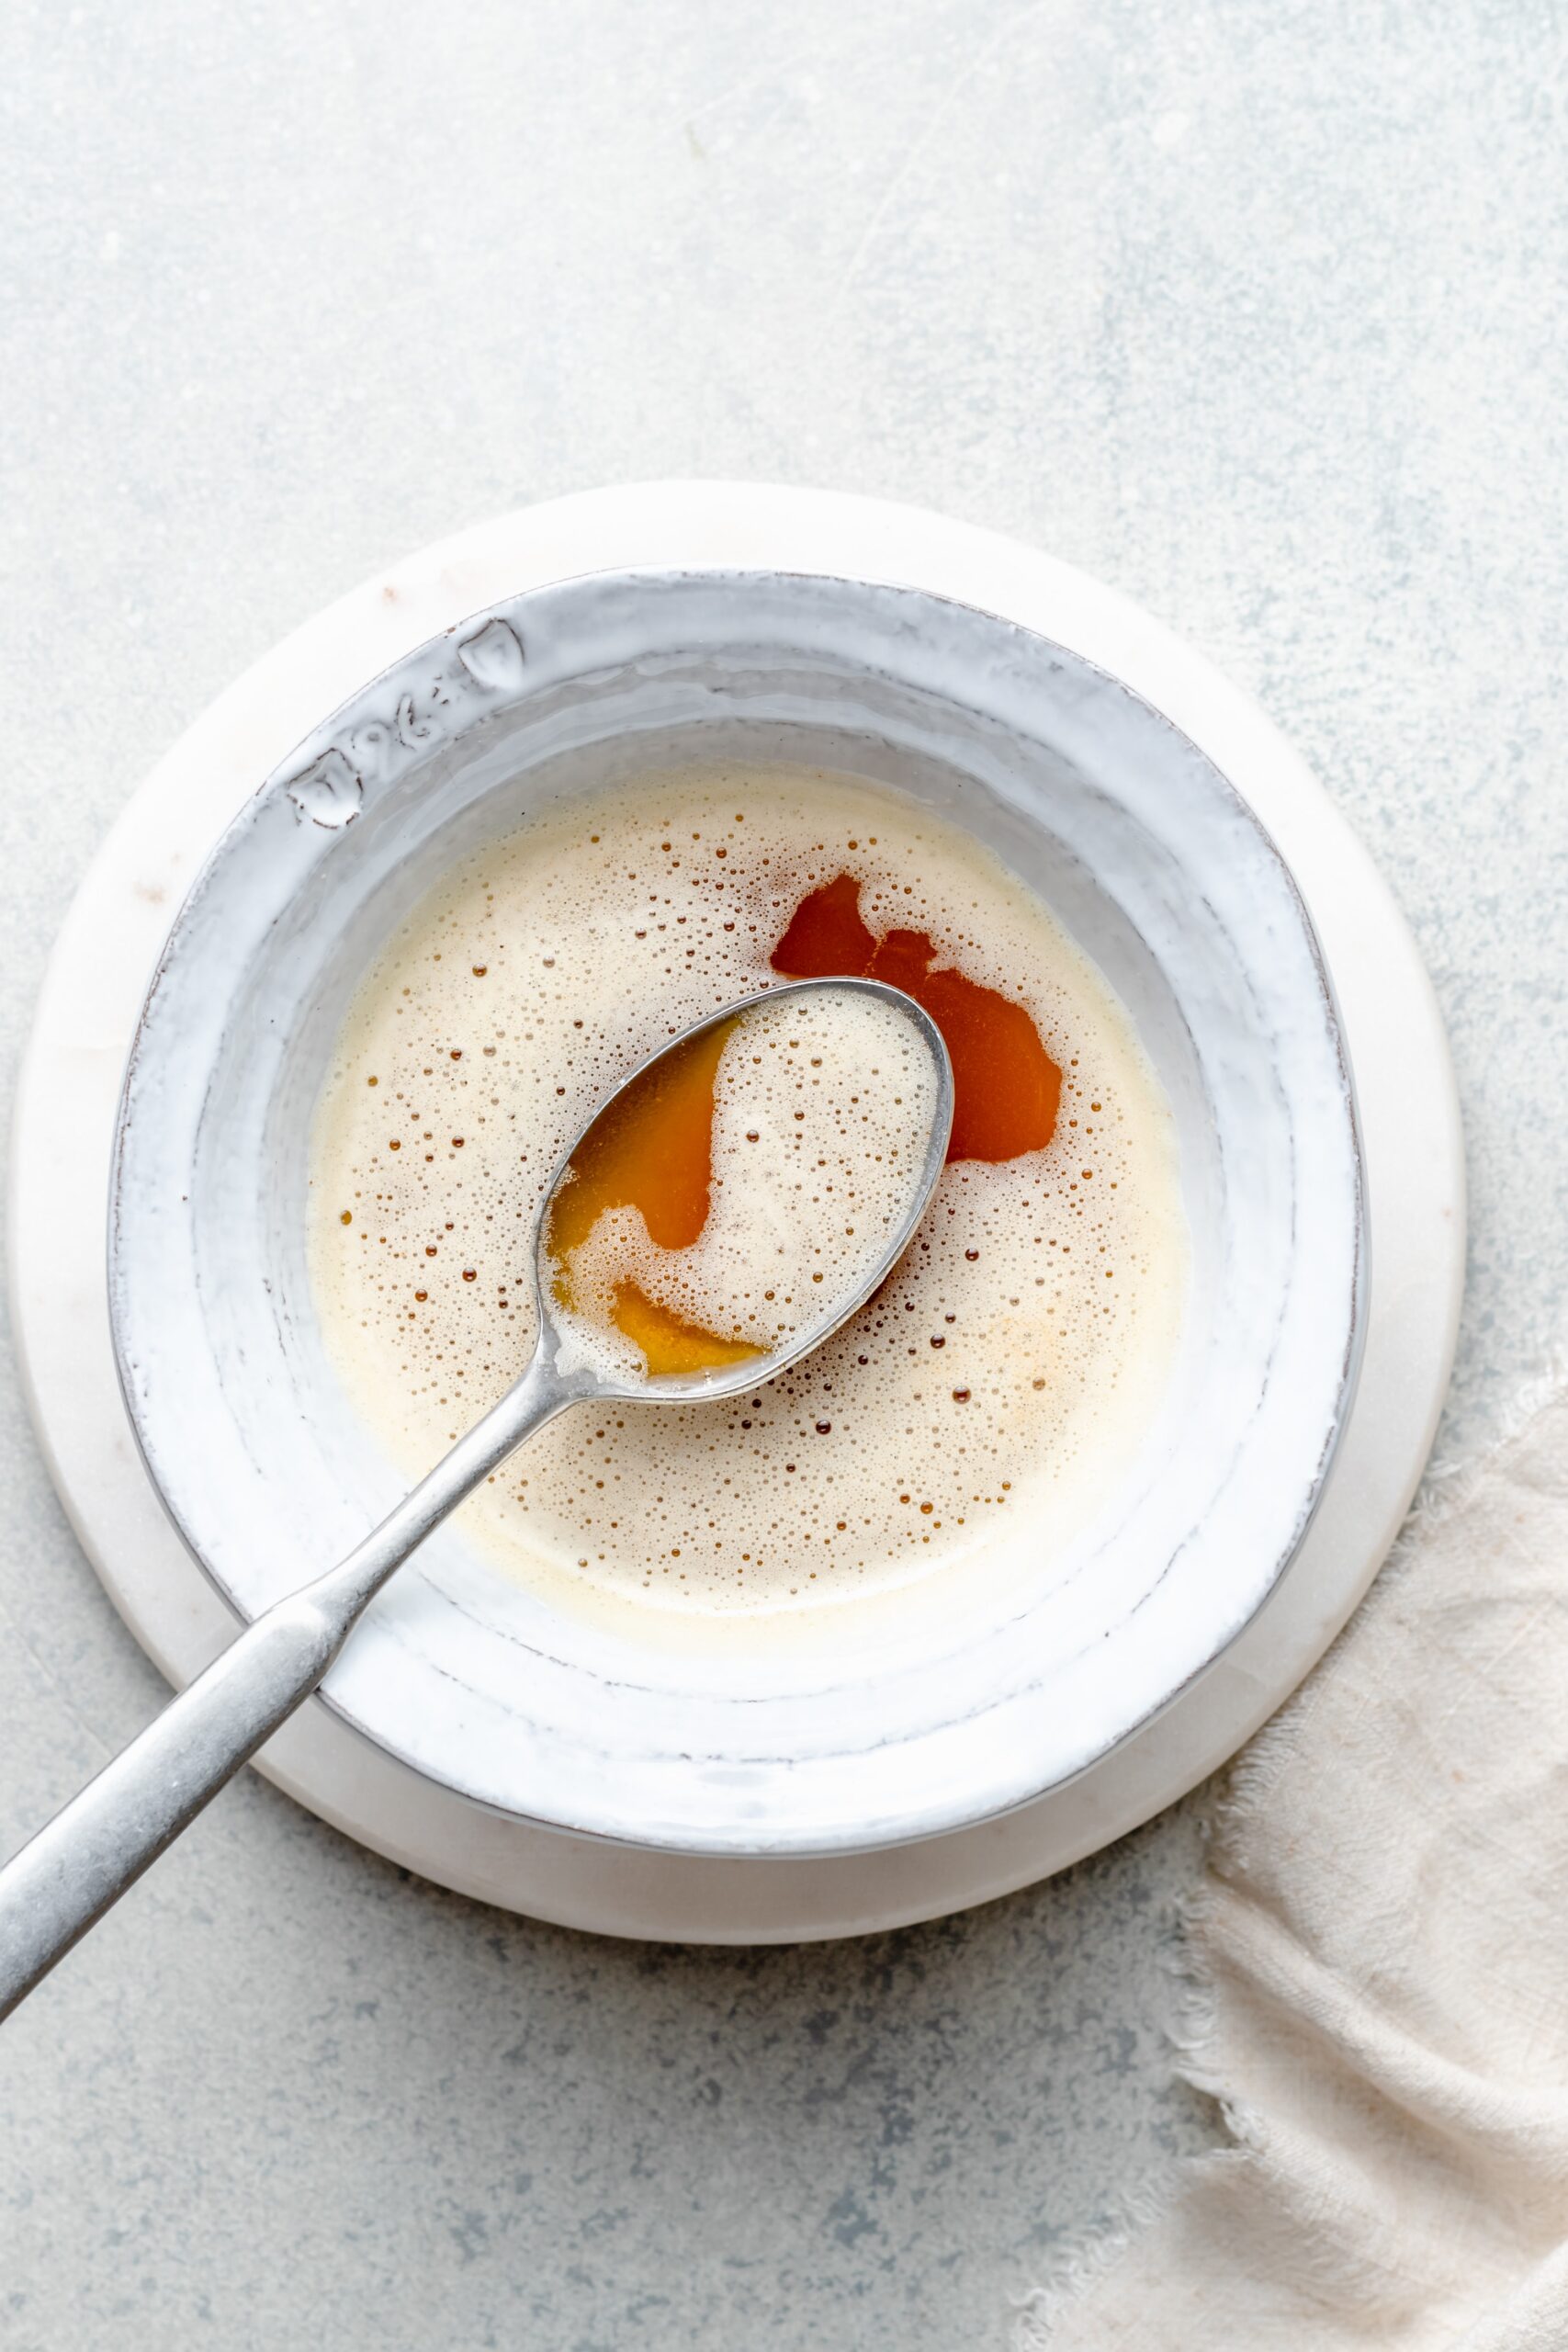
Step Two: Allow the butter to bubble and “cook” until it begins to change from a bright yellow color to a golden color. Continually stir the butter as you see the foam start to dissipate and brown bits begin to form in the bottom of the pan. Cook and stir the butter until it is a deep golden brown color and has a nutty aroma.
Step Three: Remove the butter from the heat and transfer it to a heat safe bowl to stop it from continuing to cook.
How Long Does It Take to Brown Butter?
Browning butter usually takes me around five to seven minutes but the time can vary depending on the batch. It’s important to pay attention and watch the butter as it browns to know when to remove it from the heat.
What Happens If My Butter Burns?
Brown butter isn’t one of those “set it and forget it” kind of recipes. It’s important to watch it the entire time to ensure that it does not burn. If your butter does burn, the best thing to do is to toss it and start over.

How to Use
You can easily swap brown butter in any recipe that calls for melted butter or oil. It adds a rich, toffee-like flavor to things.
My favorite way to use it is hands down in baked goods like cookies, breads, muffins, and even pastas to intensify that delicious buttery flavor.
If the recipe calls for room temperature or solid butter, let the butter cool and solidify completely before using it in the recipe.
Our Best Brown Butter Recipes
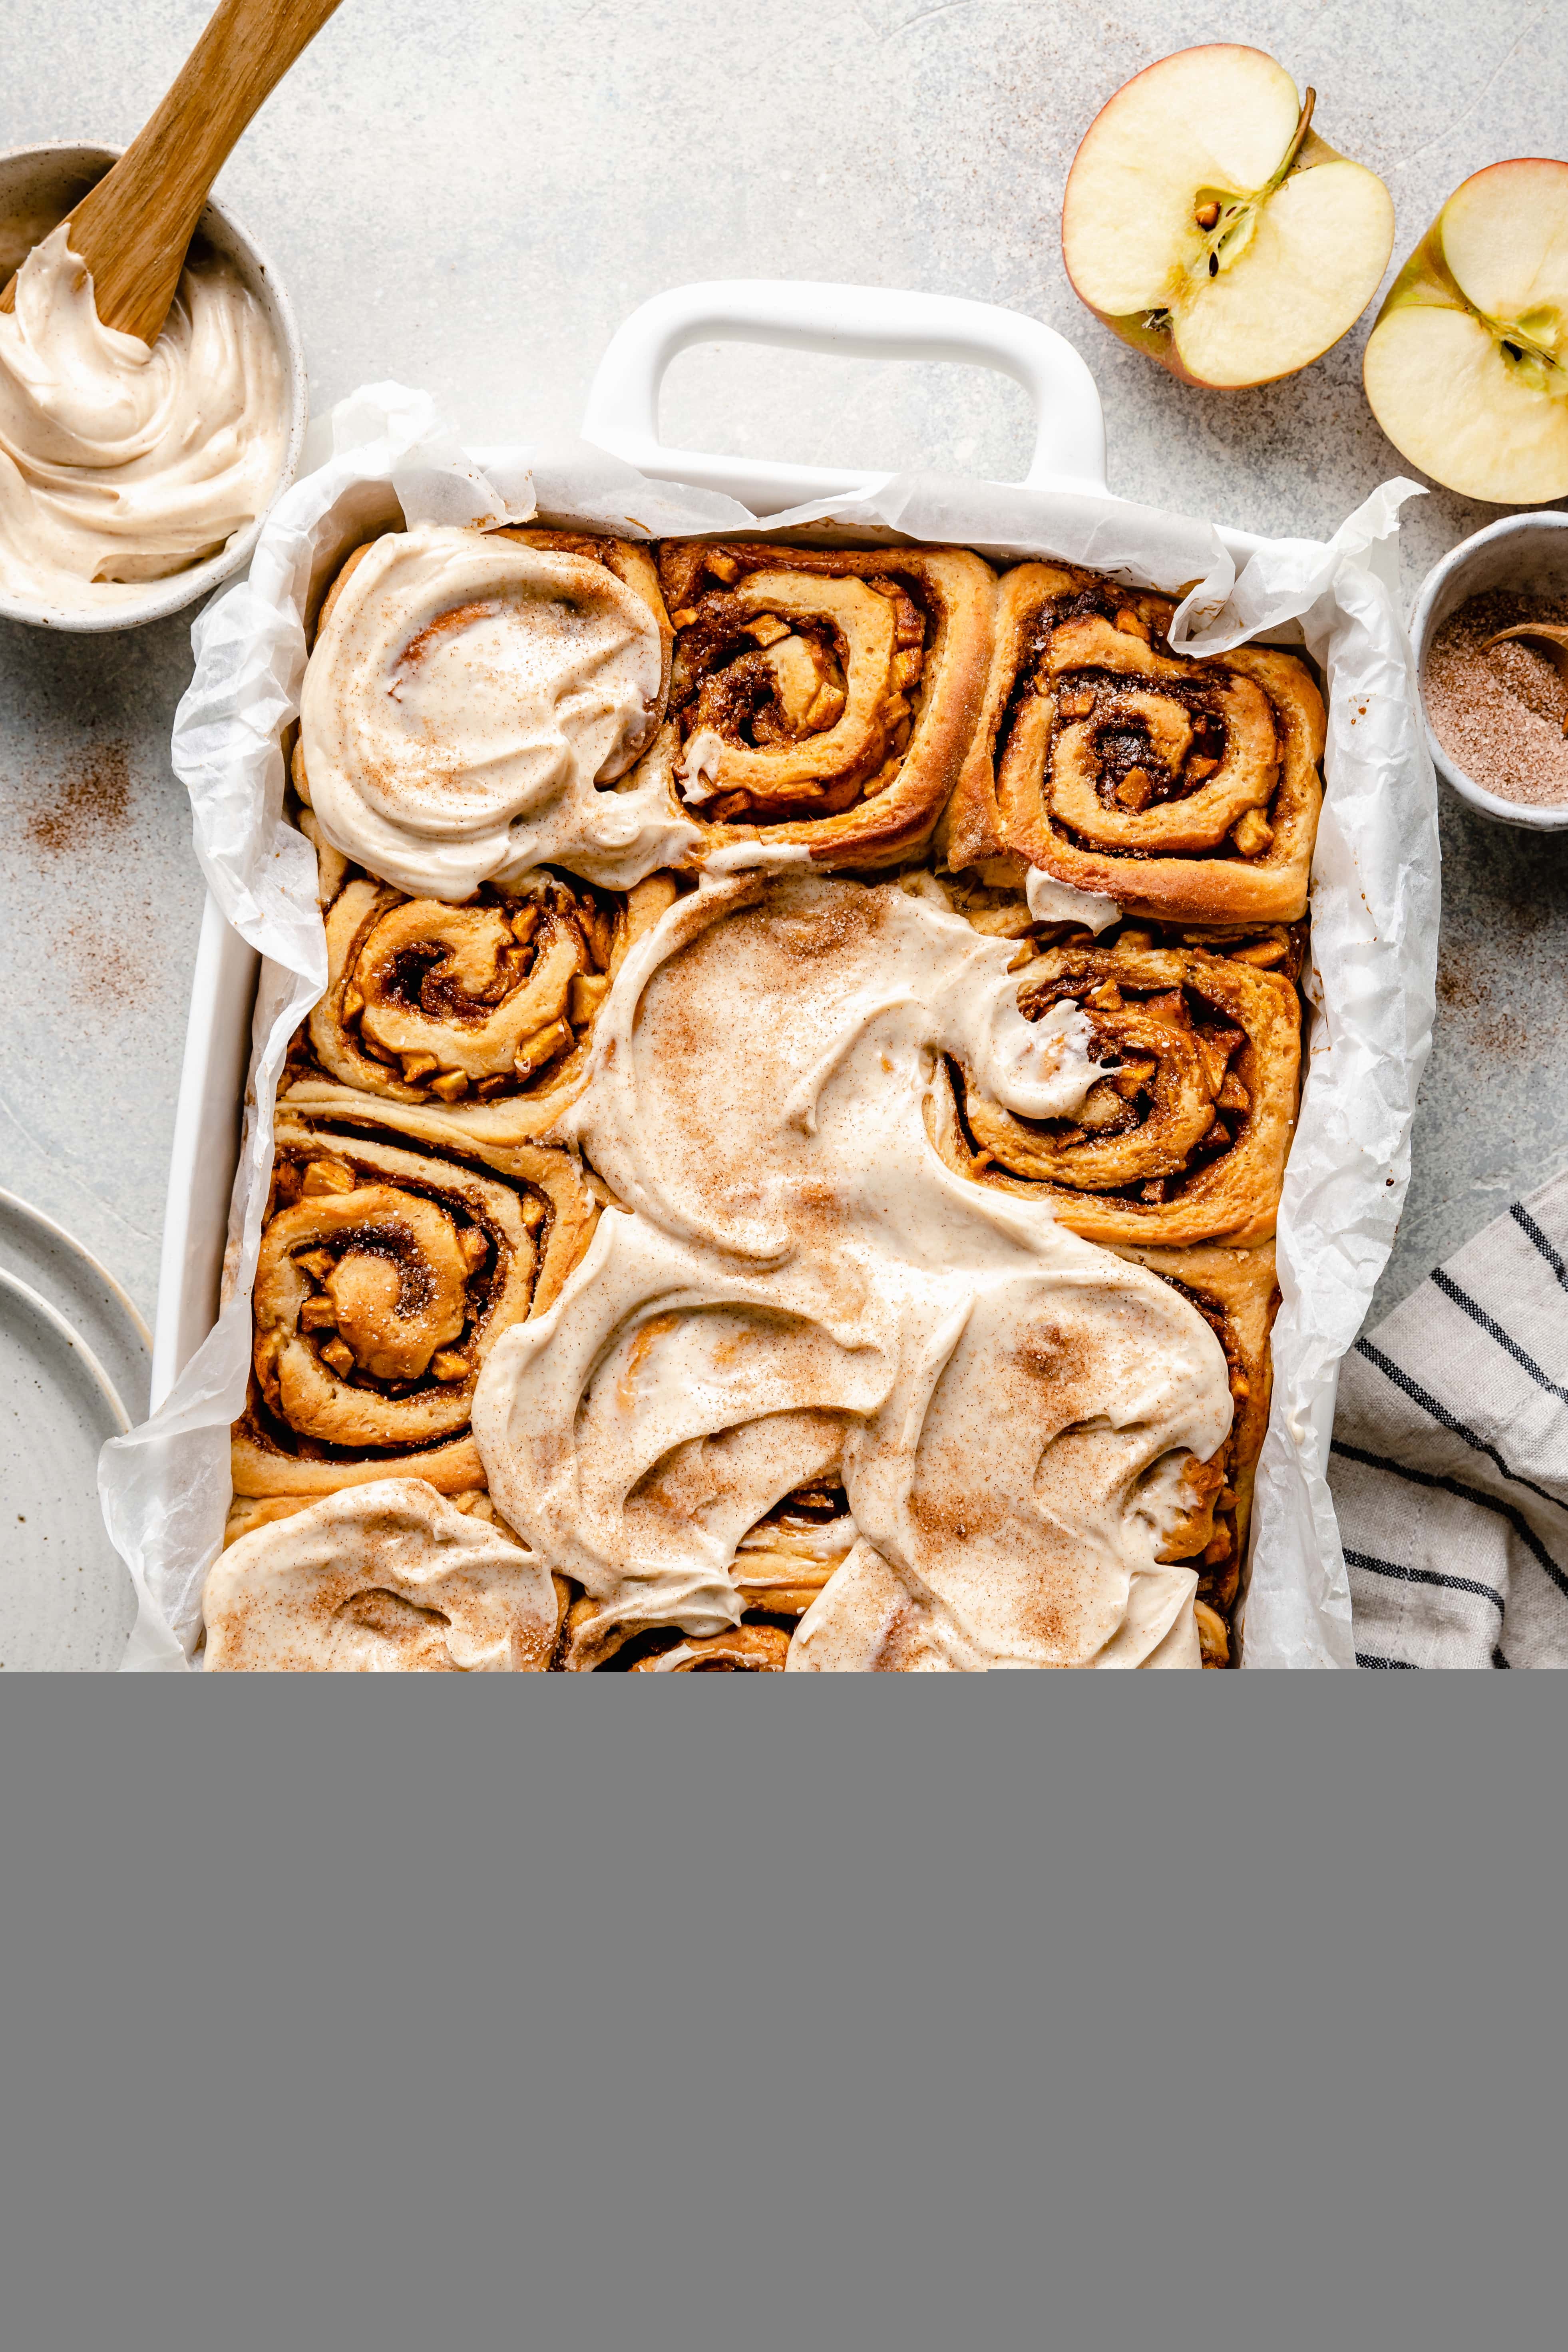
- Apple Cinnamon Rolls with Brown Butter Cream Cheese Icing
- Brown Butter Snickerdoodles
- Brown Butter Chocolate Chip Cookies
- Brown Butter Sweet Potato Pie
- Gluten Free Brown Butter Banana Bread
- Brown Butter Orange Cinnamon Coffee Cake
- Brown Butter Sweet Potato Bread with Maple Cream Cheese Frosting
- Brown Butter Honey Pumpkin Cornbread Muffins
- Brown Butter Pumpkin Bars with Cream Cheese Frosting
- Brown Butter Mashed Potatoes
- Brown Butter Mashed Sweet Potatoes
- Herbed Brown Butter Cheddar Cornbread
- Brown Butter Maple Roasted Carrots
I hope this tutorial is helpful for you! If you do give this recipe a try, I want to know!
Leave a comment with a star rating below. You can also snap a photo & tag @allthehealthythings on INSTAGRAM. Your reviews help support All the Healthy Things and make it possible for me to continue to create the recipes you know and love.
Print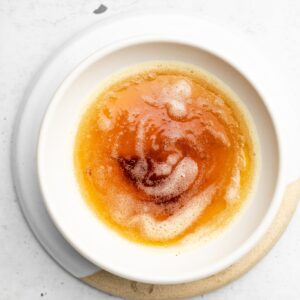
How to Brown Butter
- Prep Time: 5 minutes
- Cook Time: 8 minutes
- Total Time: 13 minutes
- Yield: 1/2 cup 1x
- Category: How To
- Method: Stovetop
- Cuisine: French
- Diet: Gluten Free
- Prep Time: 5 minutes
- Cook Time: 8 minutes
- Total Time: 13 minutes
- Yield: 1/2 cup 1x
- Category: How To
- Method: Stovetop
- Cuisine: French
- Diet: Gluten Free
Ingredients
- 1/2 cup butter, diced (1 stick)
Method
- Add the diced butter to a small skillet or pot. Heat the skillet to medium heat. The butter will start to melt as the skillet heats up.
- Allow the butter to bubble and “cook” until it begins to change from a bright yellow color to a golden brown color. Continually stir the butter as you see the foam start to dissipate and brown bits begin to form in the bottom of the pan. Cook and stir the butter until it is a golden brown color and has a nutty aroma.
- Remove the butter from the heat and transfer to a heat safe dish.
Recipe by: Ashlea Carver / All the Healthy Things | Photography by: THE MINDFUL HAPA & Eat Love Eat

