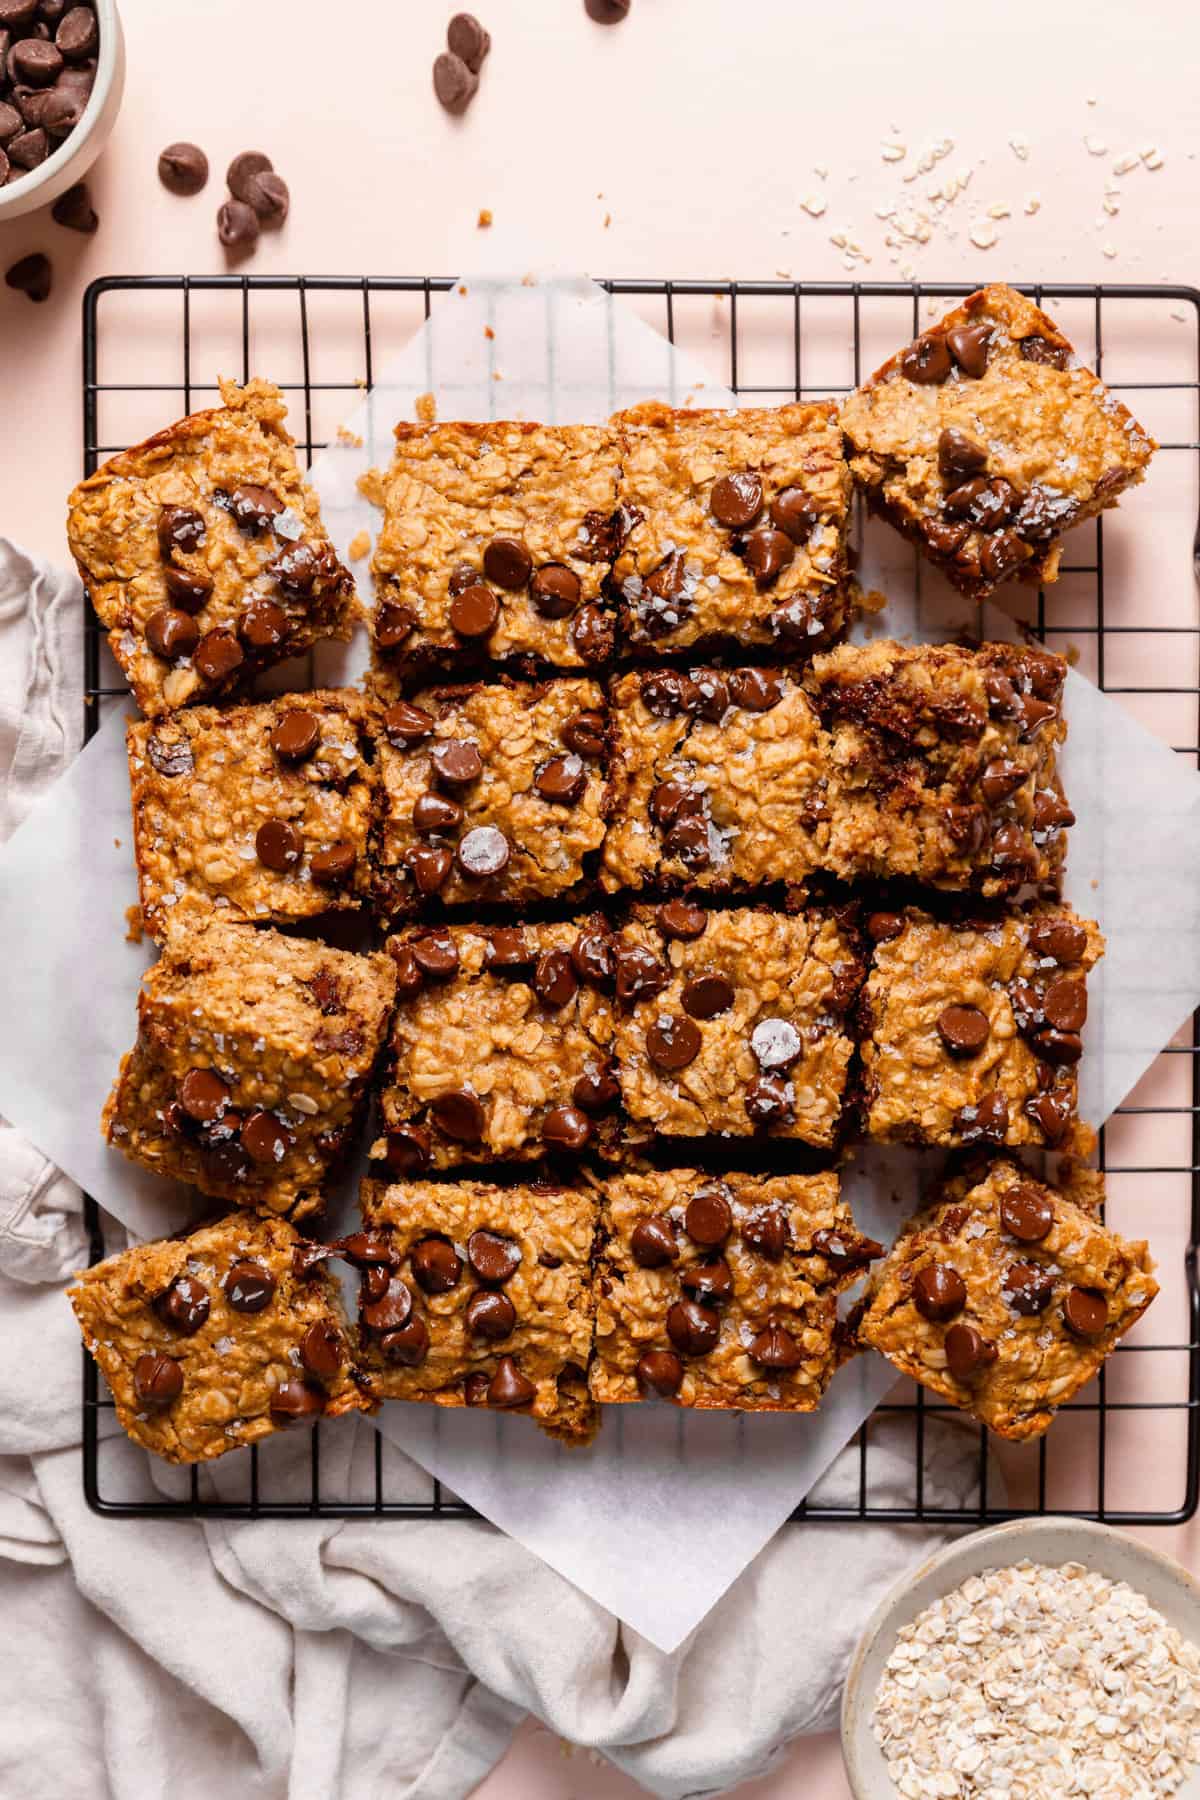
These one bowl Peanut Butter Banana Oatmeal Bars are made with fresh bananas, creamy peanut butter, hearty oats, and a good dose of melty chocolate. Not only are they delicious and easy to make, but they’re also perfect for breakfast, an afternoon snack, or even a sweet treat!

Why You’ll Love These Peanut Butter Oatmeal Bars with Banana
I love the combination of peanut butter and chocolate! I mean seriously, name a better combo, haha!
These banana oatmeal bars are my new obsession. They’re so easy to make (they come together in just one bowl!) and they’re perfect when you just want a little something sweet but also nourishing. They’re made with whole grain oats, sweetened with maple syrup and banana, and are really easy to customize. Seriously, these are just really really good. You’ll probably want to go ahead and make a double batch (they freeze so well FYI!), because I can guarantee they won’t last long!
Watch How to Make These Peanut Butter Banana Oatmeal Bars
More Reader Favorite Peanut Butter Recipes
- Peanut Butter Banana Cottage Cheese Ice Cream
- Peanut Butter Banana Overnight Oats
- Peanut Butter Banana Smoothie
- Peanut Butter Energy Balls
- Peanut Butter Banana Bread
- Peanut Butter Banana Baked Oatmeal Cups
- Peanut Butter Overnight Oats
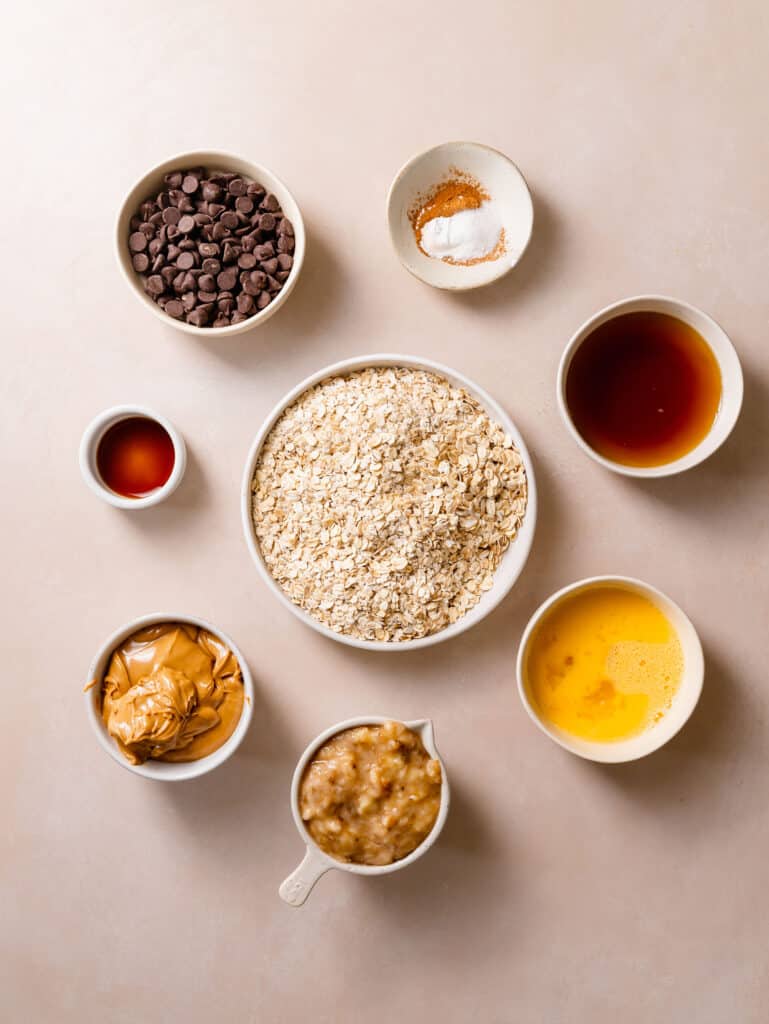
Ingredients
Banana: pick ripe bananas with plenty of brown spots for the best flavor.
Peanut Butter: the combination of peanut butter, chocolate, and banana is a match made in heaven! Be sure to use a natural store-bought or homemade peanut butter without any added sweetener or oils.
Eggs: this helps hold the bars together while adding protein and healthy fats. I haven’t tested this recipe with egg-free alternatives but would love to hear how it goes if you do!
Maple Syrup: this adds just the right amount of sweetness.
Vanilla: everything tastes better with vanilla! A small amount helps enhance the rest of the ingredients and adds a subtle vanilla flavor.
Cinnamon: this warm spice pairs really well with the bananas and oats.
Oats: you can’t have oatmeal bars without oats! Old-fashioned oats work best for this recipe. Use certified gluten free oats if you need to ensure that these bars are completely gluten free.
Chocolate Chips: feel free to use regular-sized or mini chocolate chips.
Ways to Customize
Oatmeal bars are a great recipe to experiment with different flavor combinations and mix-ins! Here are some of my favorite ways to customize my peanut butter banana oatmeal bars to make them even more hearty and nutritious:
- Add chopped nuts – Amp up the nutty flavor and add extra texture to these bars by folding in chopped nuts like peanuts, almonds, pecans, or walnuts.
- Leave out the chocolate – Not a fan of chocolate and banana? Feel free to leave the chocolate chips out of these bars.
- Add dried fruit – skipping the chocolate? You could try adding in some dried fruit instead!
Helpful Kitchen Tools
How to Make Peanut Butter Oatmeal Bars
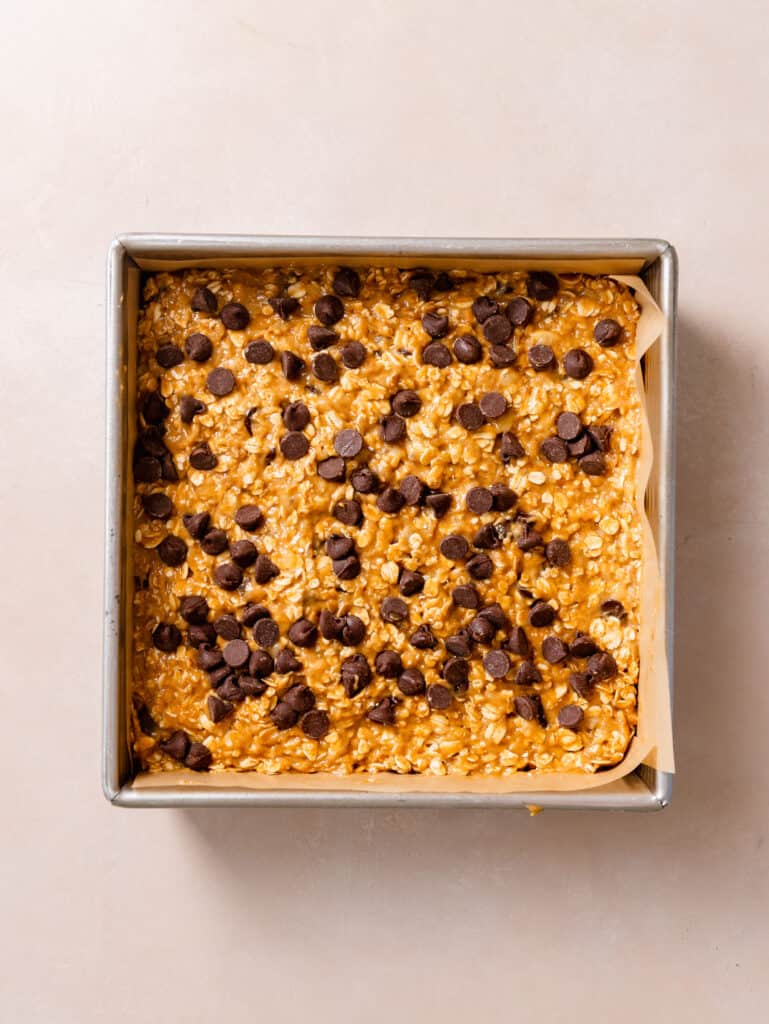
Step One: Preheat your oven to 350 degrees, and line an 8×8 baking dish with parchment paper.
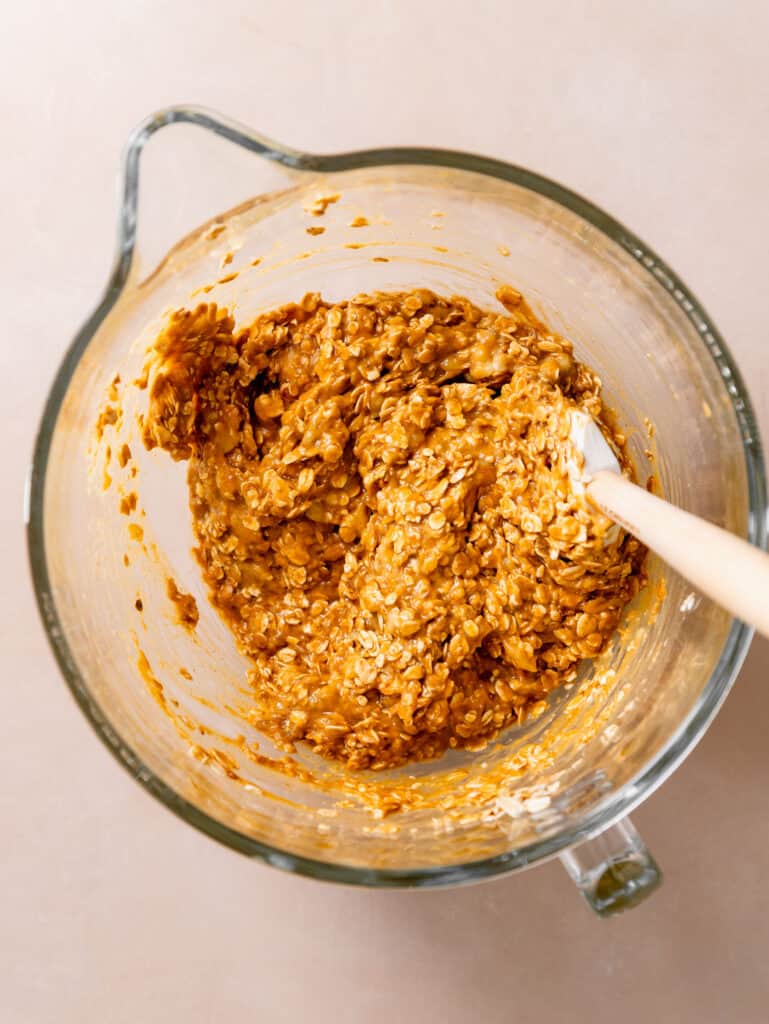
Step Two: Stir the wet ingredients including the banana, peanut butter, eggs, maple syrup, and vanilla in a large bowl until combined.
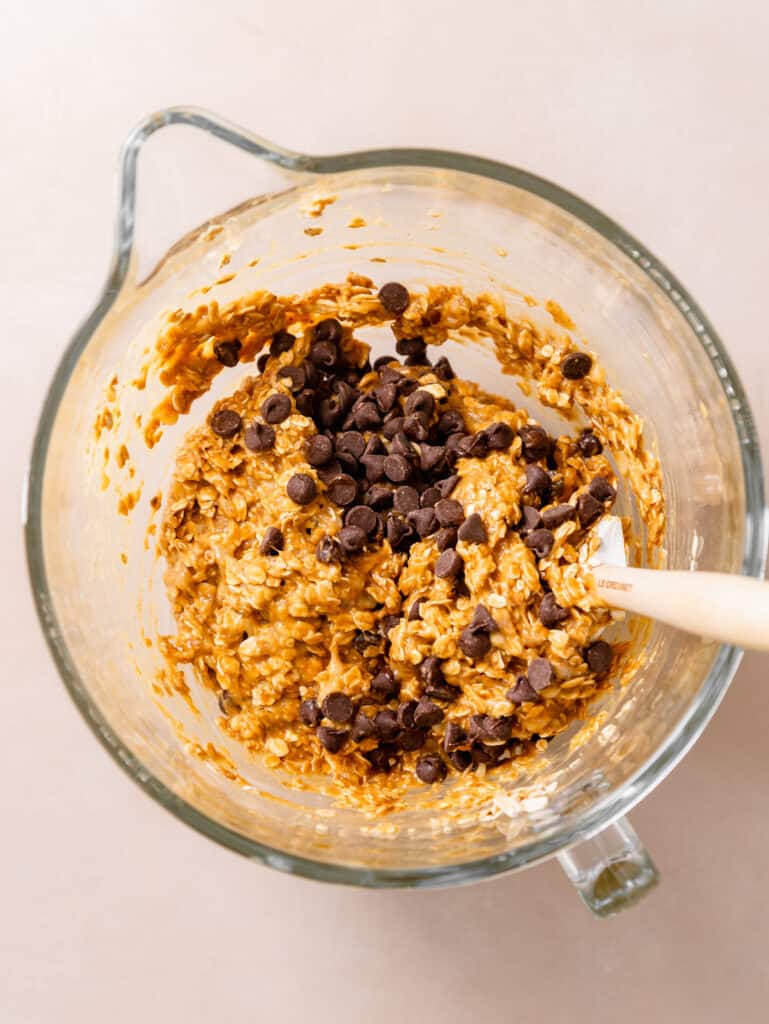
Step Three: Next, stir in the cinnamon, baking powder, salt, and oats until well combined. Then, fold in the chocolate chips distributing them evenly.
Step Four: Transfer the mixture to the prepared baking dish. Sprinkle more chocolate chips on top, and use your fingers to gently press them down into the top of the batter.
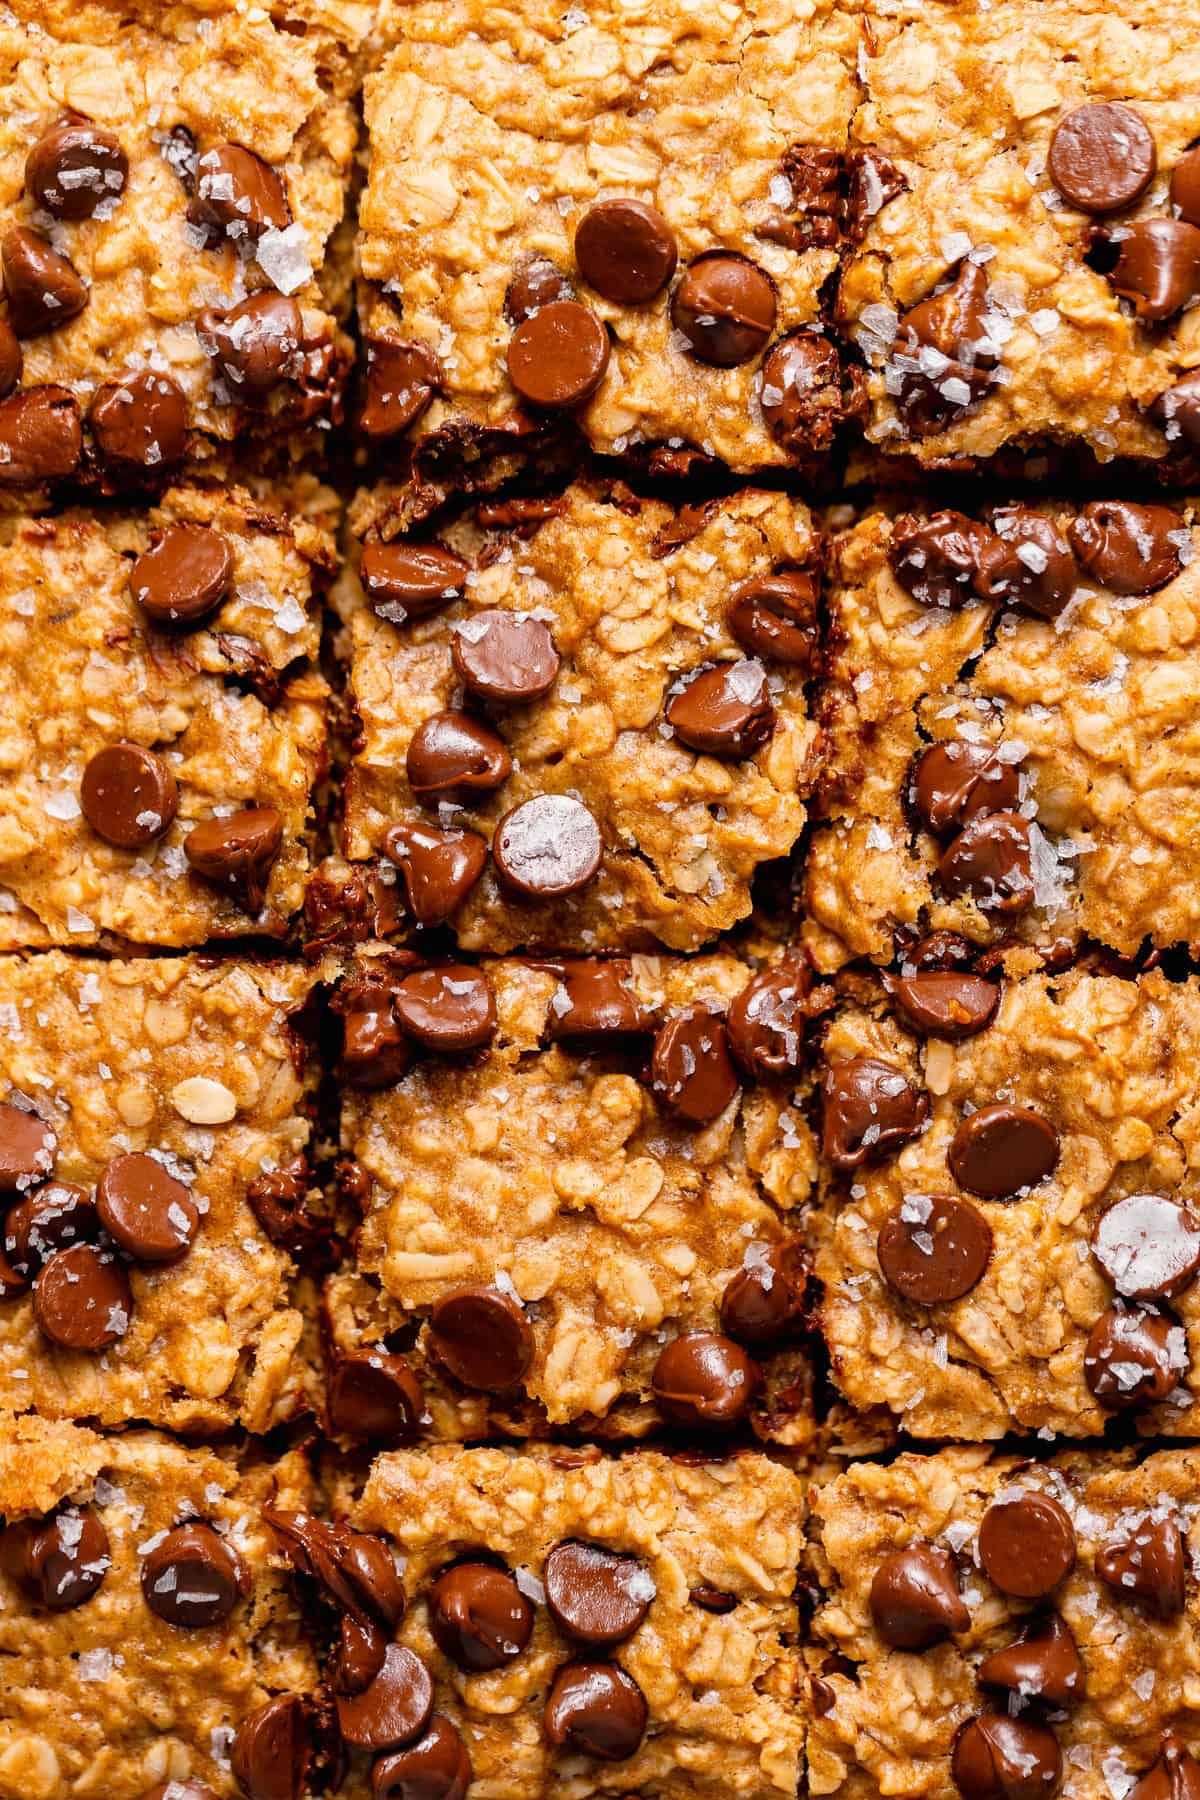
Step Five: Bake your banana oatmeal bars for 25 to 30 minutes or until the batter is set and a skewer or toothpick comes out clean when inserted into the center. Top the bars with a bit of flaky sea salt as soon as they come out of the oven.
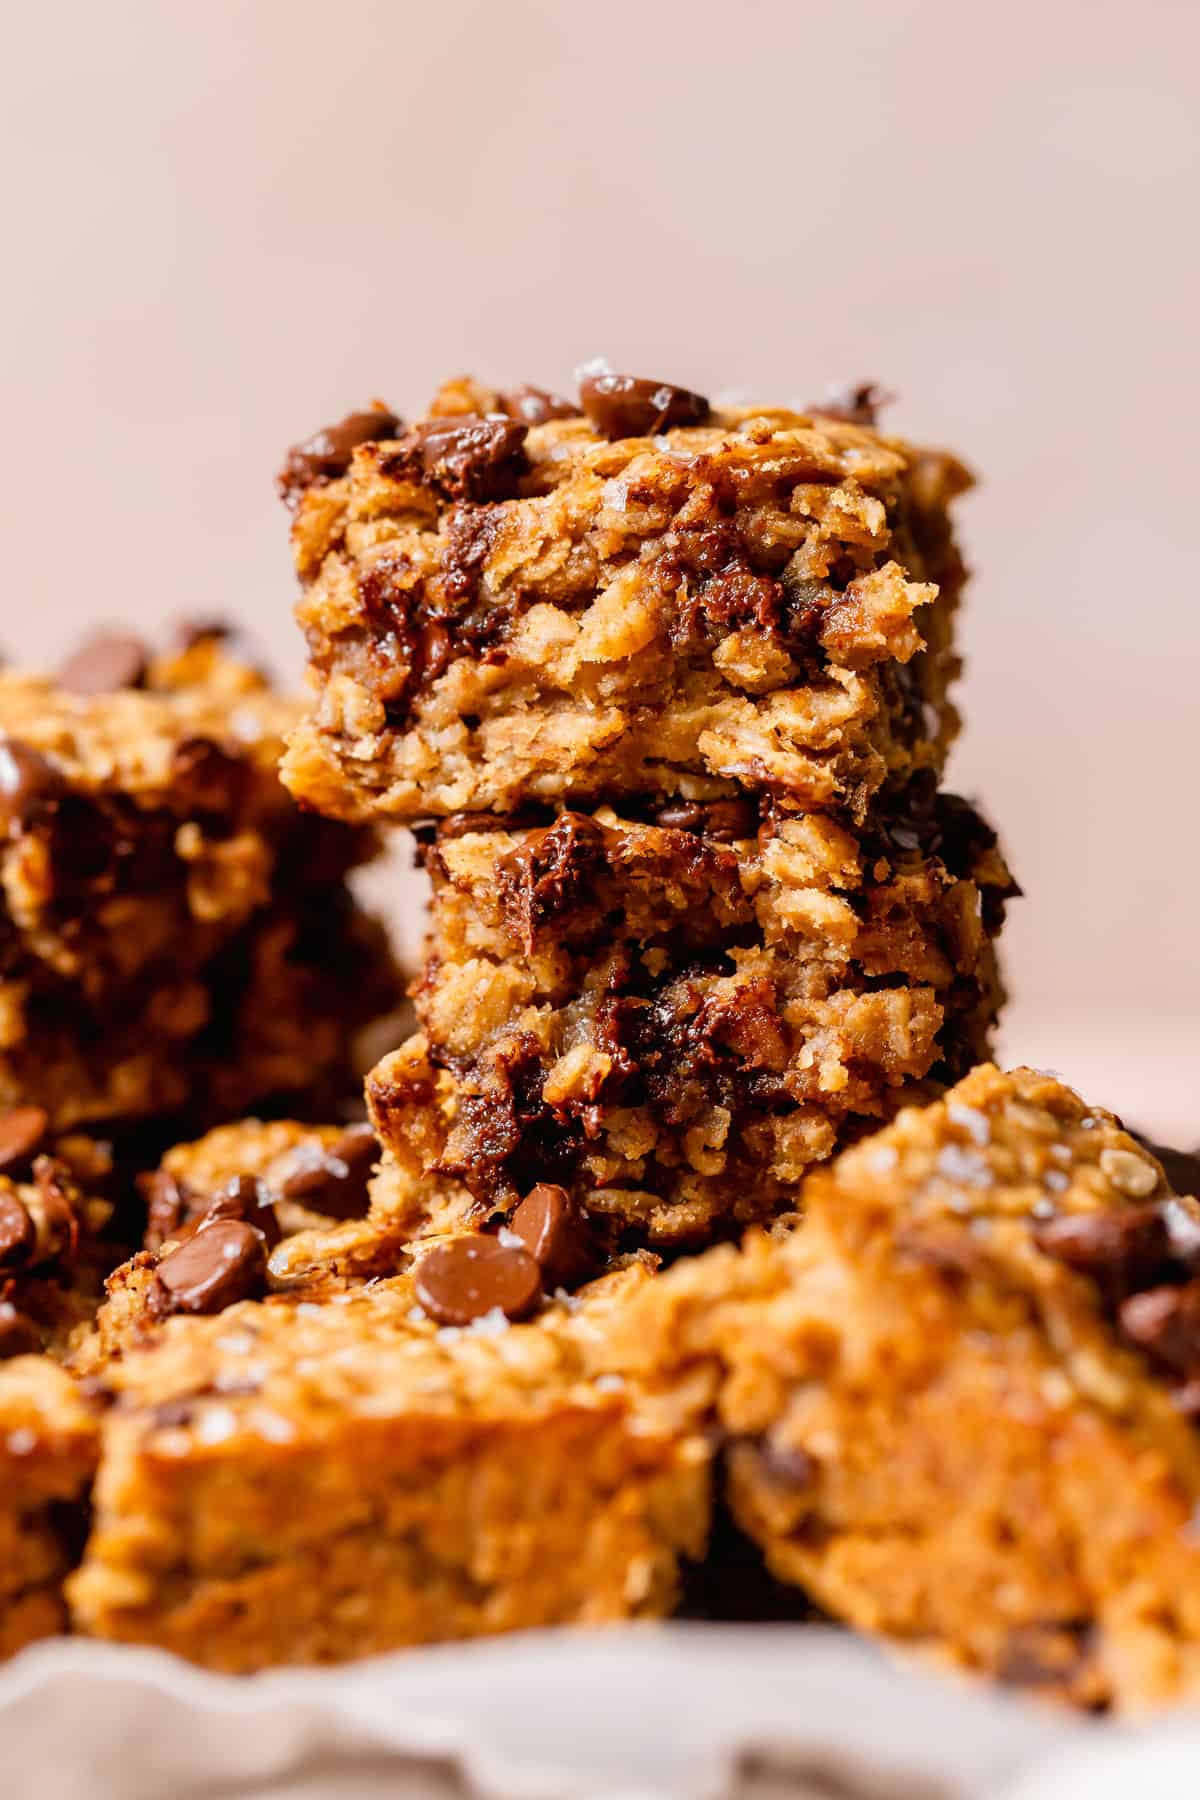
Step Six: Set the bars aside to cool completely. Then, slice them into 9 squares, and enjoy!
My Favorite Tips and Tricks
- Use a fork or potato masher. To get your bananas mashed quickly, use a fork or potato masher to create a smooth banana puree. This prevents tons clumps of banana in the batter and helps keep the bars moist!
- Use parchment paper. Grease the pan a bit before adding the parchment paper to help the paper stick to the bottom of the pan. This prevents it from slipping around while you are pressing down the batter.
- Let the bars come to a complete cool before slicing. It will be super tempting to cut these bars before they come to a complete cool. However, to get the best results you will need to let them come to a complete cool before slicing. To help speed up the process you can stick the bars in the fridge while they cool.
- Use a sharp knife to cut the bars. A sharp knife will help you make clean cuts and get through the thick bottom smoothly.
Serving Suggestions
These banana oatmeal bars are delicious on their own! However, if you want to make them even more decadent you can add a few toppings. Some of my favorite options include:
- Whipped Cream
- Vanilla Ice Cream
- Chocolate Syrup
- Peanut Butter Drizzle
How to Store
Store leftover bars in an airtight container in the fridge for up to 5 to 7 days.
Freeze your bars for up to 3 months. To do so, let the bars cool completely, slice, and place them on a sheet pan in the freezer. Once the bars are solid, transfer them to a freezer-safe storage bag. When you’re ready to eat, thaw individual bars in the refrigerator before serving.

Frequently Asked Questions
Can I use other kinds of oats?
I don’t recommend it! Quick oats are likely to become mushy, and steel-cut oats won’t soften and become thick like old-fashioned oats.
How do I know when my peanut butter banana oatmeal bars are done?
You’ll know your bars are done when the batter looks set and no longer wet and a skewer or toothpick comes out clean when inserted into the center.
Can I make these bars into cookies?
I haven’t tested it and can’t guarantee the results. I recommend making these Oatmeal Chocolate Chip Breakfast Cookies or my Healthy Oatmeal Raisin Cookies instead!
More Delicious Bar Recipes
- Pumpkin Oatmeal Bars
- Gluten Free S’mores Bars
- Healthy Strawberry Oatmeal Bars
- Healthy Raspberry Oatmeal Bars
- Blueberry Pie Bars
- Cranberry Crumble Bars
- Healthy Apple Pie Crumble Bars
- Healthy Pecan Pie Bars
I hope you give these Peanut Butter Banana Oatmeal Bars a try! They’re sweet, nutritious, and easy to make, and delicious! If you do give this recipe a try, let me know! Leave a comment with a star rating below.
You can also snap a photo & tag @allthehealthythings on INSTAGRAM. Your reviews and ratings help support All the Healthy Things and make it possible for me to continue to create the recipes you trust and love.
Print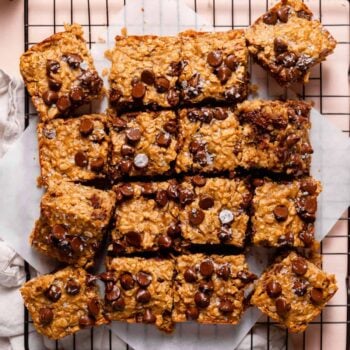
One Bowl Peanut Butter Banana Oatmeal Bars
- Prep Time: 15 minutes
- Cook Time: 30 minutes
- Total Time: 45 minutes
- Yield: 16 1x
- Category: Snacks
- Method: Baking
- Cuisine: American
- Diet: Gluten Free
Description
These one bowl Peanut Banana Butter Oatmeal Bars are made with fresh bananas, creamy peanut butter, hearty oats, and a good dose of melty chocolate.
Ingredients
- 1 cup ripe mashed banana
- 1 cup creamy all-natural peanut butter
- 2 large eggs, whisked
- 1/2 cup maple syrup
- 2 teaspoons vanilla
- 1 1/2 teaspoons cinnamon
- 1 teaspoon baking powder
- 1/2 teaspoon salt
- 2 1/2 cups old-fashioned oats
- 3/4 cup chocolate chips (plus 1/4 cup for top)
- flaky sea salt, for topping
Instructions
- Preheat oven to 350 degrees. Line an 8×8 baking dish with parchment paper.
- Stir together the banana, peanut butter, eggs, maple syrup, and vanilla until well combined.
- Next, stir in the cinnamon, baking powder, salt, and oats until well combined. Then, fold in the chocolate chips.
- Transfer the batter to the parchment lined baking dish. Sprinkle the remaining 1/4 cup of chocolate chips on top and then use your fingers to lightly press them into the top of the batter.
- Bake the bars at 350 degrees for 25-30 minutes or until set and a skewer comes out clean when inserted into the middle. Top the bars with a bit of flaky sea salt when they come out of the oven.
- Let the bars completely before slicing into 9 squares. Enjoy!
Photography by: Cambrea Gordon

Do you think I could add a scoop of unflavored protein powder to the batter?
Hi Heidi! I think that could work!
Followed exactly as written and loved every bite! Not sure I’ll be using my bananas for banana bread any longer with this recipe. Thank you, it’s delicious.
Love making these with a small variation I wanted to share: I only had 1.5 cups rolled oats and used that plus 1 cup quick oats. Made it with 2.5 cups rolled oats and it was a bit drier than the mixed version. I make the pumpkin oat bars the same way(1.5 cups rolled, 1 cup quick oats) it tastes so good. Thanks for this amazing recipe!!
These come together so easily in 1 bowl and are delicious! My extremely picky son LOVES these, and they freeze well and pack well in his lunches which is so convenient!
I saw this recipe on IG stories and thought “I bet I have all the ingredients”. I had 2 bananas seriously wilted in the refrigerator and I really needed to use them before the trash was the only option. These bars are delicious. My twins both ate a whole piece which is rare- normally when I make something they won’t even try it! Definitely saving this recipe. Thank you!
This recipe was perfect for my ripe bananas. I had everything on hand 😀
Wow! I’m not the biggest oatmeal fan, but these bars are amazing. Super easy to make. I had to bake mine a little longer, as my electric oven cooks unevenly. Very moist and flavorful. They would be great for dessert with ice cream or frozen yogurt, or for breakfast with yogurt, or a mid-morning snack with coffee. You won’t be sorry you made these!
I love making this recipe when I have brown bananas and don’t want to make banana bread. It’s so easy to make in one bowl and change up the add-ins with whatever I have!
These turned out great!! Love that it’s an easy recipe with options for the add-ins! I made some with chocolate chips, and some with chopped walnuts – both were very yummy!
Can I make this with almond butter instead of peanut butter? My sister can’t have peanuts.
Hi Grace! yes!
Making them now…they are in the oven and smell delicious. I’m curious can you freeze the bars?
Hi Jen! Yes! freezer instructions are in the blog post. Hope that helps!
These are amazing! I love the protein and fiber content to balance the sugar, it’s perfect. These are super tasty, and really easy to put together. Thank you!
My family loved these. Easy to follow recipe. Made a double batch and froze half.
These are delicious!! Sadly l forgot to put them in the fridge after cooling and left them on the counter overnight. Will they still be ok to eat?
Hi Laura! one night out should be fine! I’d just store them in the fridge after that.
Ashlea, these were amazing!! Loved how simple the ingredients were and easy to make. Everything on the ingredient list, we already had it on hand.
Yay! So, so glad you loved them! and thanks for taking the time to leave a review!
My kids loved making these with me and they turned out delicious!!!!! 😋 Love having this in our snack rotation now!
these are AMAZING! we’ve made them every week for the past two months! great to have on hand as a hearty, healthy snack! thank you for this quick and delish recipe! <3