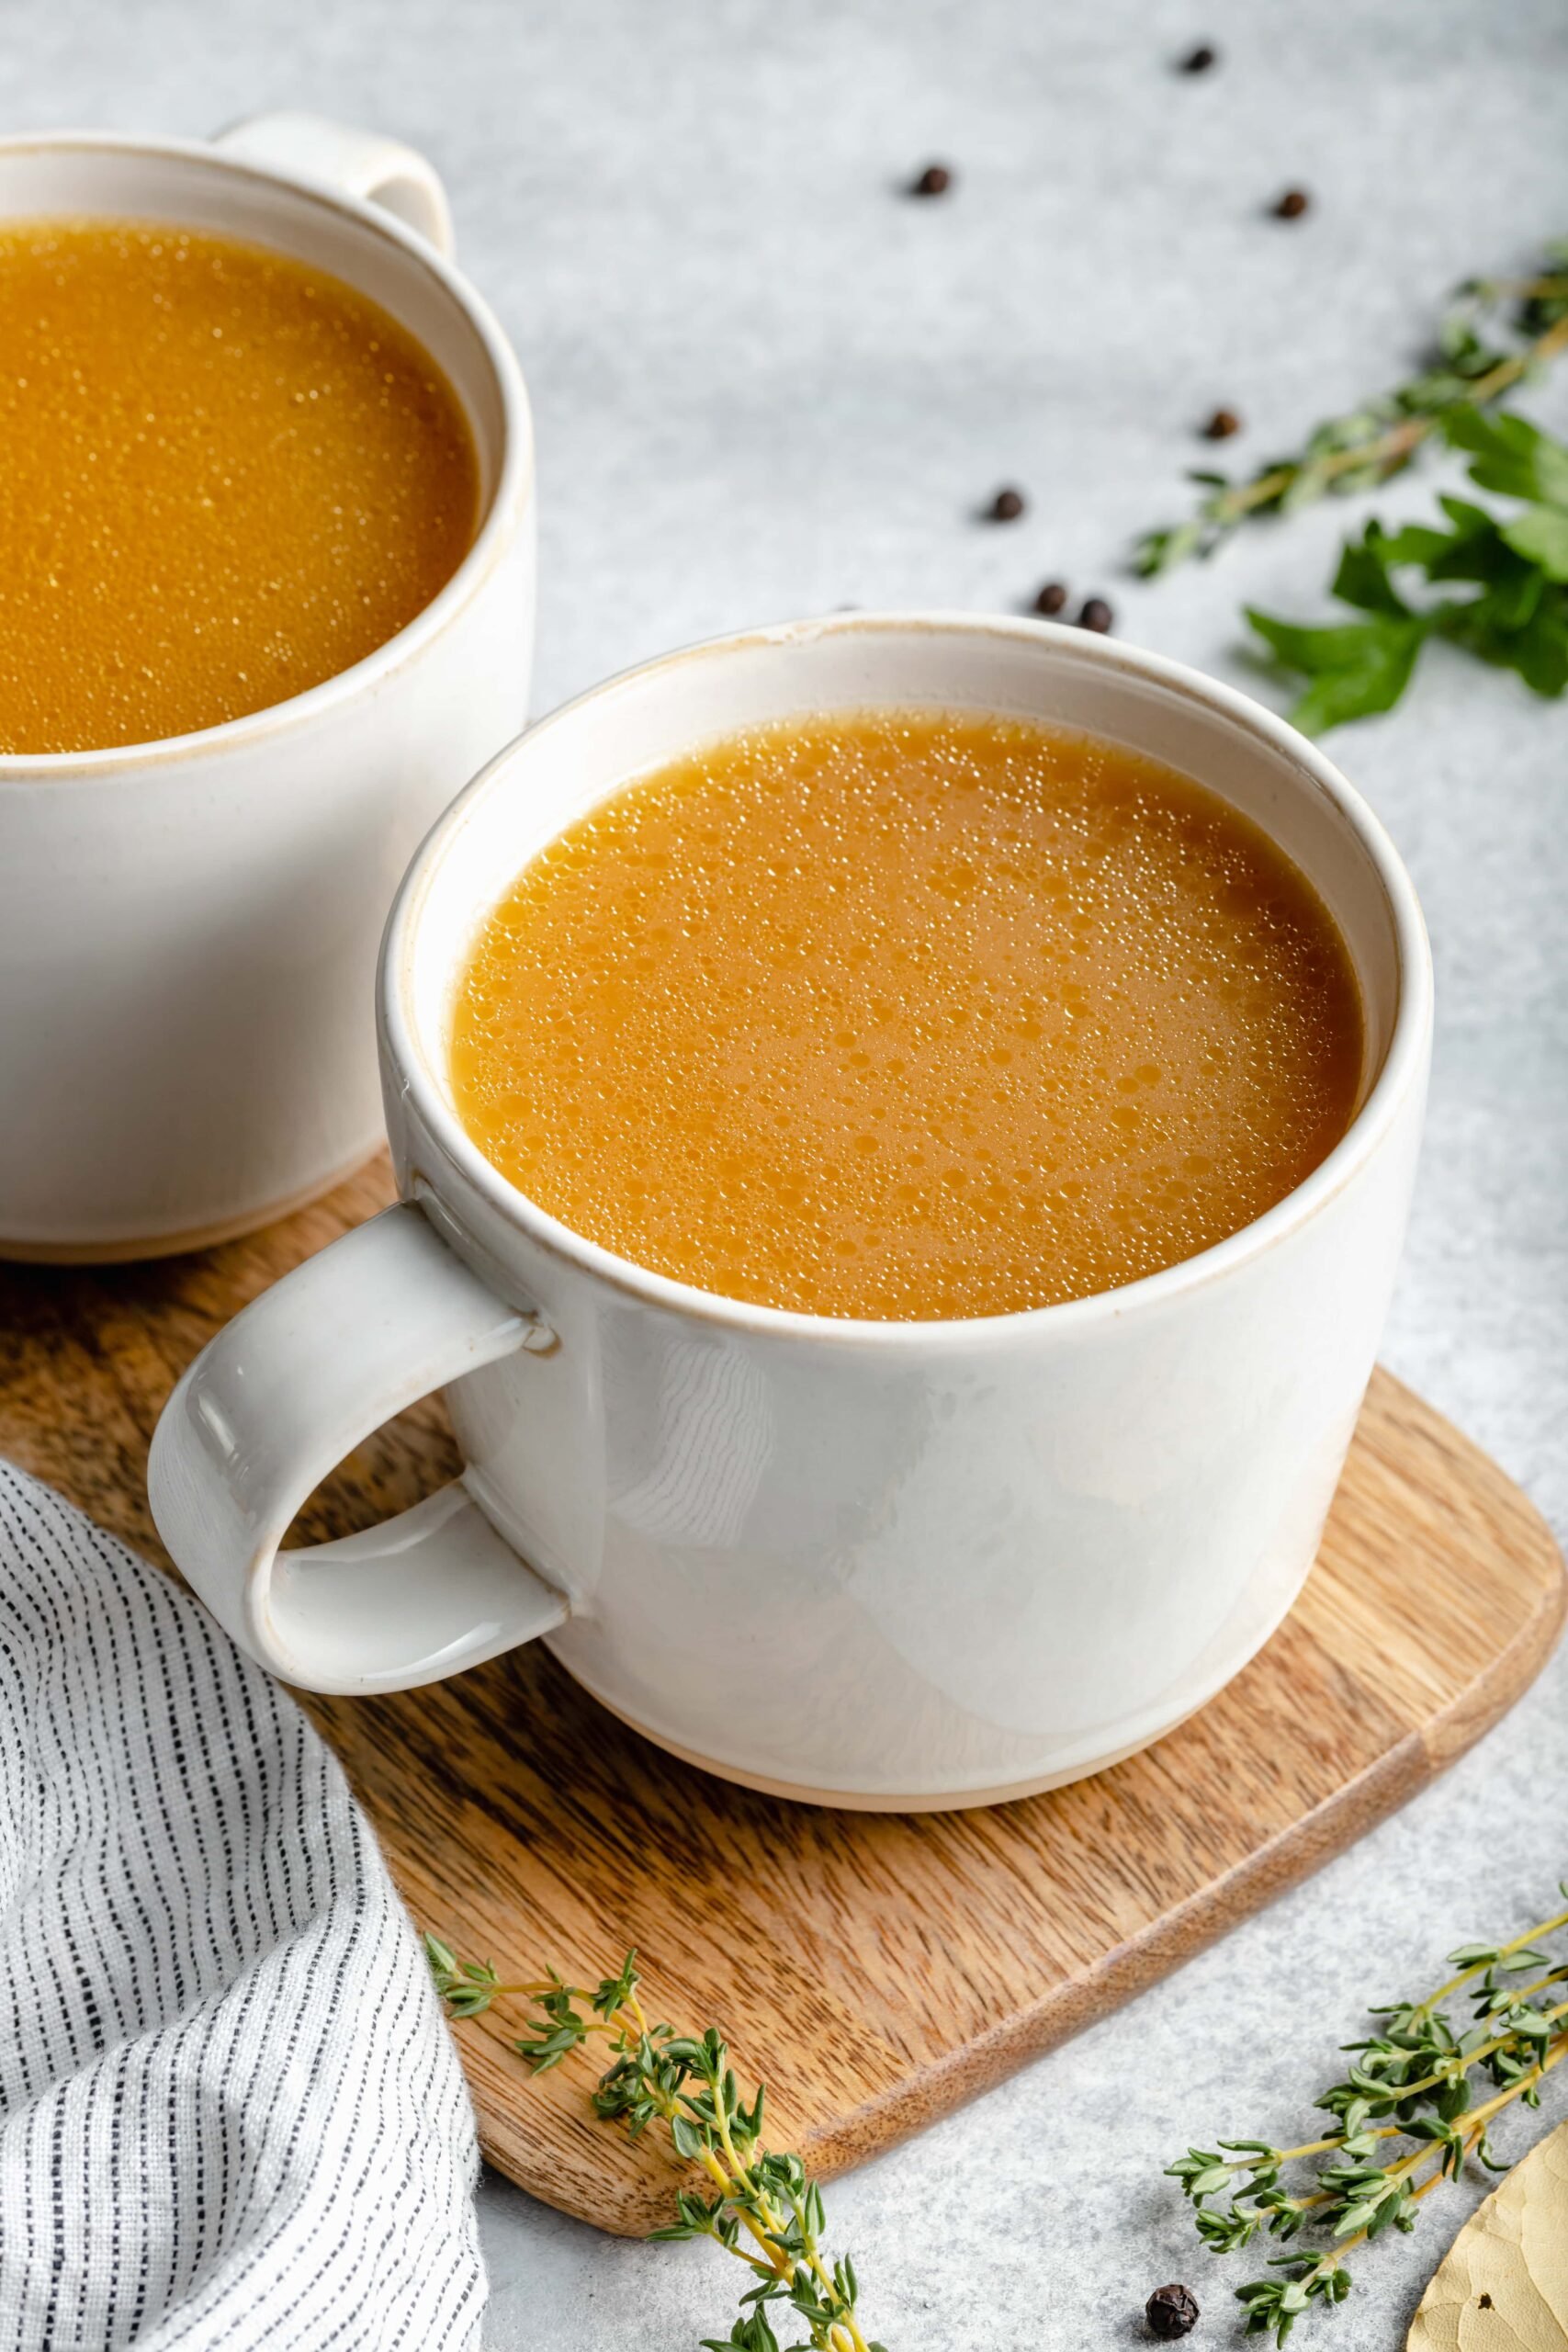
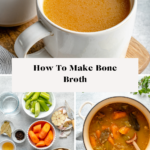
Homemade Bone Broth is incredibly easy to make and a versatile fridge and freezer staple. Once you know how to make your own broth from scratch you’ll never want to buy the pre-made stuff again!

I am so excited to bring you another post in our All the Healthy Things “Just the Basics” series. These posts are focused on helping you master basics in the kitchen and, hopefully, inspiring you with a few new ideas along the way.
If you are new to cooking, or just need a refresher on the basics, these posts are designed to help you feel more confident in the kitchen. Once you have a handle on a few basic concepts and techniques, you can easily build upon them to create new and exciting recipes dishes without a second thought.
If you have ever wondered how some people just seem to know how to cook without a recipe or can quickly throw together a meal in a moment’s notice, it’s likely because they have a good grasp of the basics. I want that for you! It’s my hope that every just the basics post helps you feel more comfortable so that you can enjoy your time spent in the kitchen even more!
If you haven’t already be sure to check out the other how-to guides in the series.
Here are a few of our most popular posts:
- How to Bake Potatoes
- How to Make The Best Whole Roasted Chicken
- How to Make Homemade Gravy
- How to Bake Sweet Sweet Potatoes
- How to Make Oat Flour
- How to Brown Butter
What is Bone Broth?
Bone broth, or stock, is made from simmering roasted bones and vegetables in water over a long period of time to create a nutrient dense broth. This broth can be stored, frozen, and used to make flavorful soups, stews, and to replace water in everyday cooking.
Watch How to Make This Recipe
If you have never made bone broth from scratch, you make thing that it’s more complicated than it actually is. Thankfully, making your own homemade bone broth is incredibly easy, inexpensive, and a great way to repurpose the kitchen scraps that are usually thrown away.
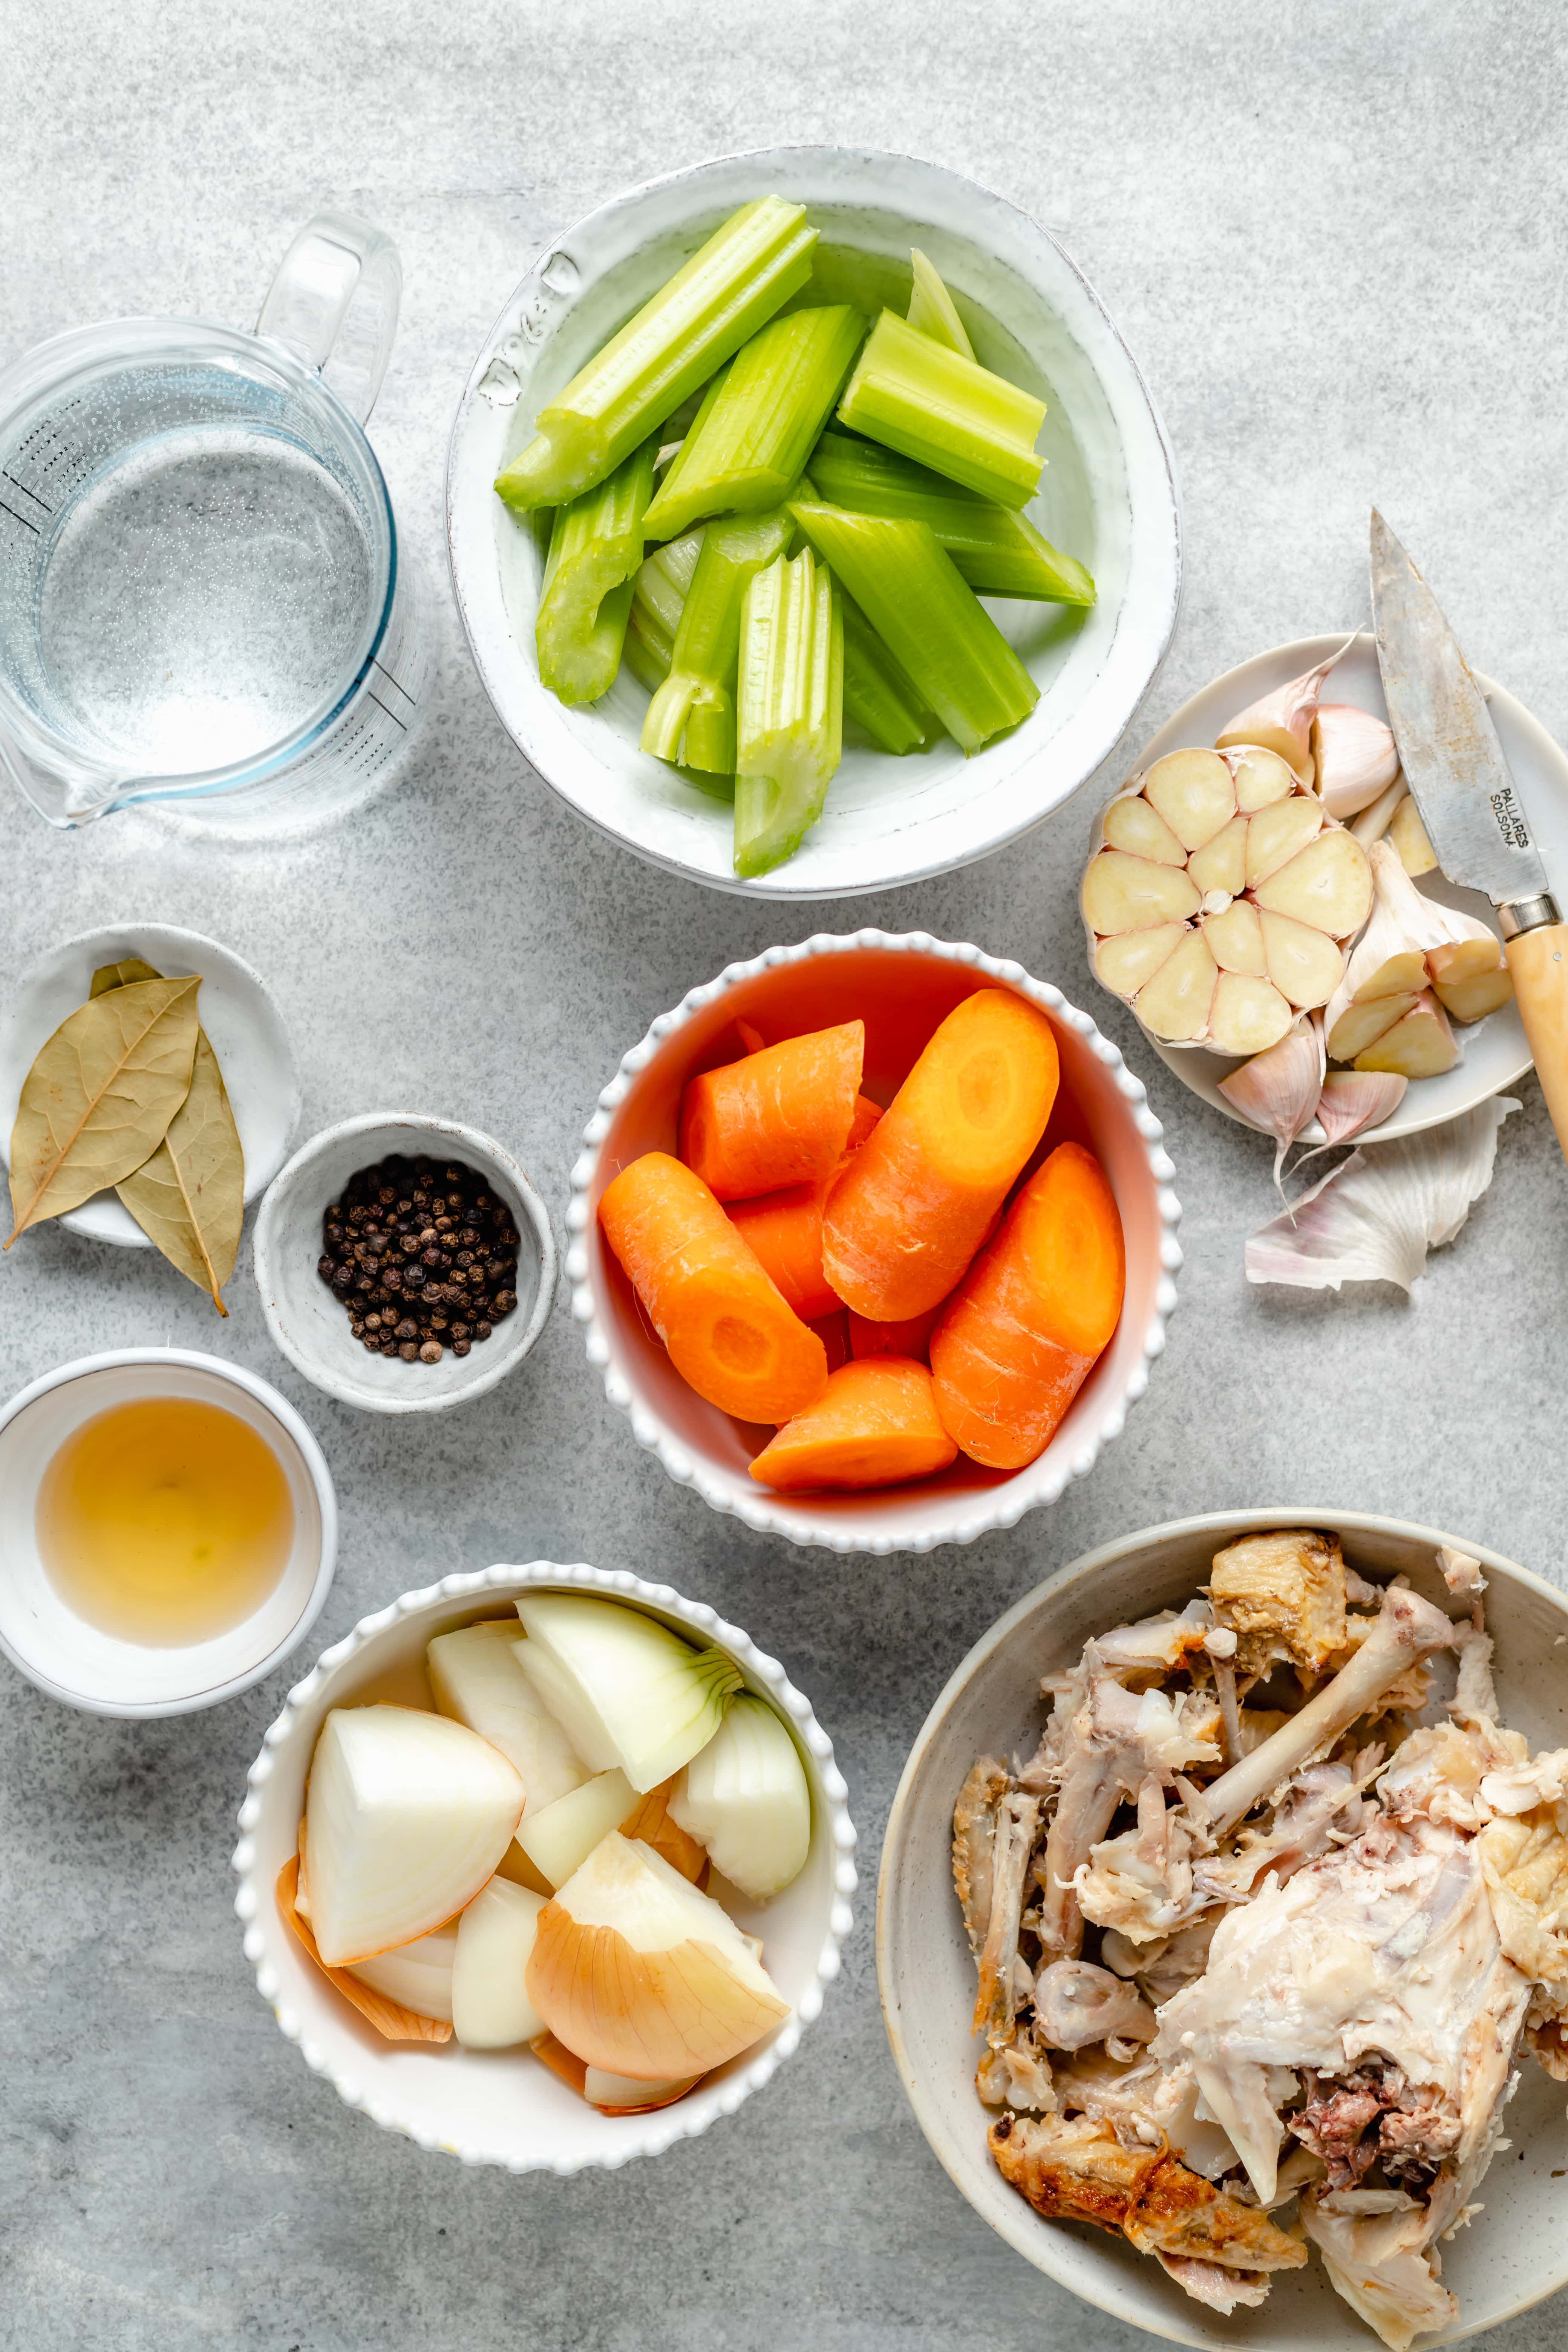
What You’ll Need to Make Bone Broth
Leftover Bones and Carcass of Roasted Chicken: I always save and freeze the bones and carcass after I make a whole roasted chicken to make broth later.
Veggies and Aromatics: to add flavor to the broth you’ll add a few simple veggies and aromatics like celery, carrots, garlic, onion, and dried bay leaves.
Filtered Water: you’ll need around 12 cups of filtered water, give or take.
Apple Cider Vinegar: this helps to pull out the nutrients from the bones which makes the broth even more nutritious.
Broth Additions
- fresh ginger – I love to add a hunk of fresh ginger into the broth, especially if I plan on using for Asian-inspired soups.
- dried seaweed – this adds great flavor and extra nutrients to the broth.
- additional bones – whenever I roast a chicken, make short ribs, or make a roast I always save the extra bones and throw them into my broth pot. I also do not mind mixing my bones when making broth.
- any veggie scraps you have on hand – in addition to saving bones, I also save any veggie scraps from cooking and add them to my broth.
Helpful Kitchen Tools

How to Make Homemade Bone Broth
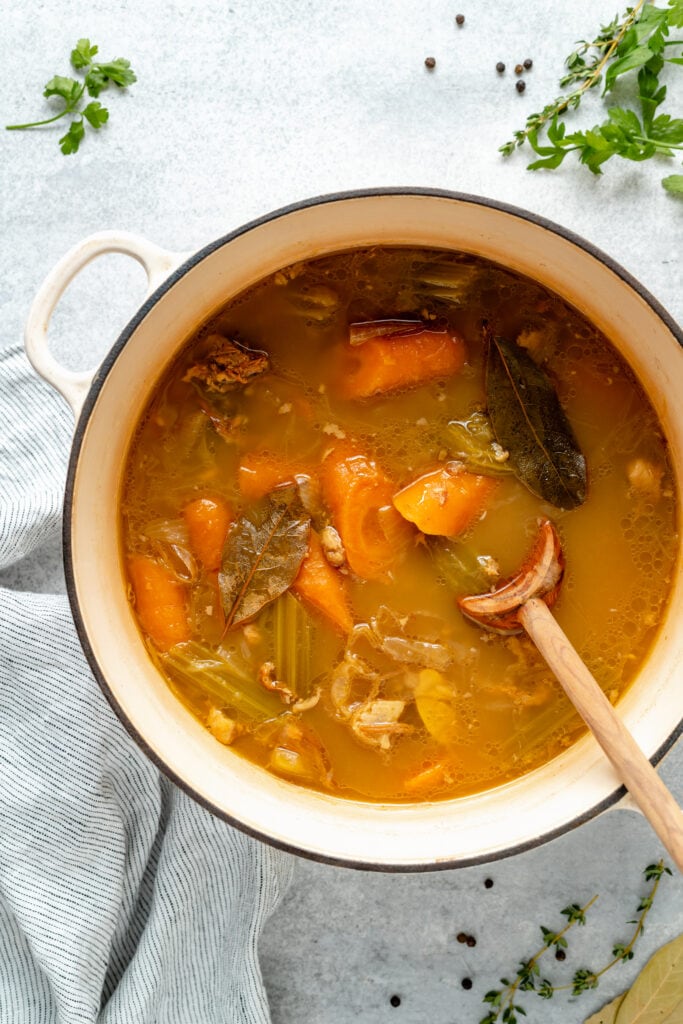
Step One: Add the chicken bones and carcass, whole peppercorns, onion, celery, carrots, and garlic to a large dutch oven or heavy-bottomed pot.
Step Two: Top the chicken bones and veggies with filtered water until everything is covered, around 12 cups filtered water depending on the size of the chicken carcass.
Step Three: Next add the apple cider vinegar.
Step Four: Bring the water to a boil and then reduce the heat to low and then cover. Allow the broth to simmer and cook for 12 hours. Check the broth occasionally and skim any foam off the top of the broth as it appears.
Step Five: Once the broth has finished simmering, remove it from the heat, uncover, and allow it cool before preparing to strain and store.
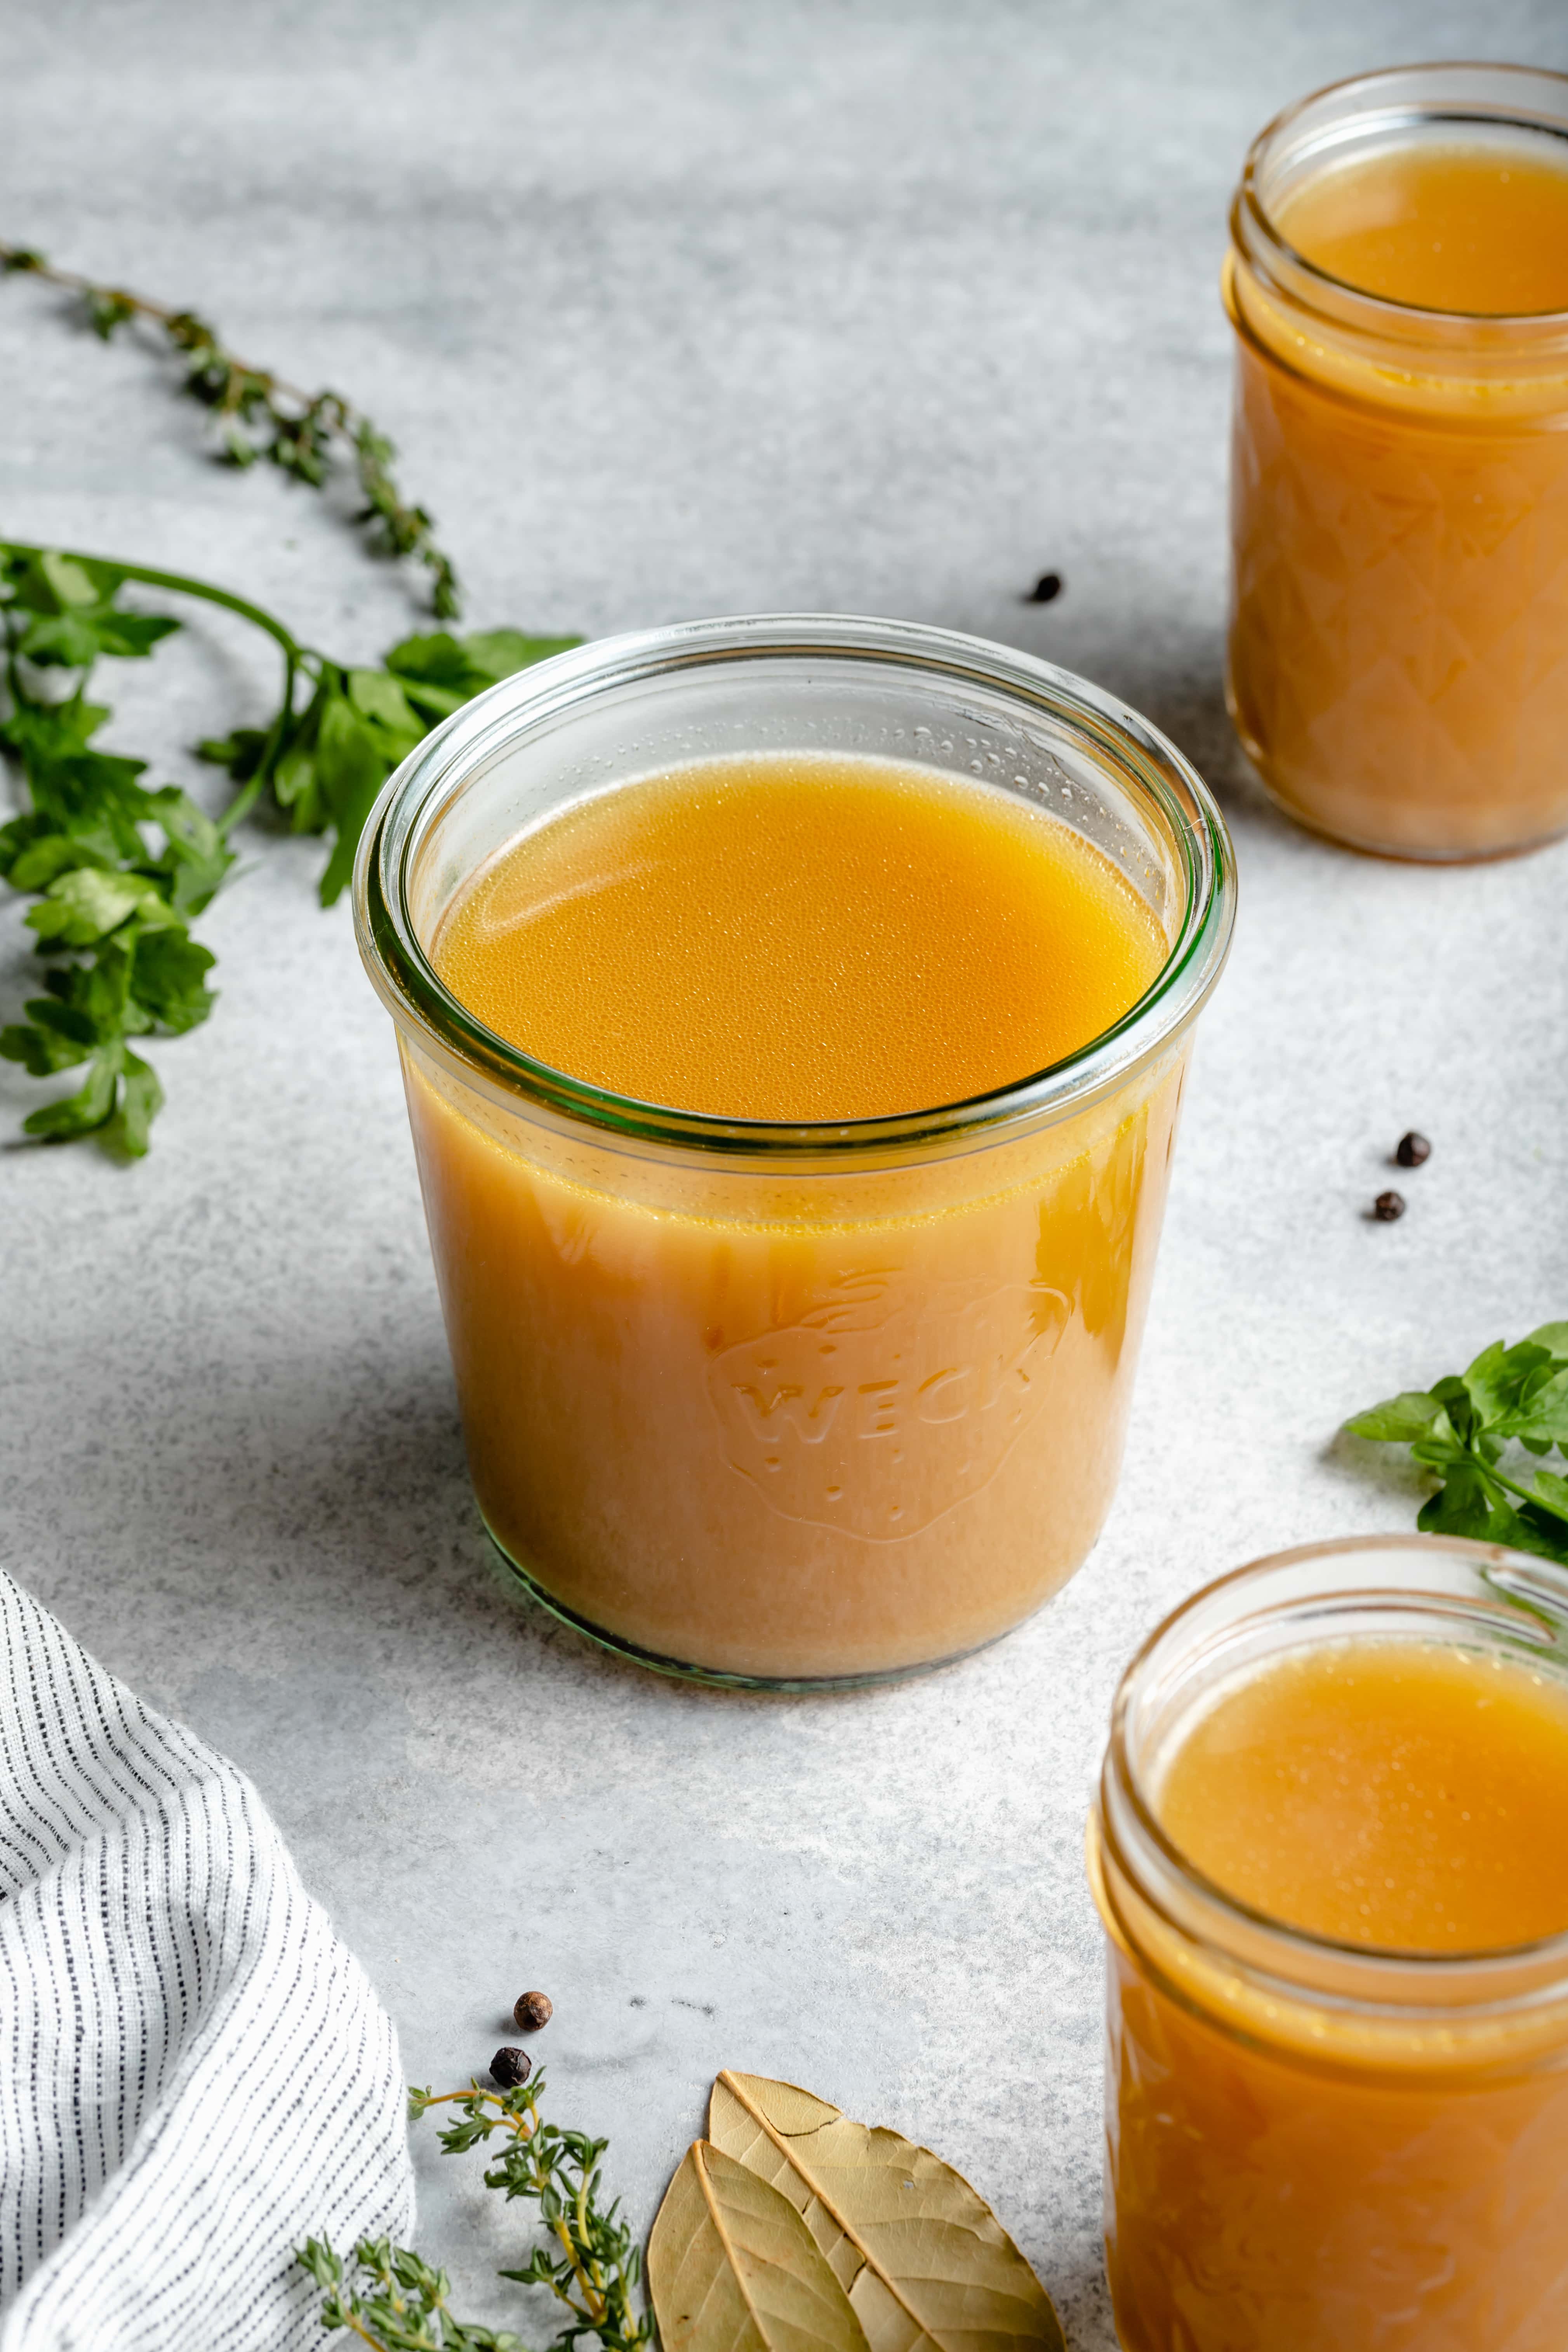
Step Six: After the broth has cooled a bit, pour it through a fine mesh strainer and discard the bones, veggies, and aromatics. I like to pour my broth through the strainer two or three times to ensure that I have removed any small bits and that I have a clear broth.
Step Seven: Once the broth has cooled and been strained, pour it into large mason jars for storing. If you plan to freeze the broth I recommend storing it in large plastic deli containers.
Can You Make Broth In the Slow Cooker?
Yes! You can easily make bone broth in the slow cooker and it’s one of my very favorite ways to to do it. Using the slow cooker is a great option if you won’t be home all day to watch the broth simmer on the stovetop.
To make the broth in the slow cooker, add the bones, veggies, and aromatics to the base of the slow cooker. Cover with filtered water and cook on high for 12 hours or on low for 16-18 hours.
Once the broth has finished simmering, strain it and then store in the fridge or freezer.
Ways to Use Homemade Broth
- Replace the water with broth when making rice, quinoa, or mashed potatoes
- Use it to make homemade gravy
- Make it the base of hearty soups and stews
How to Store
Fridge: you can store your broth up for up to a week in an air-tight container in the fridge.
Freezer: once the broth has cooled, transfer it to a freezer safe storage container or bag and store for up to 3 months.
Tips and Tricks for the Best Broth
- Remove the fat – once the broth has fully cooled, you may notice a layer of fat sitting on top. You can use a spoon to gently remove that layer before storing.
- Strain well – I like to strain my broth twice before storing to ensure that it is as clear as possible.
- Season at the end – because this recipe does not add salt before cooking, the broth will need a bit of salt. I prefer to leave the broth unseasoned and then add salt to whatever dish I’m using that calls for broth. If you plan on sipping the broth, you can season it liberally with salt and a squeeze of lemon juice.
I hope you give this Homemade Bone Broth recipe a try! It’s incredibly easy to make and great to have on hand.
If you do give this recipe a try, I want to know! Leave a comment with a star rating below. You can also snap a photo & tag @allthehealthythings on INSTAGRAM. Your reviews help support All the Healthy Things and make it possible for me to continue to create the recipes you know and love.
Print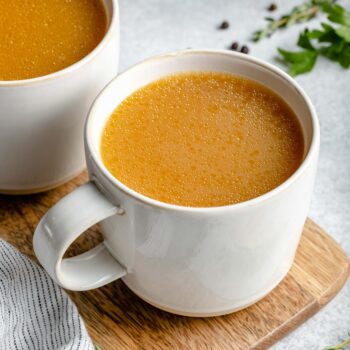
How to Make Bone Broth
- Prep Time: 10 minutes
- Cook Time: 12 hours
- Total Time: 12 hours 10 minutes
- Yield: 10 1x
- Category: Sides
- Method: Stovetop
- Cuisine: American
- Diet: Gluten Free
Description
Homemade Bone Broth is incredibly easy to make and a versatile fridge and freezer staple. Once you know how to make your own broth from scratch you’ll never want to buy the pre-made stuff again!
Ingredients
- leftover bones and carcass of 1 whole roasted chicken
- 1 tablespoon whole black peppercorns
- 1 yellow onion, cut into large chunks
- 2 large stalks of celery and their leaves, cut into large chunks
- 2 large carrots, cut into large chunks
- 1 head of garlic, sliced in half
- 2 large dried bay leaves
- 12 cups filtered water
- 1 1/2 tablespoons apple cider vinegar
Instructions
- Add the chicken bones and carcass, whole peppercorns, onion, celery, carrots, and garlic to a large dutch oven or heavy-bottomed pot.
- Top the chicken bones and veggies with filtered water until everything is covered, around 12 cups filtered water depending on the size of the chicken carcass.
- Next add the apple cider vinegar.
- Bring the water to a boil and then reduce the heat to low and then cover. Allow the broth to simmer and cook for 12 hours. Check the broth occasionally and skim any foam off the top of the broth as it appears.
- Once the broth has finished simmering, remove it from the heat, uncover, and allow it cool before preparing to strain and store.
- After the broth has cooled a bit, pour it through a fine mesh strainer and discard the bones, veggies, and aromatics. I like to pour my broth through the strainer two or three times to ensure that I have removed any small bits and that I have a clear broth.
- Once the broth has cooled and been strained, pour it into large mason jars for storing. If you plan to freeze the broth I recommend storing it in large plastic deli containers.
Recipe by: Ashlea Carver / All the Healthy Things | Photography by: Eat Love Eats

I made this after freezing random chicken bones from roast chickens. Made exactly like the recipe and it ended up being the best bone broth ever! I used it to make chicken meatball/orzo/lemon soup and my husband said it was maybe my best soup ever!