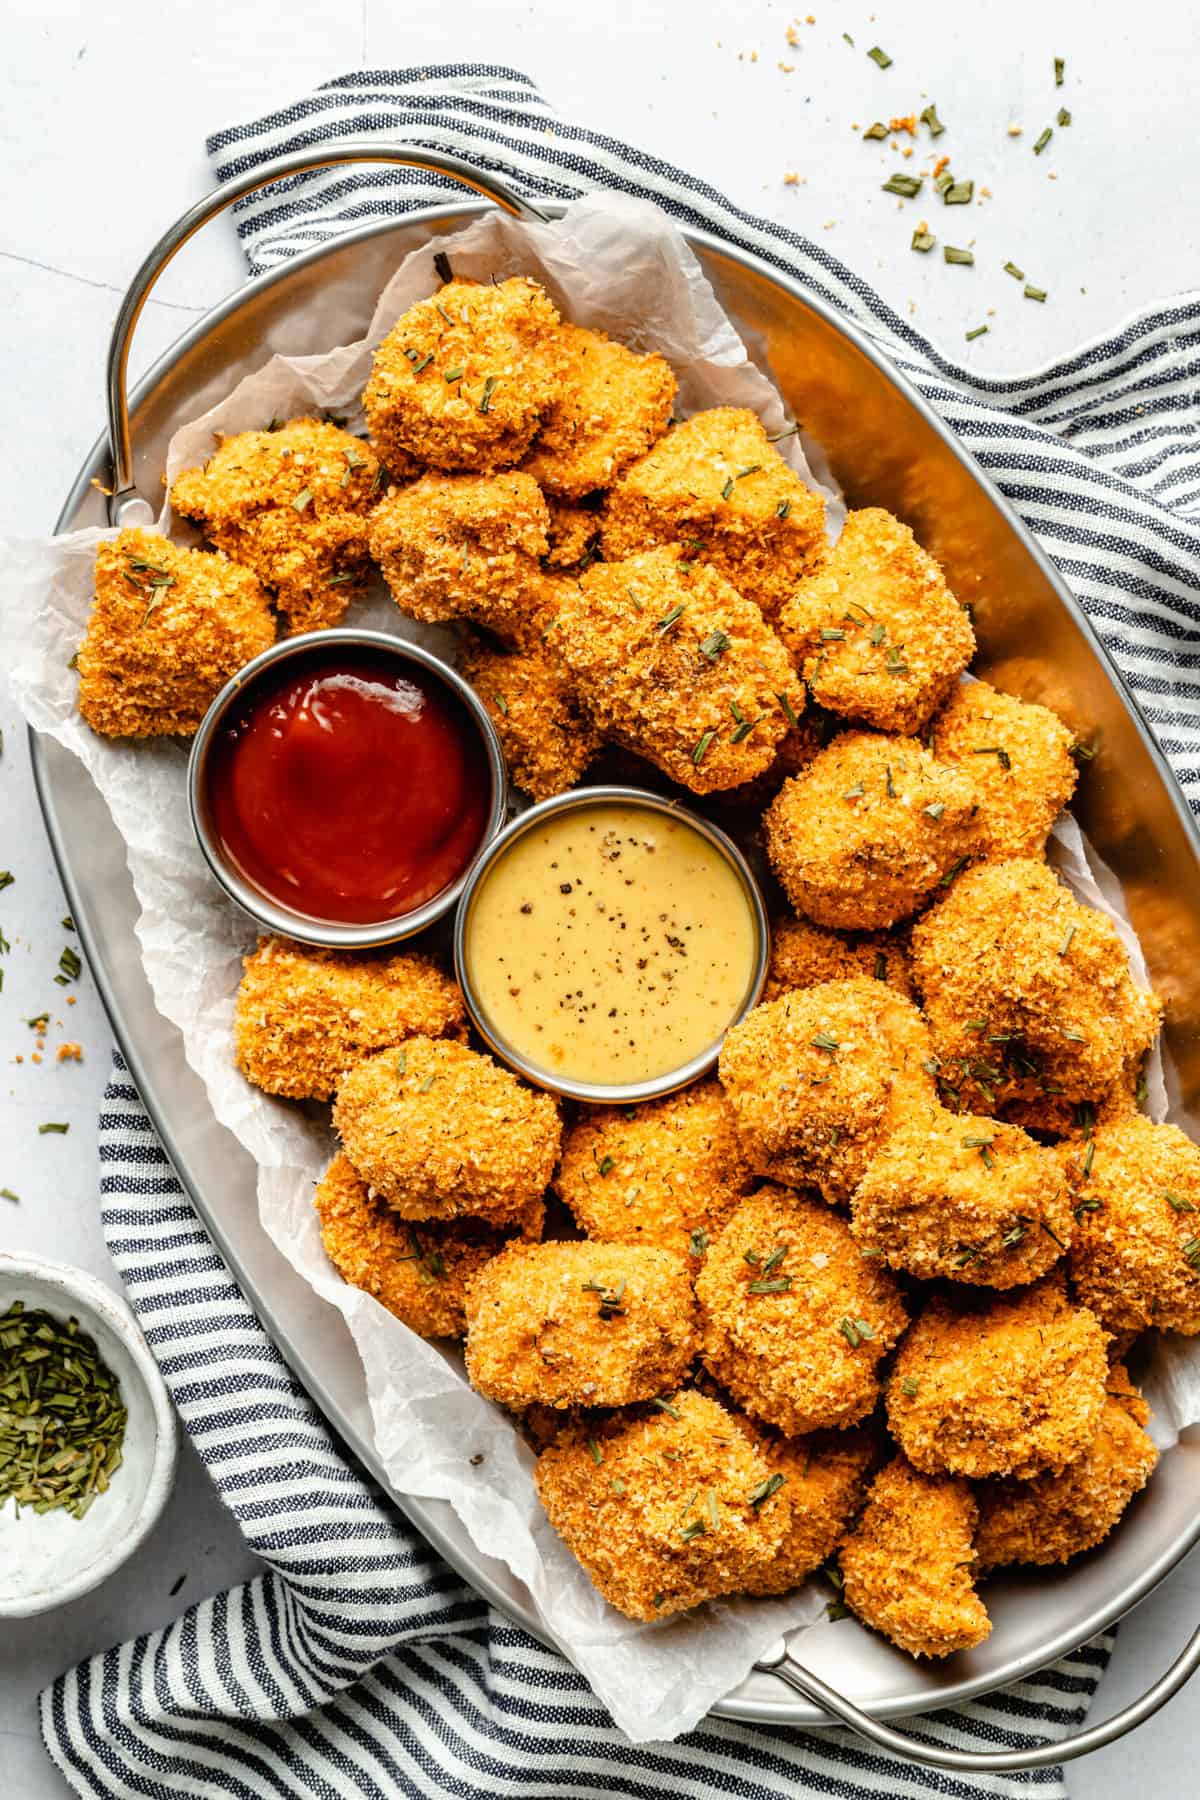
Healthy Homemade Chicken Nuggets! These gluten free chicken nuggets are baked not fried and deliciously crispy without a lot of oil. They have just the right amount of seasoning and pair perfectly with your favorite dipping sauce!
The Best Healthy Homemade Crispy Chicken Nuggets
Chicken nuggets! Who doesn’t love crispy little bites of chicken in the perfect crunchy coating?
You may think that the only way to get crispy chicken nuggets is by either buying them from your favorite fast food stop or frying them in a ton of oil. But, what if I told you there was a way to get perfectly crispy chicken nuggets without a ton of oil or any frying?
These healthy homemade chicken nuggets are gluten free, perfectly crispy, and so easy to make. Toasted panko breadcrumbs give them that crispy crunch and they are baked not fried to make them a much healthier option than traditional nuggets.
All you need to make these are a few simple real food ingredients that you can find at your local grocery store. They are a great fun and tasty dinner that the whole family will love!
Watch How to Make This Recipe
More Kid Friendly Recipes
- Crispy Gluten Free Chicken Tenders
- Crispy Buffalo Ranch Chicken Nuggets
- Butternut Squash Mac and Cheese
- Broccoli Cheddar Tots
- Turkey Sloppy Joes
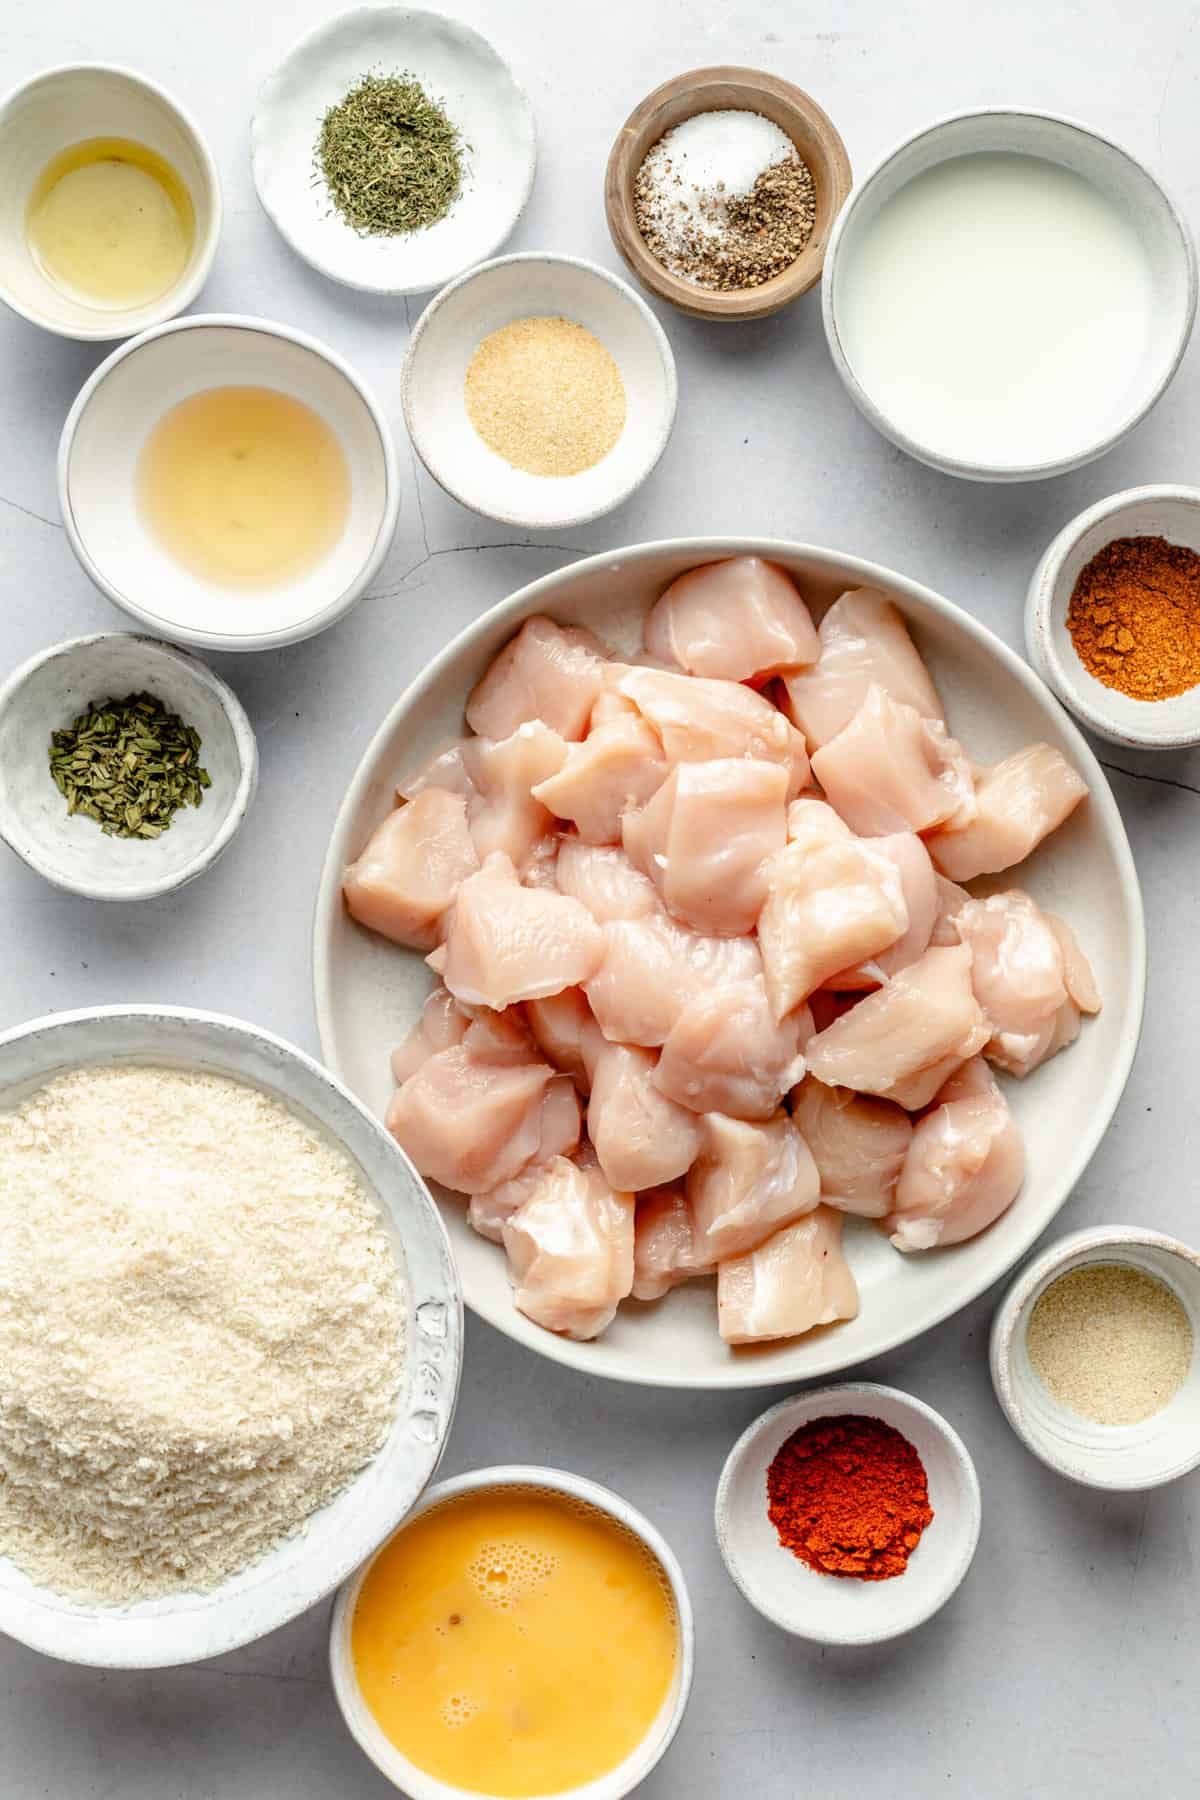
Ingredients You Need
Chicken Breast: Lean, quick cooking, and make the best chicken nuggets
Gluten Free Panko Breadcrumbs: Panko breadcrumbs are a Japanese style breadcrumb and using them gives you perfectly crispy chicken nuggets. You will likely find these in the spice or baking aisle of your local grocery store. You might also find them in the international aisle. If you don’t need to keep this recipe gluten free then you can use regular panko.
Eggs: These act as a binder and help the breadcrumbs stick.
Apple Cider Vinegar: This helps to tenderize the chicken breast and add just a little tang.
Spices and Seasonings: Breadcrumbs on their own are not enough. These chicken nuggets get a good dose of flavor from garlic powder, onion powder, paprika, salt, and pepper.
Helpful Kitchen Tools
- sheet pan
- parchment paper
- mixing bowl
- silicone spatula
- food processor
- sharp knife
- tongs
- MEASURING CUPS
- MEASURING SPOONS
- wire rack
- meat thermometer
How To Make Crispy Oven Baked Chicken Nuggets
Step One: Cut the chicken breast into bite-sized pieces.
Step Two: Add the eggs, almond milk, and apple cider vinegar to a mixing bowl and whisk until well combined. Add the chicken pieces to the mixing bowl and stir until well combined.
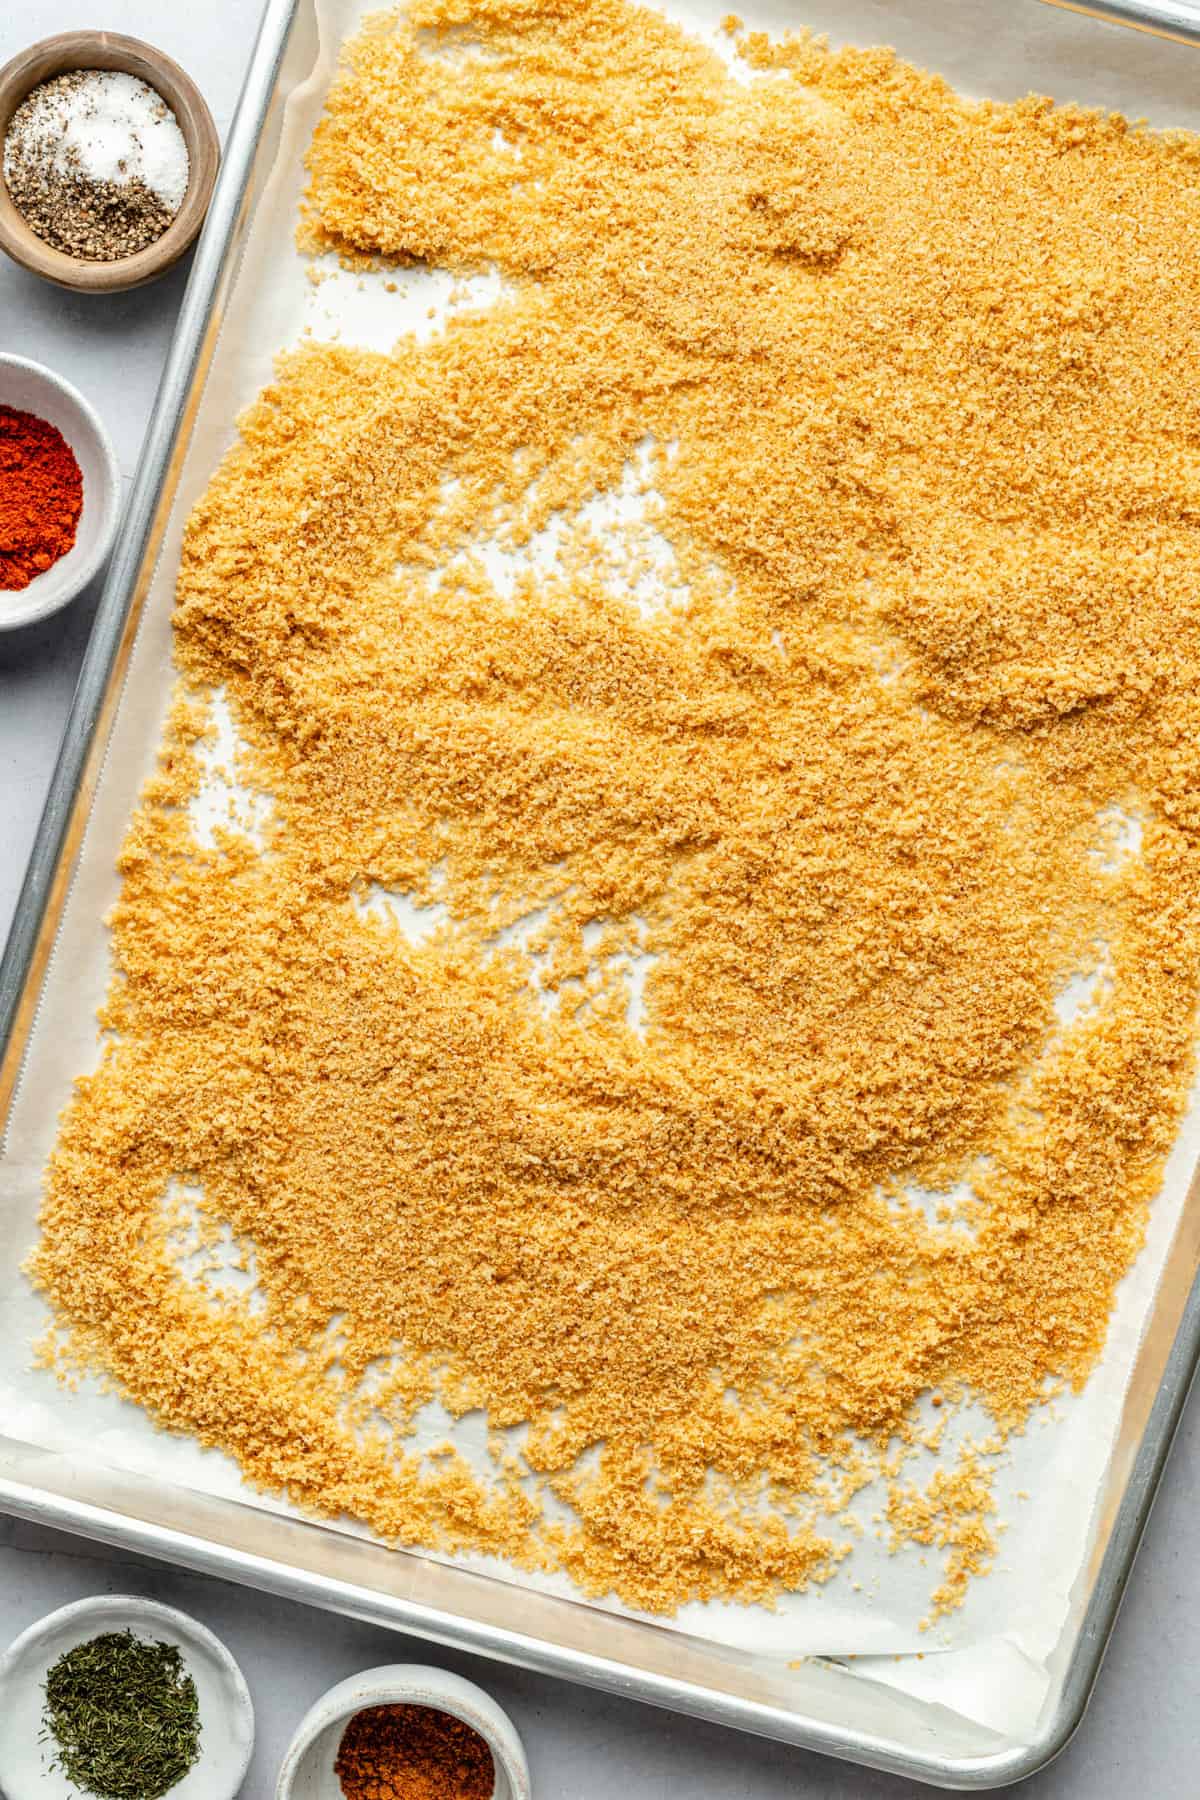
Step Three: Next, it’s time to make the breadcrumb coating for your chicken nuggets. First add the panko breadcrumbs to a food processor and pulse a few two or three times until fine. Pulsing the breadcrumbs in a food processor for a bit will help them to coat and stick to the chicken better. Next, pour the breadcrumbs into a mound on a large baking sheet lined with parchment paper. Add a tablespoon of avocado oil to the breadcrumb mound and stir until the oil is well incorporated. Spread the breadcrumbs into a single layer on the baking sheet and bake for 10-12 minutes or until the breadcrumbs start to become golden brown before removing them from the oven.
Step Four: Transfer the toasted breadcrumbs to a shallow bowl, add in the seasoning and spices. Stir until well the seasonings and breadcrumbs are well combined.
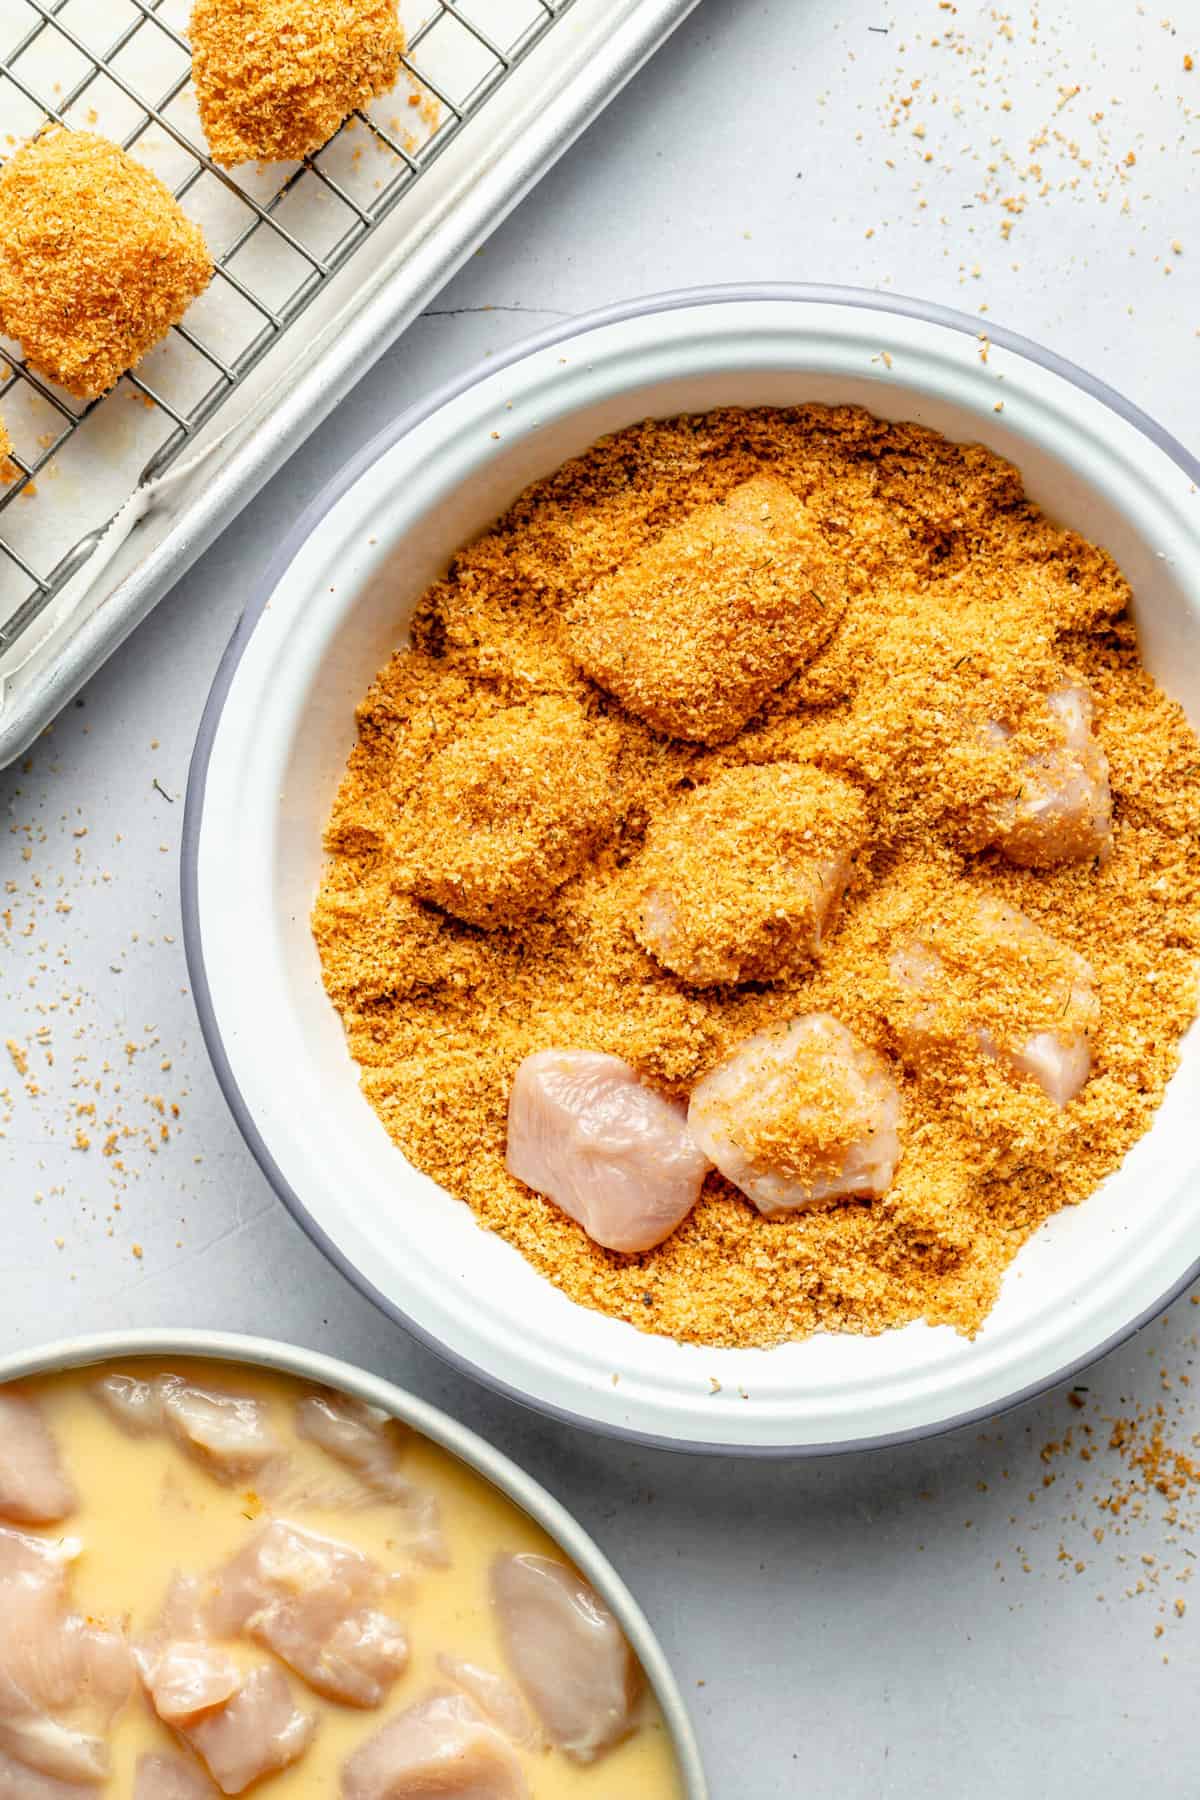
Step Five: Now, it is time to make the chicken nuggets. First, grease a wire baking rack and place it over a sheet pan lined with parchment paper. Next, remove a few of the chicken pieces from the egg mixture, around six to eight pieces at a time, and transfer to the breadcrumb mixture. Use your fingers to toss the chicken in the breadcrumbs until well coated, pressing the breadcrumbs into the chicken to help them stick.
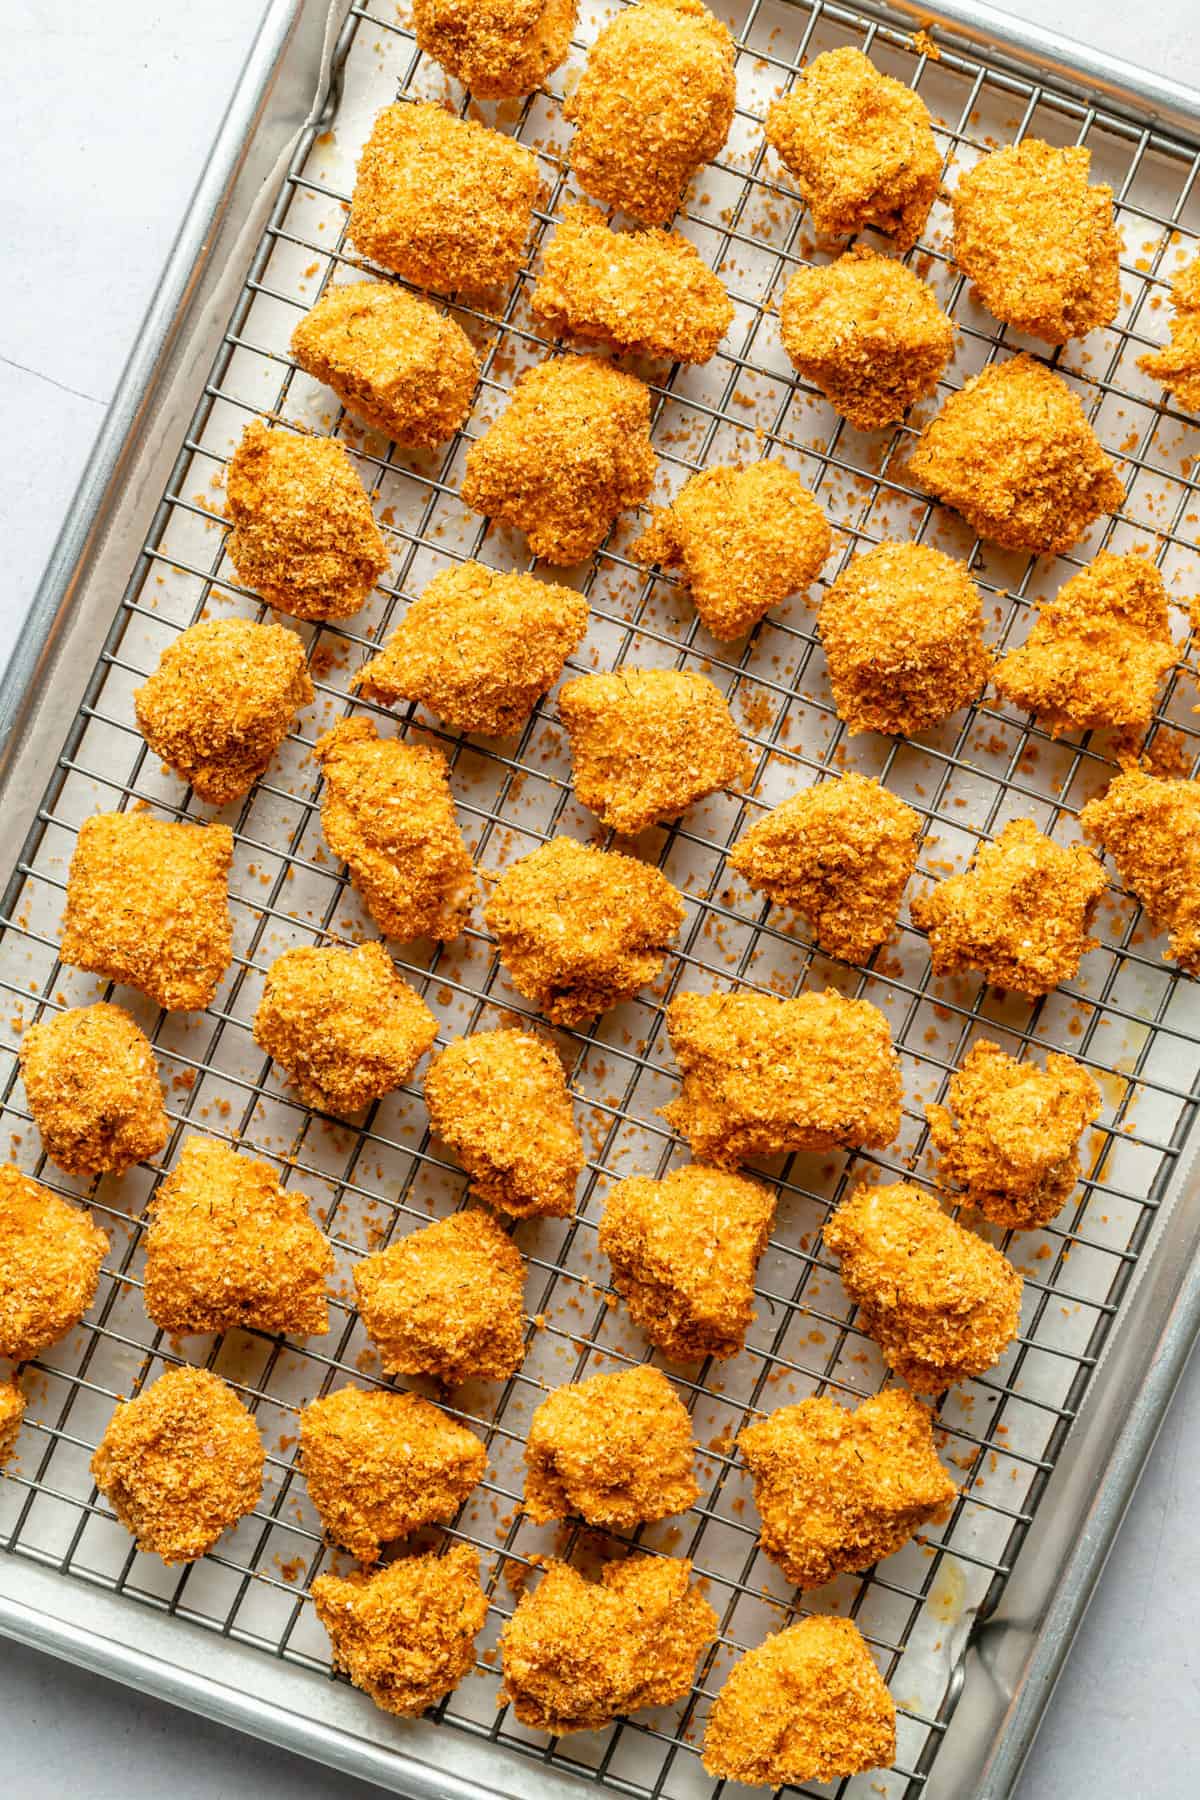
Step Six: Once the chicken pieces are coated, place them on the wire baking rack. Repeat this process until all of the chicken has been coated.
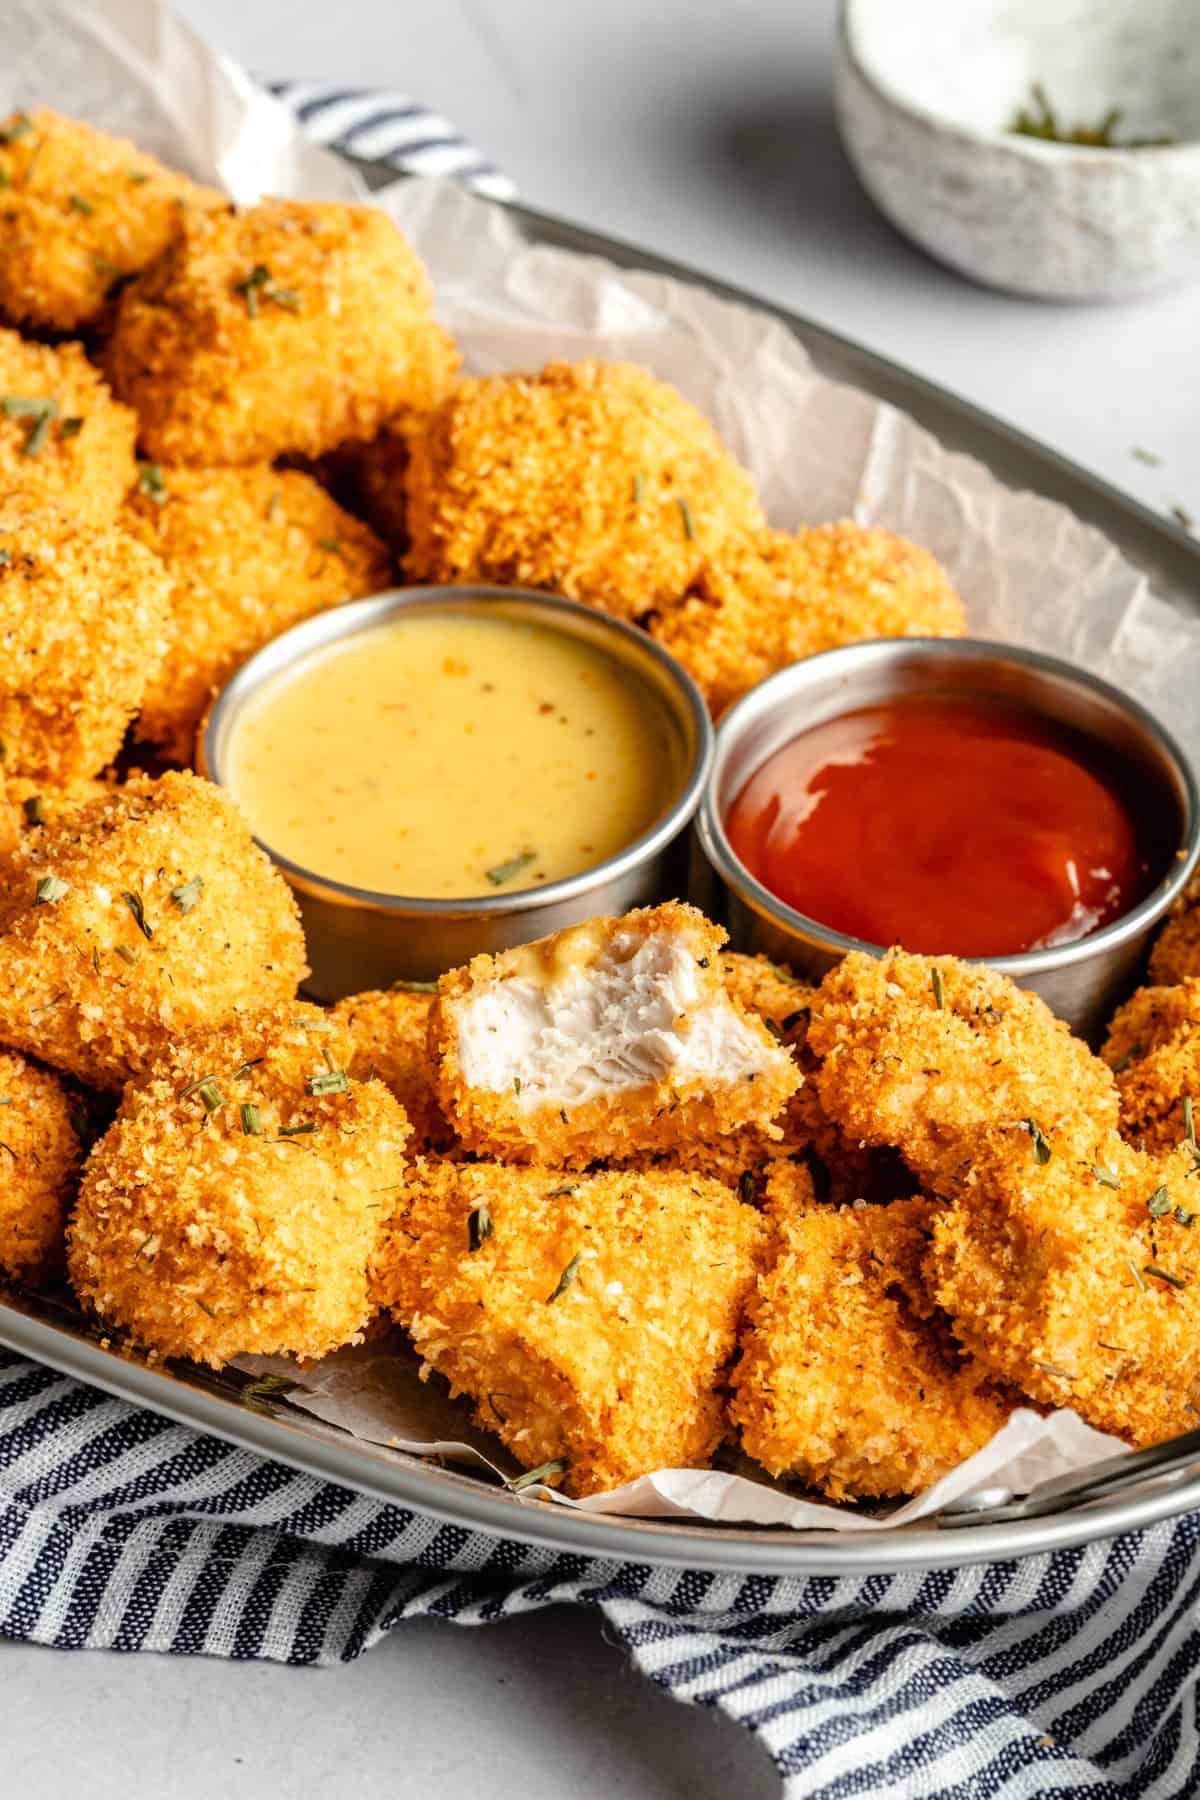
Step Seven: Bake the chicken nuggets at 400 degrees for 15-18 minutes until golden brown and a meat thermometer reads 165 degrees. Serve the chicken nuggets warm and with your favorite dipping sauce like this homemade honey mustard sauce.
Can I Make Chicken Nuggets In The Air Fryer?
Yes! I tested these chicken nuggets in both the conventional oven and my air fryer and my favorite way to prepare them ended up being in the air fryer. The air fryer method cooked the nuggets in just a few minutes and got really crispy.
To make these chicken nuggets in the air fryer, instead of placing them on the wire baking rack, add them to your air fryer basket. Be sure not overcrowd the air fryer basket. The nuggets can be pretty close together but you don’t want them on top of each other touching each other. Leave a little space in between each piece of chicken. Depending on the size of you air fryer, you may have to cook the nuggets in batches to ensure they have enough room while cooking.
Cook the nuggets at 400 degrees for six to eight minutes until golden brown, crispy, and a thermometer reads 165 degrees. For best results make sure your air fryer is completely preheated to 400 degrees before adding the chicken nuggets.
Tips For Perfectly Crispy, Tender, And Juicy Chicken Nuggets
- To ensure the chicken cooks evenly, cut the nuggets into roughly the same size. This will ensure that all of the chicken takes around the same time to cook.
- Do not skip baking the chicken nuggets on a wire rack. For the crispiest nuggets, the wire rack is a game changer. Baking them on a rack helps to ensure that the bottom of the nuggets get crispy and don’t become soggy.
- Gluten free panko breadcrumbs can be a little big and when I tested this recipe, I found that it was almost impossible to get them to stick without first pulsing them in the food processor, so don’t skip this step. Pulsing them in a food processor helps to break the breadcrumbs down into a finer texture so that they actually stick to the chicken. If you do not want to pull out your food processor, you can also use a potato masher to grind up the breadcrumbs.
- Toast the breadcrumbs before breading the chicken! This will ensure you get golden brown nuggets that are perfectly crispy.
How to Store and Reheat
You can store these chicken nuggets in an air-tight container in the fridge for up to 3 days. For the best results, reheat them in a 375 – 400 degree oven or in the air fryer until warmed through.
More Delicious Chicken Recipes
- Greek Chicken Meatballs
- Healthy Orange Chicken
- BBQ Chicken Meatballs
- The Best Chicken Burgers
- Sheet Pan Honey Mustard Chicken Thighs
I hope you give these Healthy Chicken Nuggets a try! They’re delicious and easy to make. If you do give this recipe a try, I want to know! Leave a comment with a star rating below.
You can also snap a photo & tag @allthehealthythings on INSTAGRAM. Your reviews help support All the Healthy Things and make it possible for me to continue to create the recipes you know and love.
Print
Healthy Homemade Chicken Nuggets
- Prep Time: 20 minutes
- Cook Time: 20 minutes
- Total Time: 40 minutes
- Yield: 4 1x
- Category: Dinner
- Method: Baking
- Cuisine: American
- Diet: Gluten Free
Description
Crispy and healthy homemade chicken nuggets! These gluten free chicken nuggets are baked not fried and deliciously crispy without a lot of oil. They have just the right amount of seasoning and pair perfectly with your favorite dipping sauce!
Ingredients
- 1 ½ pounds boneless, skinless chicken breast
- ¼ cup almond milk (you can also use coconut milk or dairy milk if you prefer)
- 2 eggs
- 1 tablespoon apple cider vinegar
- 2 cups gluten free panko breadcrumbs
- 1 tablespoon avocado oil
- 2 teaspoons salt
- 1 teaspoon paprika
- ¼ teaspoon black pepper
- 1 teaspoon garlic powder
- 1 teaspoon onion powder
- ½ – 1 teaspoon cajun seasoning like Old Bay (optional)
- ½ – 1 teaspoon dried dill (optional)
- dried chives or sliced green onion for garnish
Instructions
- Preheat the oven to 400 degrees.
- Cut the chicken breast into nugget sized pieces.
- Add the eggs, almond milk, and apple cider vinegar to a mixing bowl and whisk until well combined. Add the chicken pieces to the mixing bowl and stir until well combined.
- Add the panko breadcrumbs to a food processor and pulse until fine, two or three times.
- Pour the breadcrumbs into a mound on a large baking sheet lined with parchment paper. Add a tablespoon of avocado oil to the breadcrumb mound and stir until the oil is well incorporated.
- Spread the breadcrumbs into a single layer on the baking sheet and bake for 10-12 minutes until golden brown.
- Transfer the toasted breadcrumbs to a shallow bowl, then add in the seasoning and spices. Stir well the seasonings and breadcrumbs are well combined.
- Grease a wire baking rack and place it over a sheet pan lined with parchment paper.
- Remove a few of the chicken pieces from the egg mixture, around six to eight pieces at a time, and transfer to the breadcrumb mixture. Use your fingers to toss the chicken in the breadcrumbs until well coated, pressing the breadcrumbs into the chicken to help them stick.
- Transfer the coated chicken to the wire rack. Bake the chicken nuggets at 400 degrees for 15-18 minutes until golden brown and a meat thermometer reads 165 degrees.
- Serve warm and with your favorite dipping sauce.
