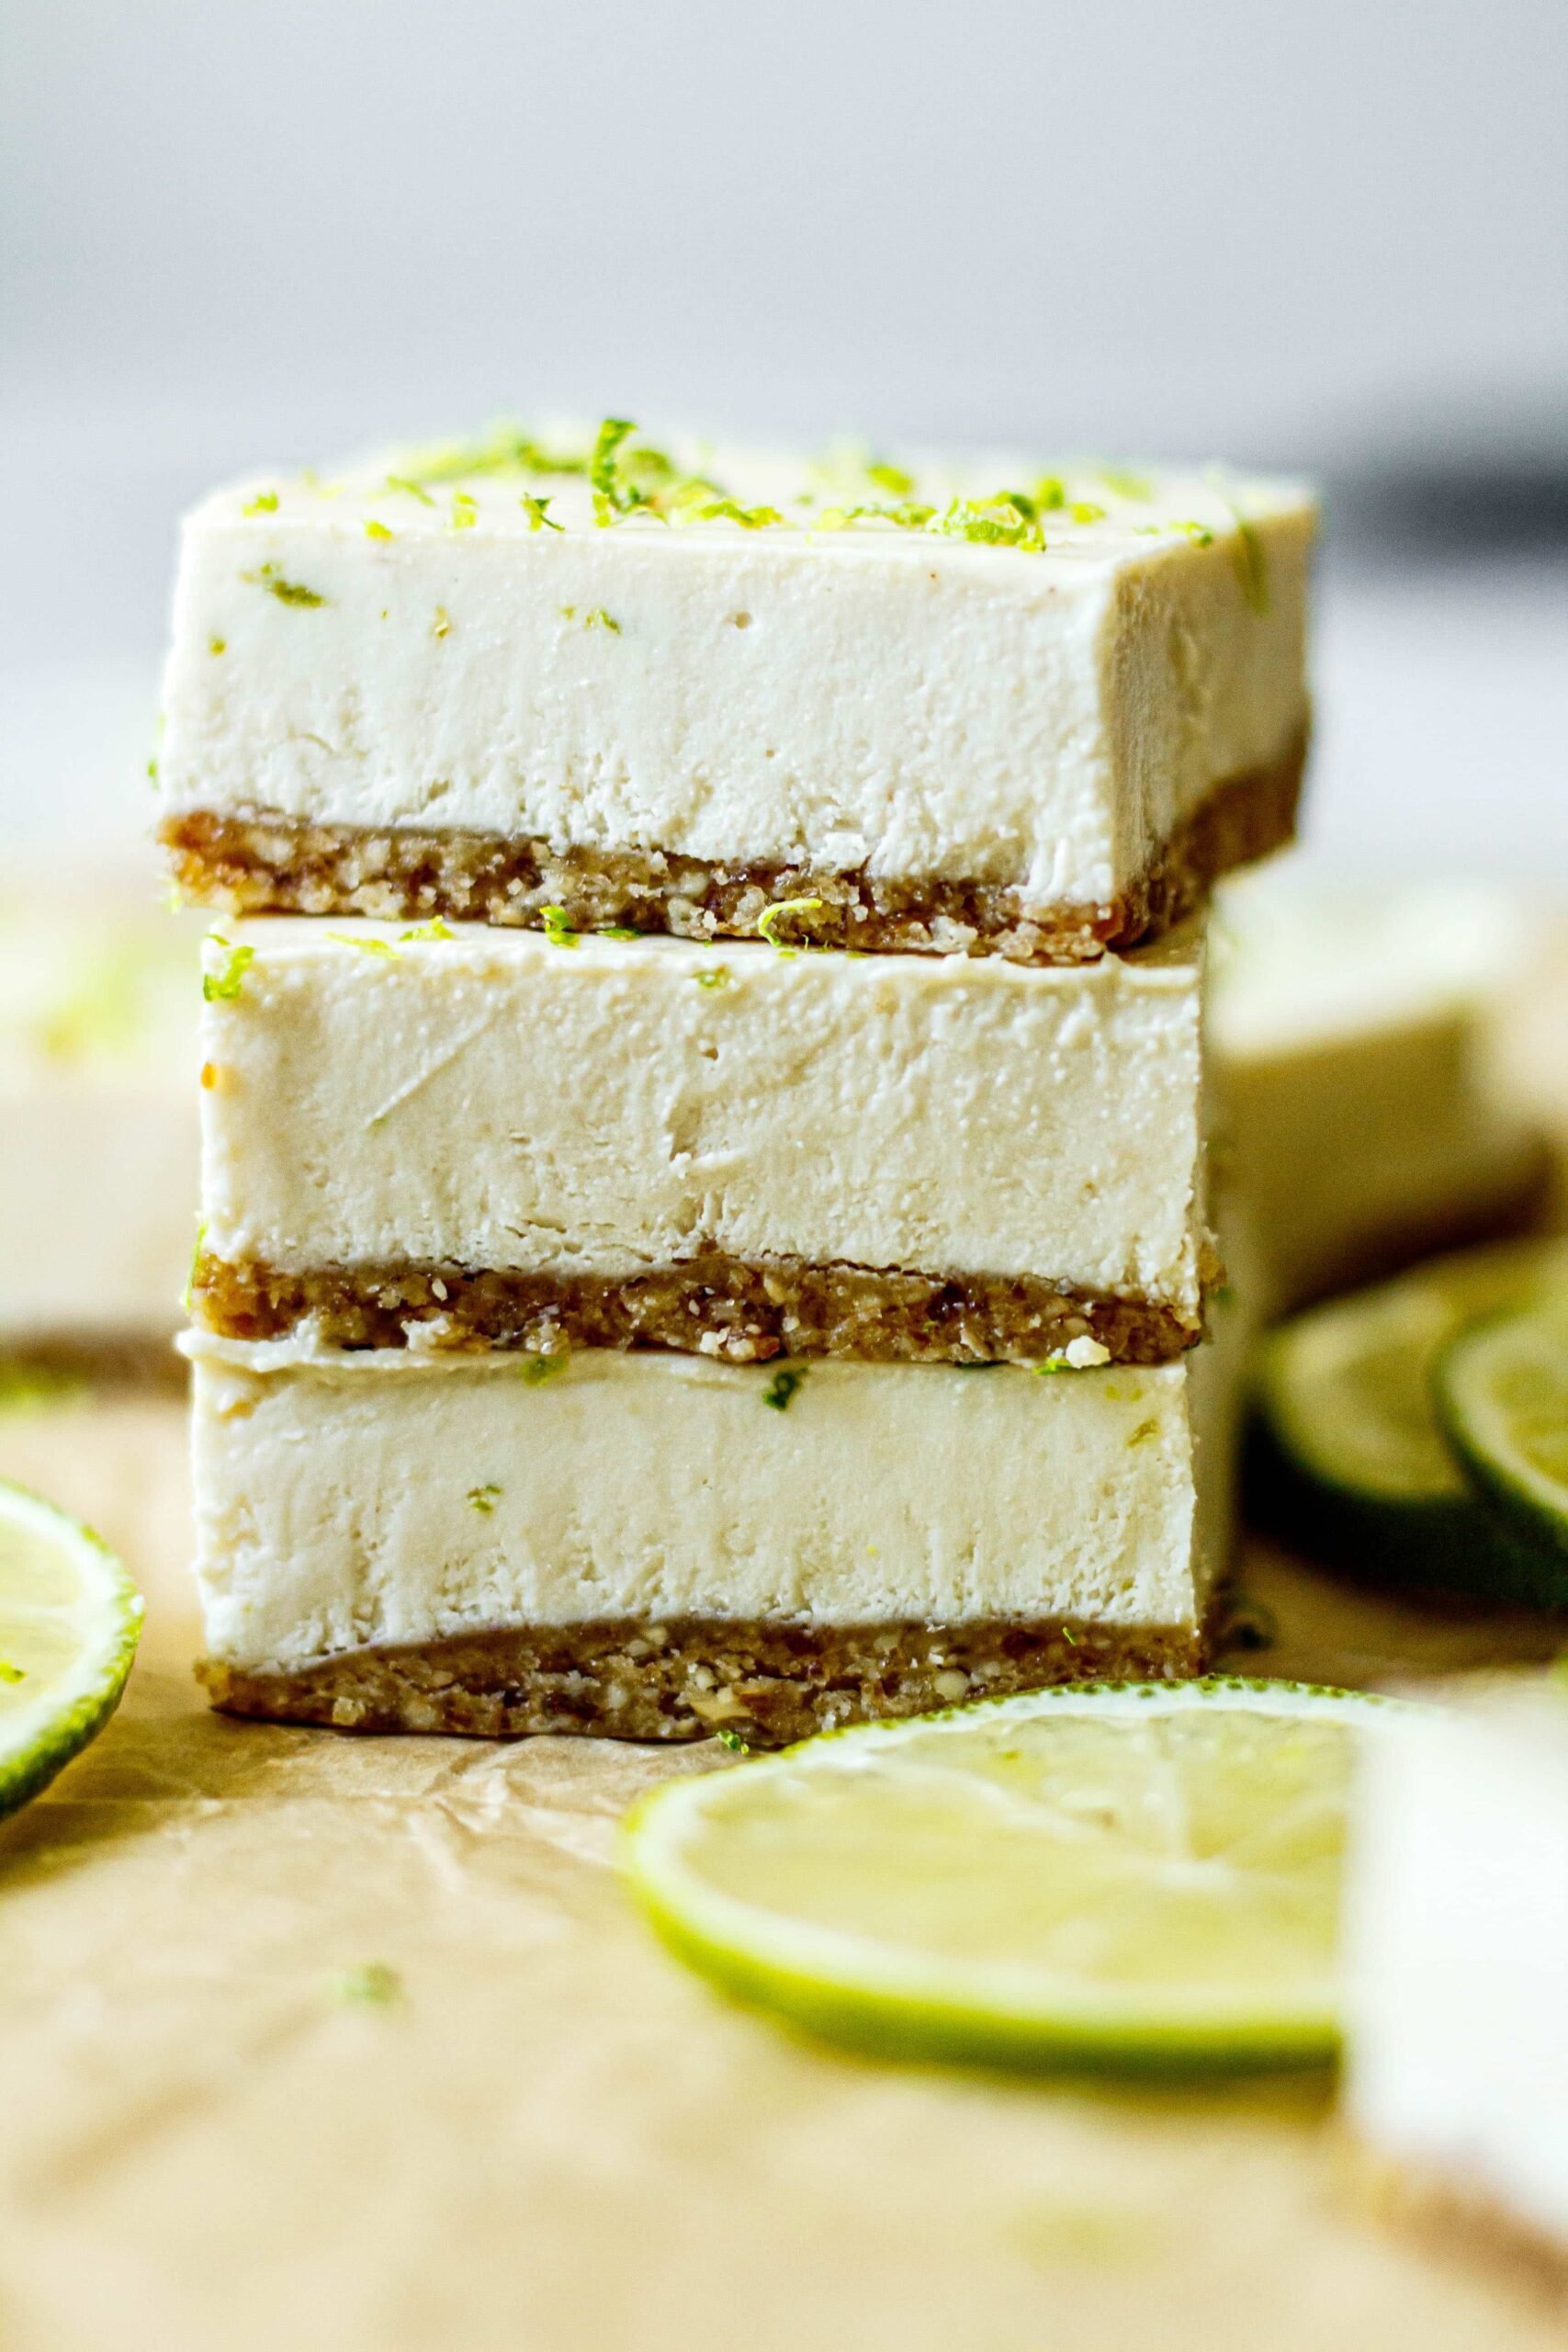
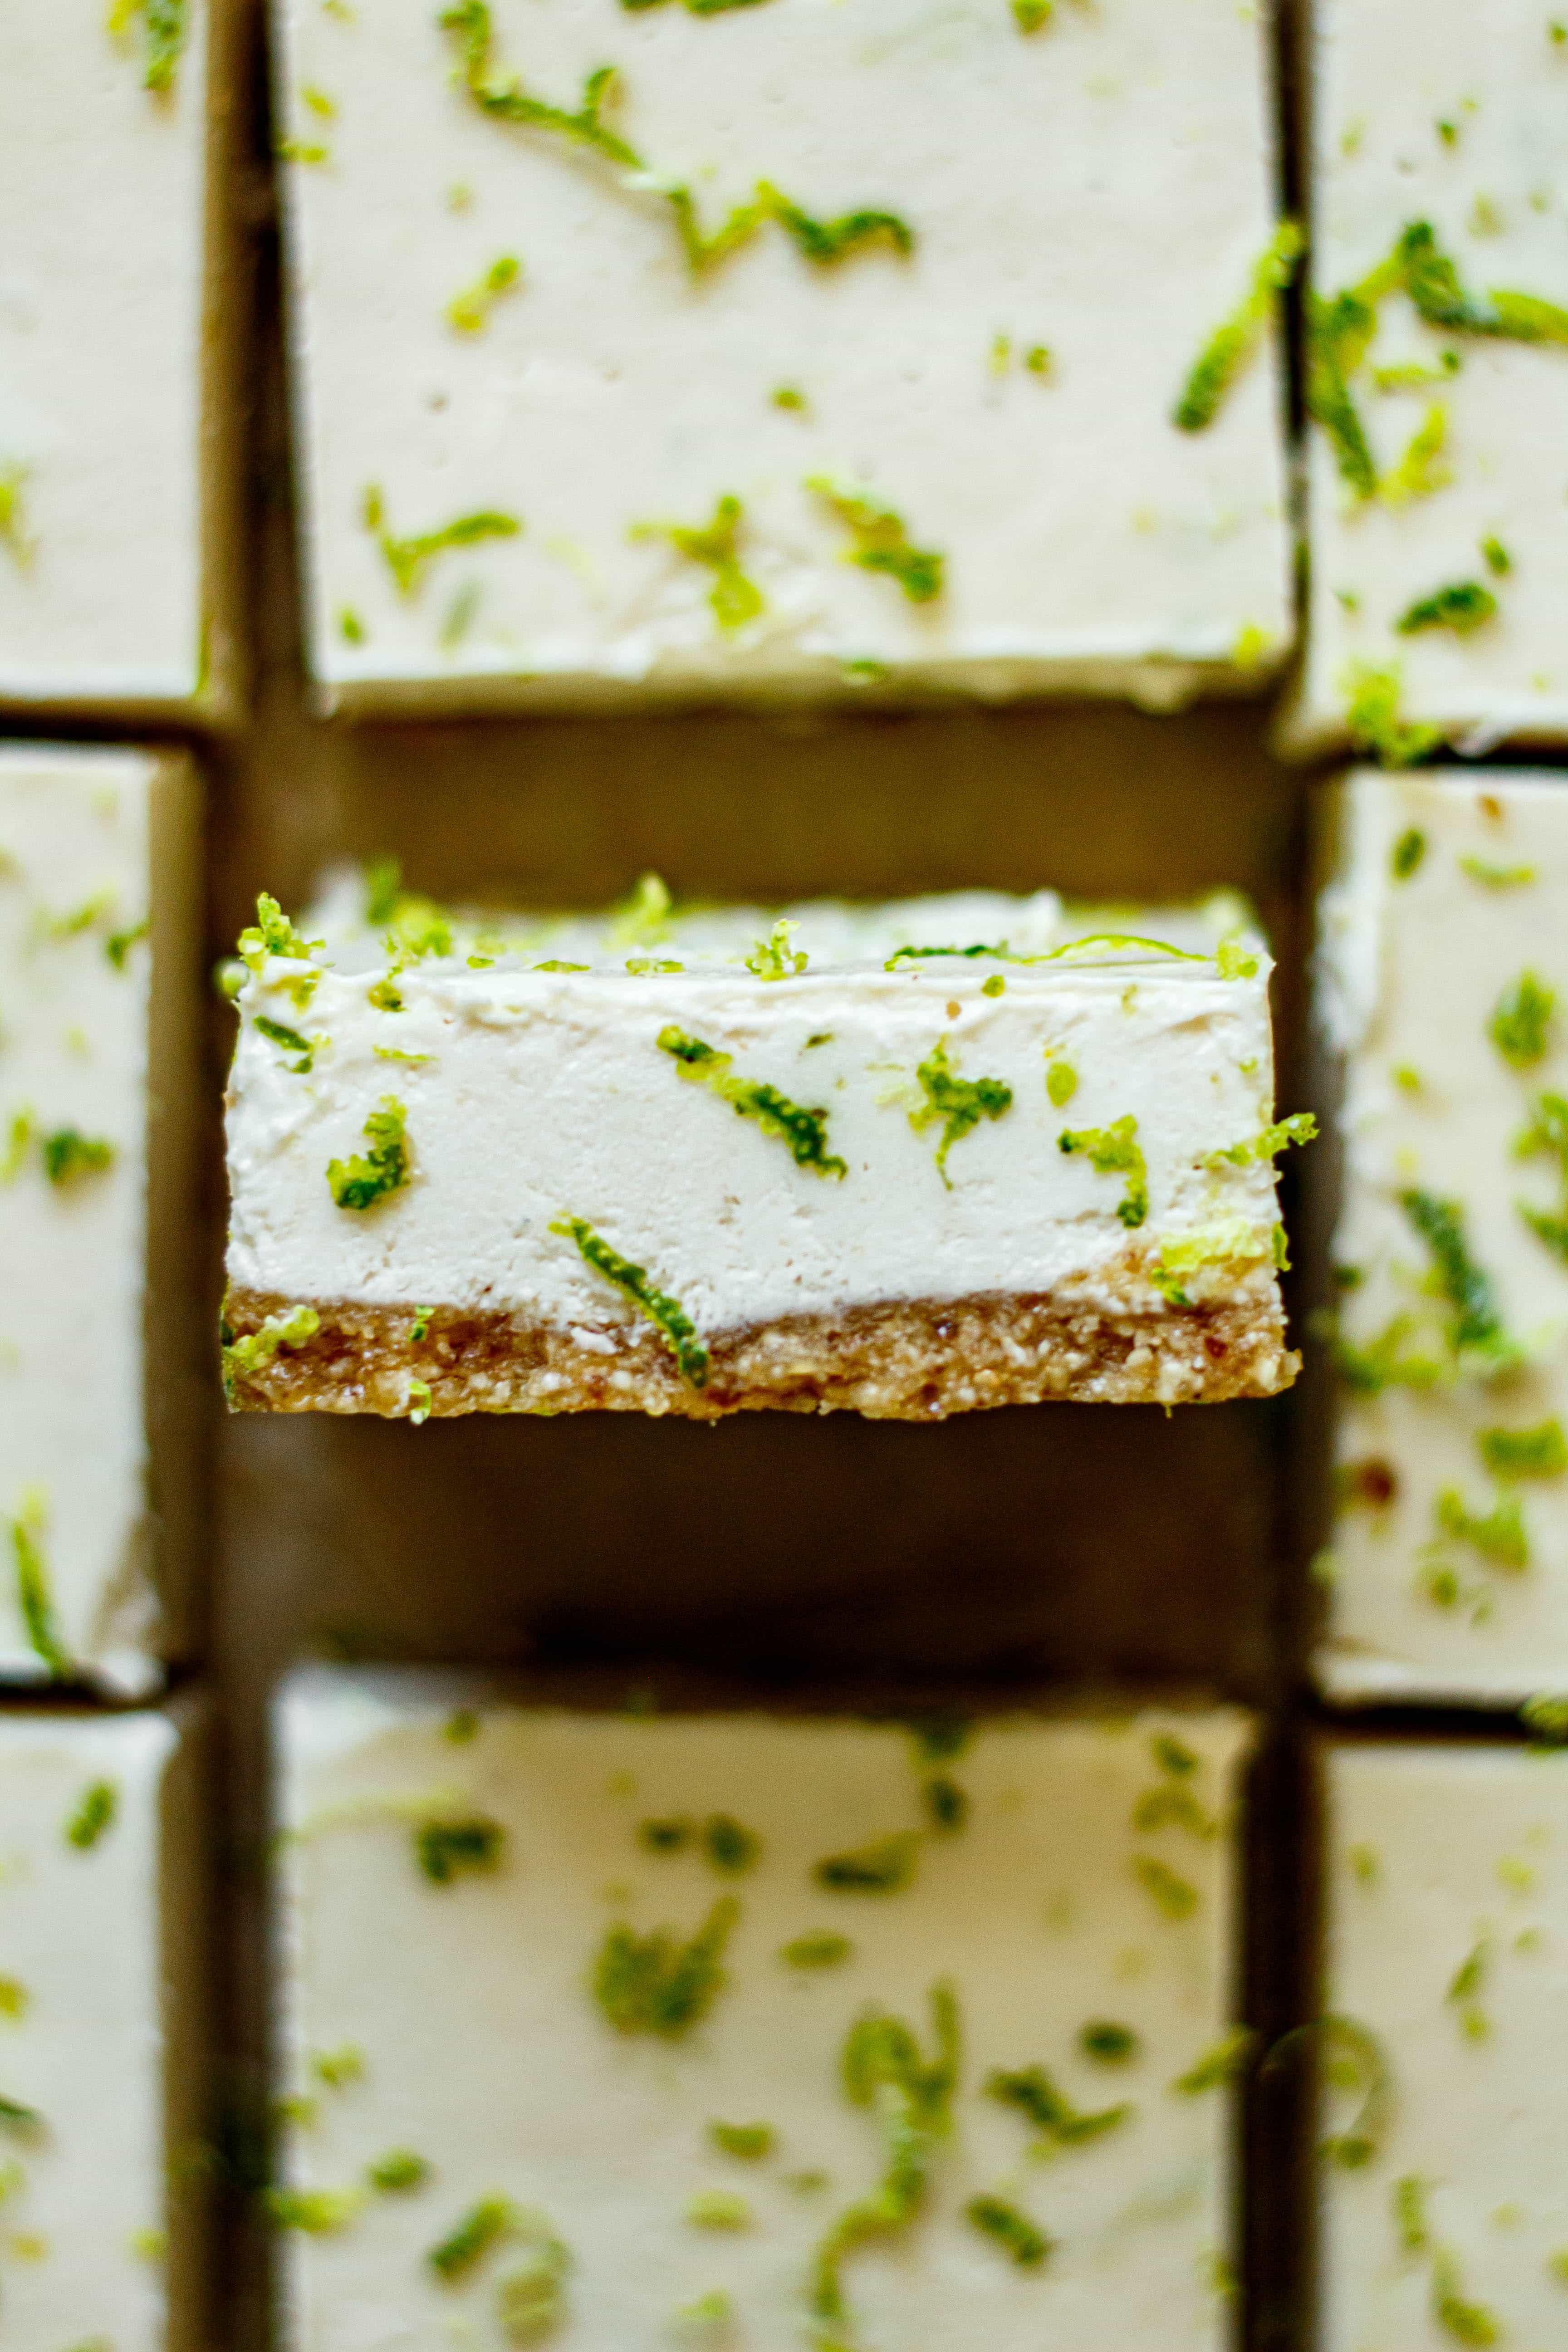
These Healthy Key Lime Pie Bars are made with tart lime juice and just the right touch of maple syrup. The creamy filling is poured on a delicious no bake cookie crust that is perfectly sweetened with dates. This recipe is vegan, dairy-free, gluten free, and Paleo.

Healthy Key Lime Pie Bars: A Delicious Dairy Free Treat
Have I told you about my obsession with key lime pie? It is hands down my all time favorite dessert. Key lime pie is the perfect combination of sweet and tart that is the absolute best summer treat.
While I love key lime pie, I don’t always love the load of sugar that comes along with a slice. Plus, if you, or someone you know, can’t eat dairy, then eating a slice of key lime pie may not sound too appetizing. Thankfully, these easy no bake key lime pie bars are a dairy-free lower sugar version of traditional key lime pie.
Watch How to Make This Recipe
These key lime pie bars are completely dairy-free and vegan. They have a no bake cookie crust and the creamy filling is made from soaked whole cashews and riddled with lime zest.
Not only is this recipe delicious and easy, it is also gluten free, dairy free, vegan, and Paleo friendly. Everyone will love them!
What is the Difference Between a Regular Lime and a Key Lime?
You may have thought that key limes and regular limes were the same but in actuality they are actually different. Key limes are more aromatic and have a more floral juice than traditional regular limes. They are also a more slightly yellow color and have more seeds than traditional limes.
If you can find key limes near you, feel free to use them in this recipe but if you can’t find them feel free to use the juice of regular limes!
Cookie Crust Ingredients for Healthy Key Lime Pie Bars
The no bake cookie crust for these key lime pie bars are made from a combination of real food ingredients instead of traditional graham crackers and refined sugar.
For the crust you will need:
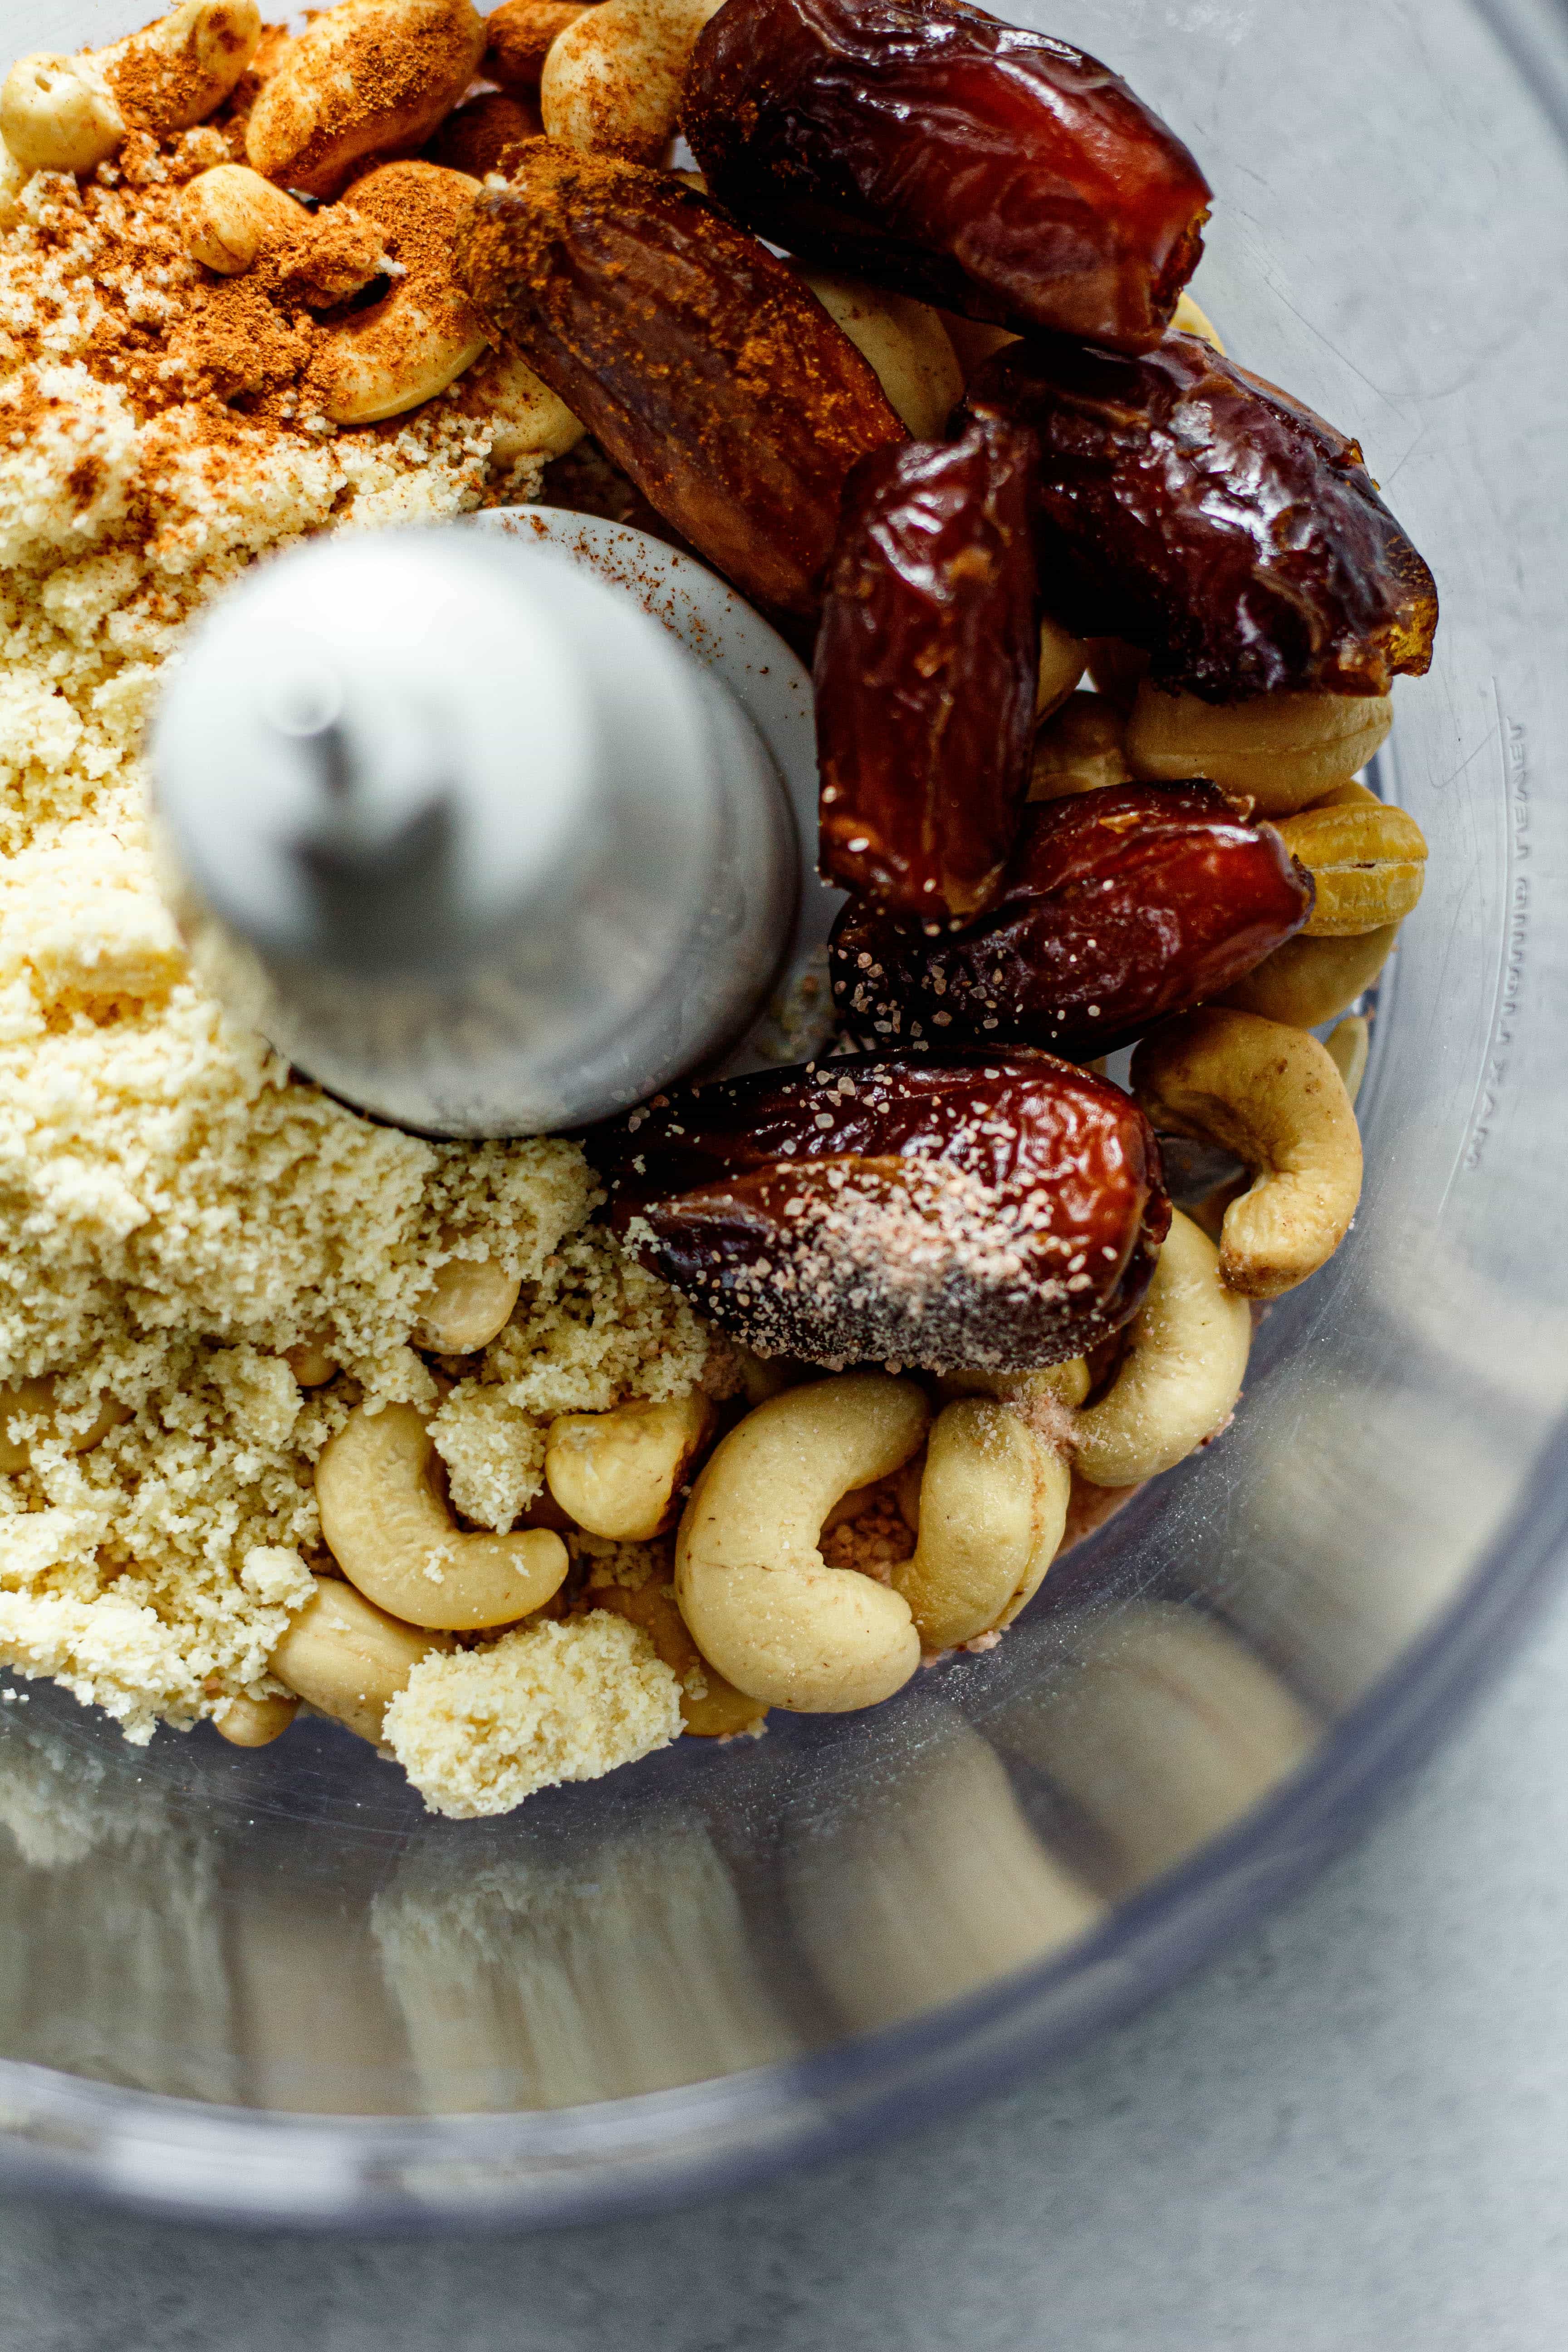
- Whole raw cashews
- Dates
- Almond flour
- Cinnamon
- Vanilla extract
- Sea salt.
The dates give the crust its sweetness and break down when added to a food processor to form a sticky sweet crust. The pinch of sea salt helps to balance out the sweetness for the perfect flavor.
A Perfect Sweet Yet Tart Vegan Key Lime Filling
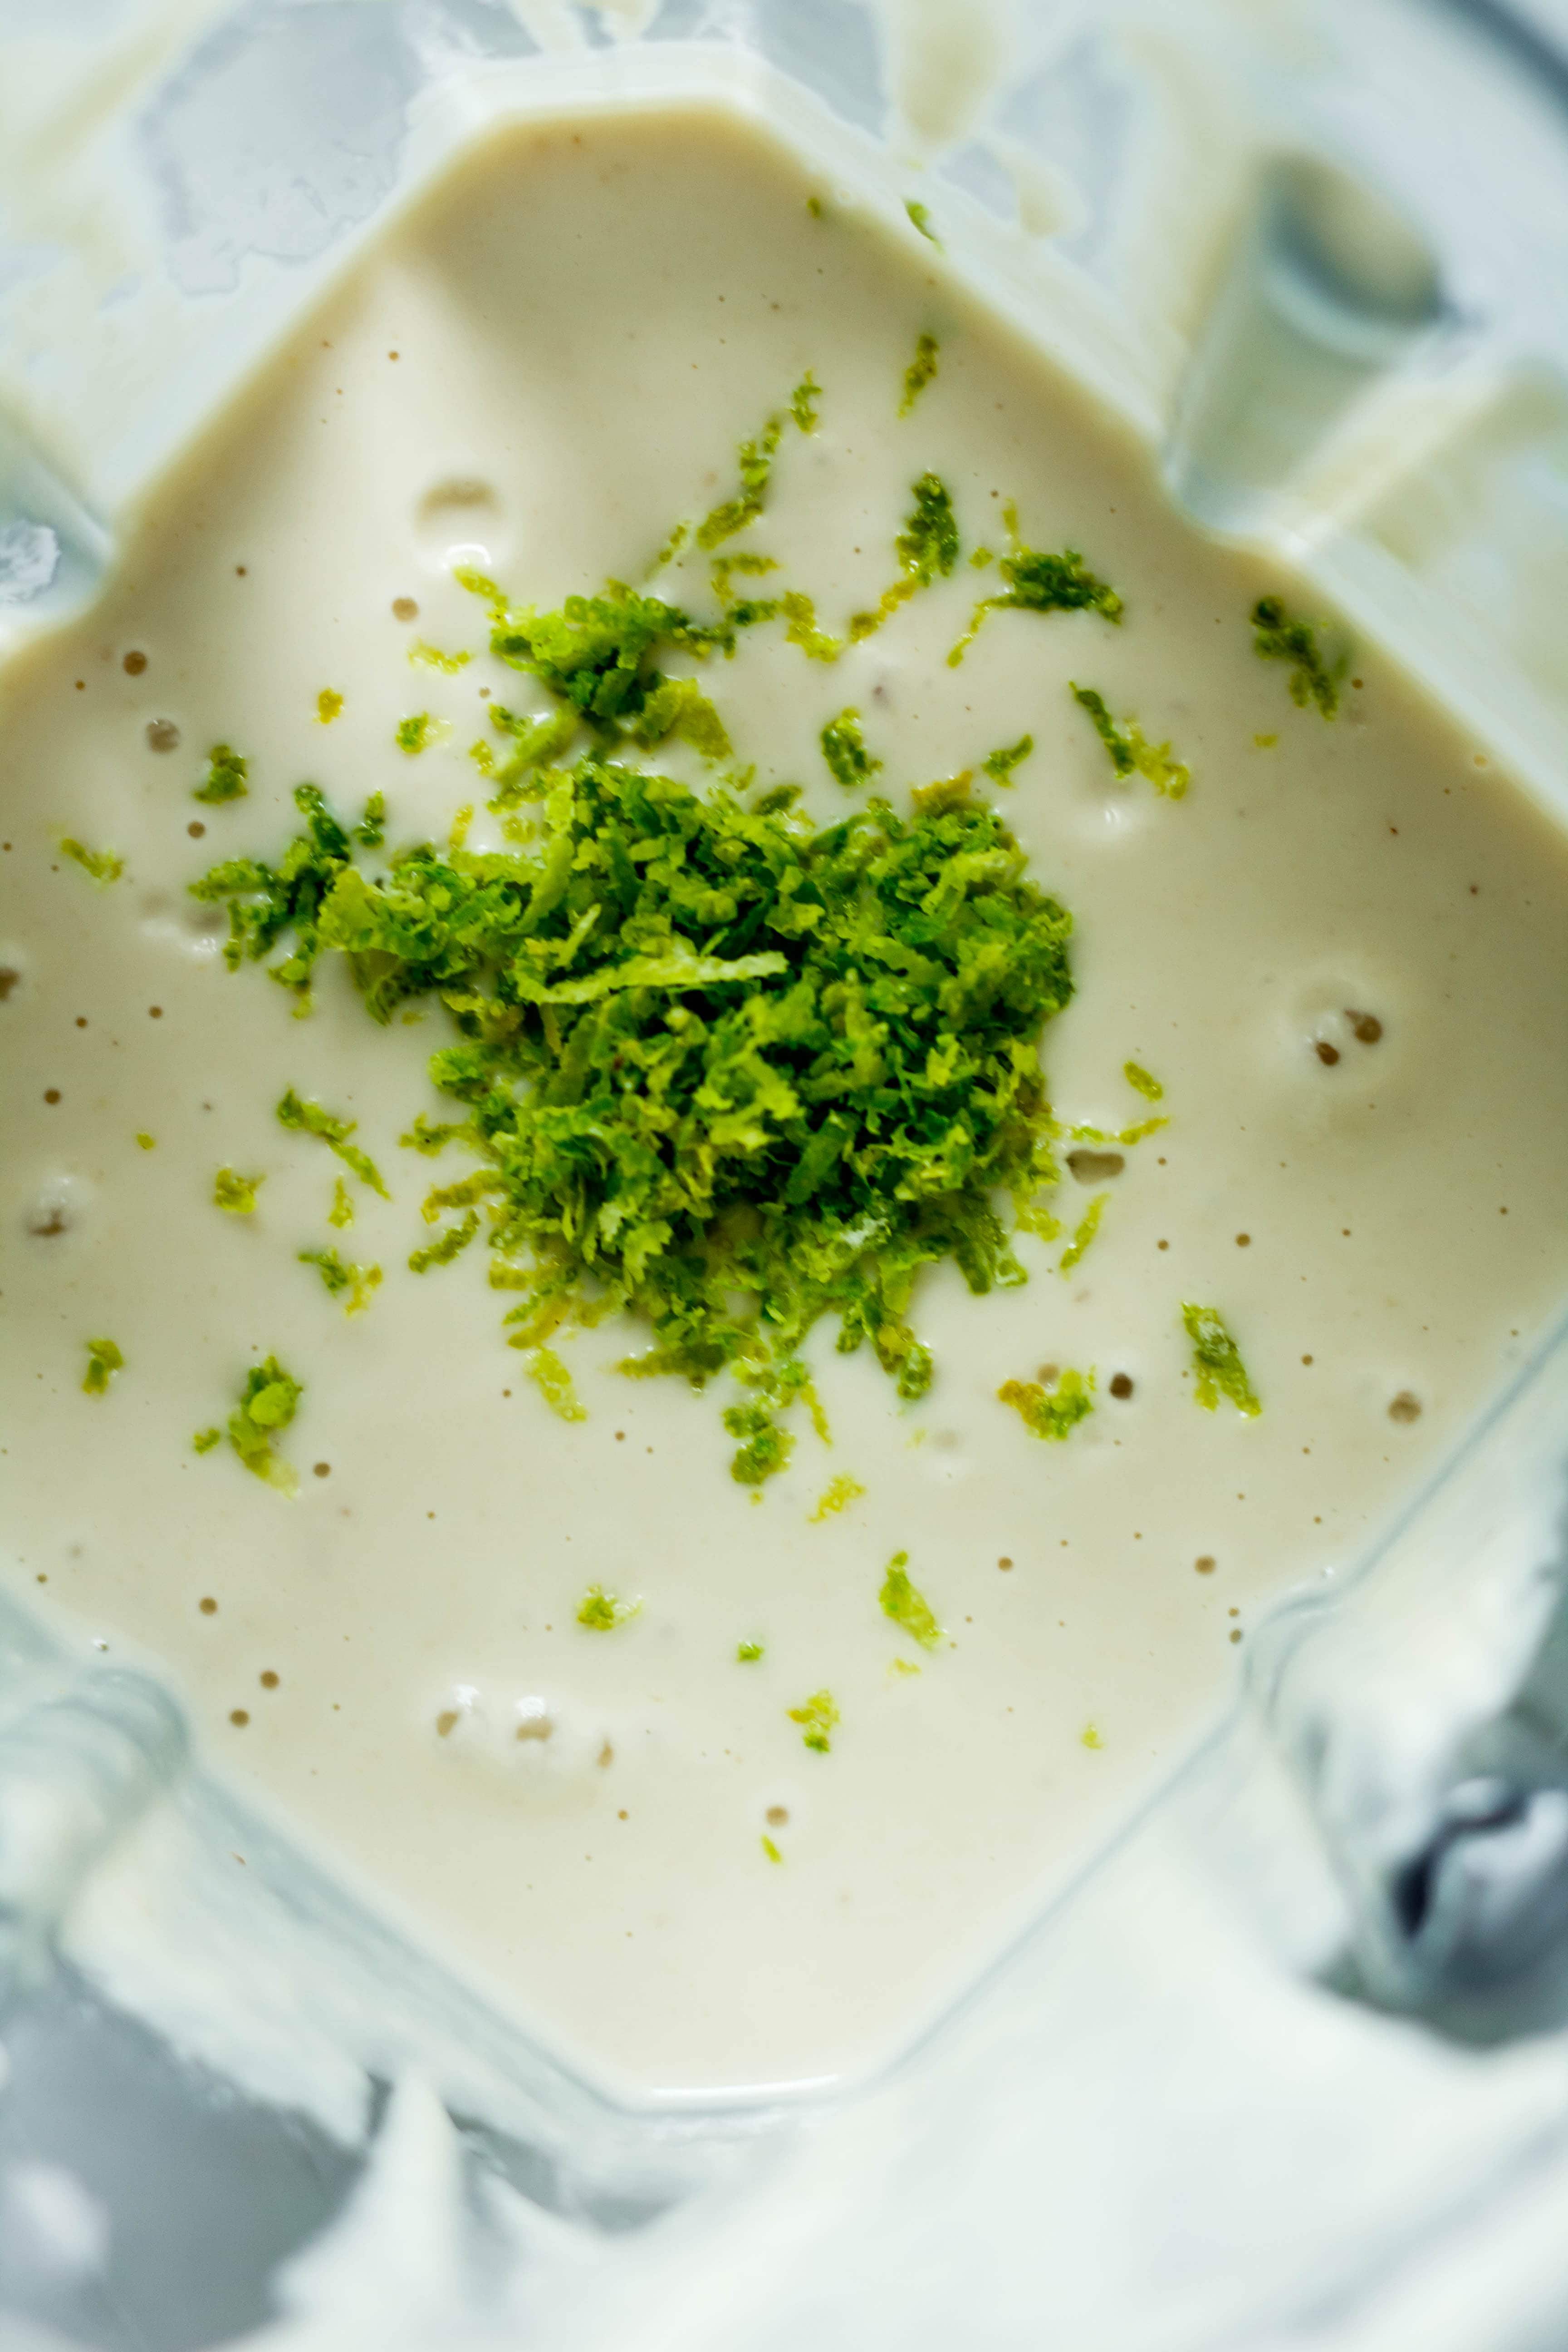
These bars get their creamy texture from whole cashews! When soaked and blended, the cashews break down to form a creamy filling that is completely dairy free. With the addition of a few more ingredients, they create a delicious filling that tastes like key lime pie.
Here is what you’ll need for the key lime filling:
Soaked Cashews: Let your whole cashews soak overnight in water to get that perfect creamy texture.
Full Fat Coconut Milk: Use canned full fat coconut to help give the filling the right amount of creaminess.
Lime Juice: Of course, you can’t have key lime pie without fresh lime juice. The amount of lime juice depends on how tart you like your key lime pie. I like to start with ¼ a cup and add an additional ¼ cup at a time until it’s the desired tartness you prefer. Usually ¼ a cup to ½ a cup of lime juice should do the trick.
Maple Syrup: These bars are naturally sweetened with pure maple syrup. Feel free to use a bit more if you like things on the sweeter side.
Vanilla Extract: An obvious addition that adds just the right amount of maple flavor.
Coconut Oil: Coconut oil helps to solidify the bars once cooled.
How to Make These Easy Key Lime Pie Bars
Step One: The first step in making these key lime pie bars is to soak the cashews in water overnight. Soaking the cashews helps to soften them and gives the key lime filling a nice creamy texture.
If you do not have time to soak the cashews overnight, you can pour boiling hot water over them and let the cashews soak for three to four hours until tender. The filling might not be as smooth and creamy, but it will still work.
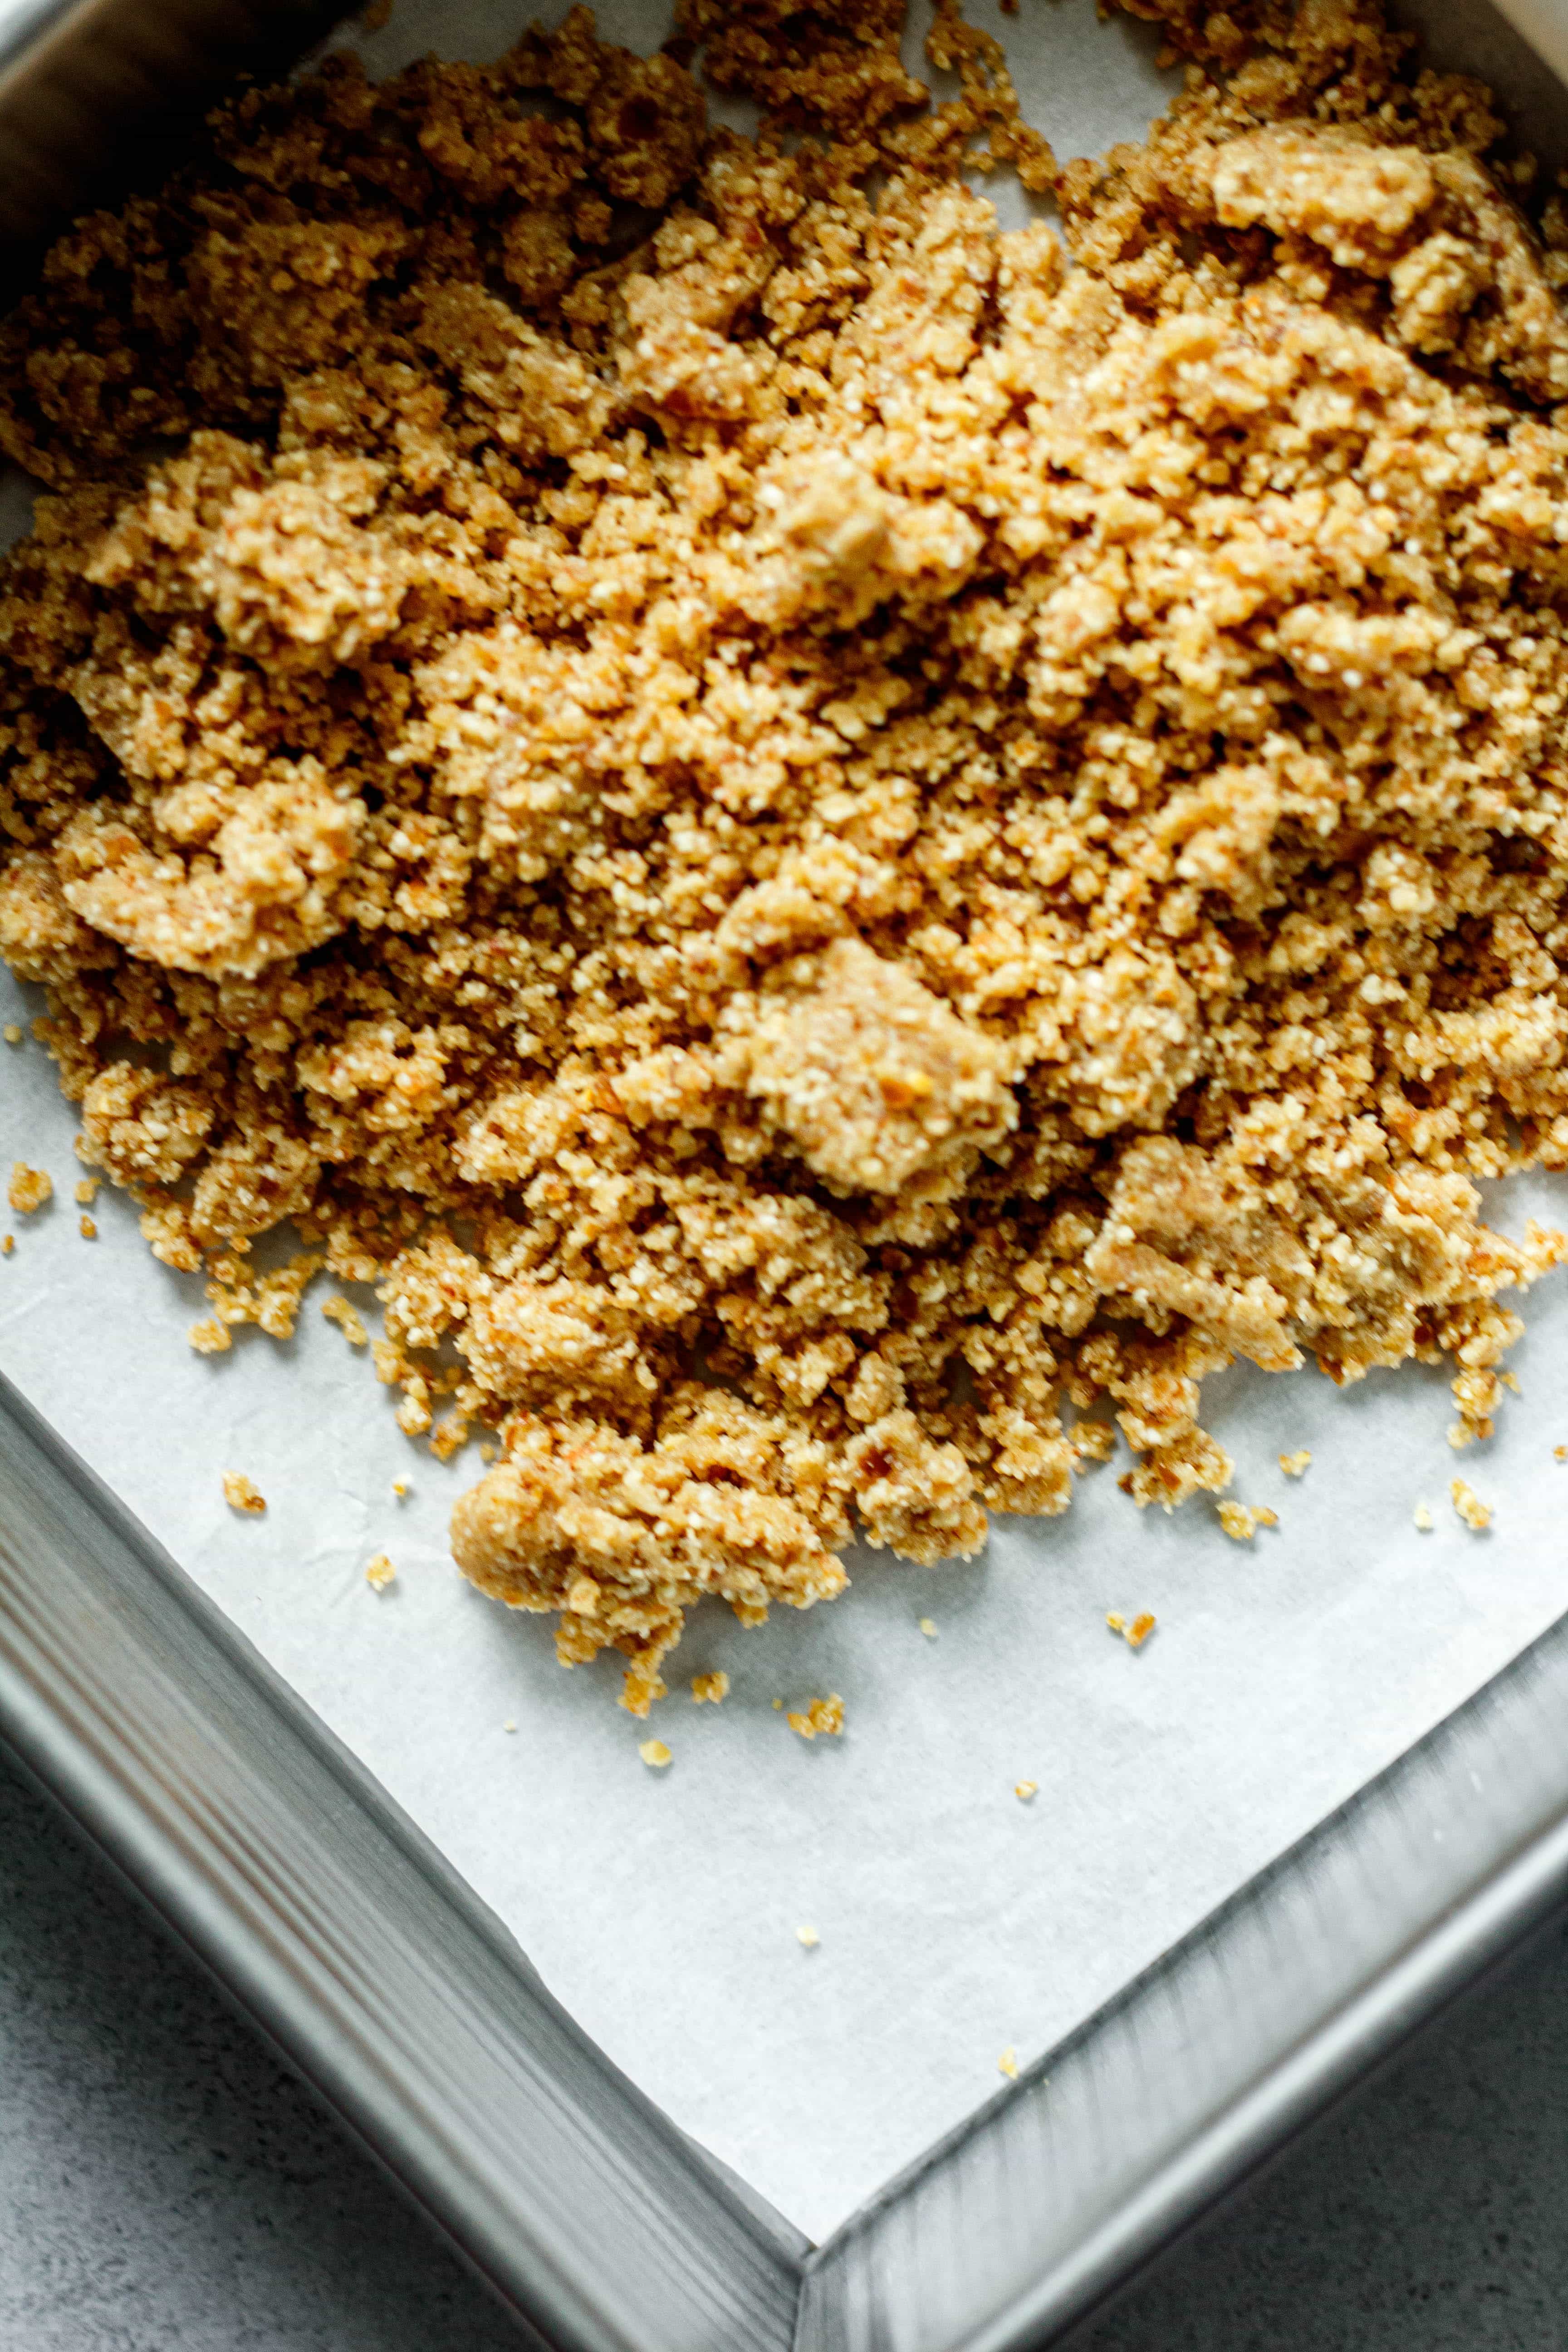
Step Two: Add the crust ingredients to a food processor and pulse until a sticky dough forms.
Use your fingers to press the dough into an 8×8 baking pan that has been lined with parchment paper. Put the crust in the fridge or freezer while you prepare the key lime filling.
Step Three: Add the soaked cashews, lime juice, lime zest, maple syrup, coconut oil, coconut milk, and vanilla extract to your food process or high powered blender. Blend the filling until silky smooth and creamy. You want to make sure that there are no lumps or bits of cashew remaining in the filling.
Next, give the filling a taste and adjust it based on your tastes. This is the perfect time to add more lime juice if you like your key lime pie to be more tart or add more maple syrup if you want the bars to be a bit sweeter.
Step Four: Once the filling tastes how you want it to taste, pour it over the prepared crust crust.
Step Five: Freeze the key lime pie bars overnight or until completely solid. When you are ready to serve, remove the bars from the freezer and sprinkle with a little extra lime zest. Then, use a sharp knife to slice the bars into 9 or 16 pieces. Serve and enjoy!
Tips, Tricks, and Storage Details
These bars are incredibly easy to make but here are a few of my favorite tips and tricks to make sure that they come out absolutely perfect every time!
- Use fresh lime juice! The bottled shelf-stable stuff is not going to work for this recipe.
- Do not forget to remove the pits from your dates before adding them to the food processor.
- Do not over process the crust. It should be sticky, similar to a cookie dough, not smooth like a nut butter.
- Let the bars freeze until they are completely solid before slicing. It will be tempting to dive in right away but freezing them until firm makes the bars much easier to slice.
- Store these bars in the freezer. I like to freeze them completely and then add them to a storage bag. When you are ready to eat, pull one bar out at a time for a few minutes before you are ready to eat.

More Delicious Dessert Recipes to Try
No Bake Strawberry Cheesecake Bars
Strawberry Oatmeal Crumble Bars
Print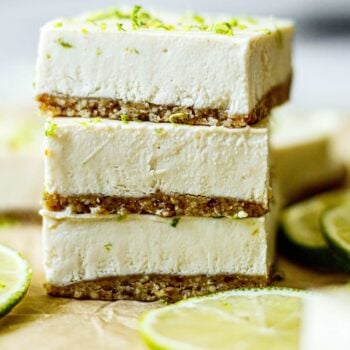
Healthy Key Lime Pie Bars
- Prep Time: 4 hours 30 minutes
- Cook Time: 0 minutes
- Total Time: 4 hours 30 minutes
- Yield: 16 1x
- Category: Dessert
- Method: No Cook
- Cuisine: American
- Diet: Gluten Free
Description
Healthy Key Lime Pie Bars made with tart lime juice and just the right touch of maple syrup. The creamy filling is poured on a delicious no bake cookie crust that is perfectly sweetened with dates. This recipe is vegan, dairy-free, gluten free, and Paleo.
Ingredients
Cookie Crust:
- 6 pitted dates
- ¾ cup cashews
- ½ cup almond flour
- ¼ tsp cinnamon
- 1 teaspoon vanilla extract
- ½ tsp sea salt
Key Lime Pie Filling:
- 1 1/4 cup whole cashews
- 1/4 cup full fat coconut milk
- ¼ – ½ cup lime juice (plus more to taste)
- 1 tablespoon lime zest
- ¼ cup maple syrup (plus more to taste)
- 1 teaspoon vanilla extract
- 2 tablespoons coconut oil
Instructions
-
Soak 1 1/4 cup of cashews in water overnight for the key lime pie filling.
-
Add the crust ingredients to a food processor and pulse until a sticky dough forms. Press the dough into an 8×8 baking pan lined with parchment paper. Put the crust in the fridge or freezer while you prepare the key lime filling.
-
Add the soaked cashews, lime juice, lime zest, maple syrup, coconut oil, coconut milk, and vanilla extract to your food process or high powered blender. Blend the filling until silky smooth and creamy.
-
Give the filling a taste and adjust the level of sweetness or tartness to your taste. You can add more maple syrup or add more lime juice to suit your taste buds.
-
Pour the key lime filling over the prepared crust. Freeze the bars overnight or until completely solid.
-
When you are ready to serve, remove the bars from the freezer and use a sharp knife to slice the bars into 9 or 16 pieces. Top with more lime zest and enjoy!

Wow! These are so delicious and easy to make. They were a huge hit with the whole family.
Amazing! How long do you process because mine had just a little gritty texture, will it always have a tiny different texture to it?
Otherwise it’s a hit!!!
Hi JK! That’s normal! next time you can soak the cashews a bit longer or try processing just a bit longer to see if that helps. Sometimes the smoothness depends on your blender.
Was trying to reply…. I will try with my Ninja blender next time!
Do you have to serve it frozen?
Great! No, you can let them sit out for a few minutes so that they’re cold but not frozen. Hope that helps!
So how long can these be at room temp after freezing?
Hi Laura, I would keep these out at room temp for an hour at most. You can keep them in fridge to help them stayed chill if you don’t want to put them back in the freezer.
My second time making this and it’s just so light and refreshing for a summer picnic. I also love to just keep them in the freezer for a evening snack. I shared with all my gluten and dairy free friends. I took to a picnic this week and everyone raves about them and begged me to share the recipe.
I’m so glad these were a hit, Tanya! Thanks for sharing!
These are my FAVORITE! They are so good, the flavor is spot on. I do recommend the soak overnight method for the cashews over the boiling water option, it gets so much creamier. I love key lime pie and this is the perfect summer dessert!
so glad you loved them, Sara!
I have told at least 3 random strangers to make this recipe. This recipe made me want to find my grandmother’s recipe box and start my own section for the food I want MY grandchildren to feel nostalgic over. Refeshing, light, creamy, and delicious!
Thank you so much for sharing, Sophia! I’m so happy you loved it!
Amazing recipe! I love that you can adjust the tartness. I forgot the parchment and it still slide out of my glass pan easily after freezing. I cut into small squares and individually wrapped for a treat to pull out of the freezer whenever the mood strikes. Thank you!
Anxiously waiting to make. Do you think I can use my vitamix?? I don’t own a food processor
Hi, Kathleen! yes! I think that would work!
These are amazing! These will be in my freezer all summer for a quick treat. Thanks for the recipe!
Holy shit!!!!! I just followed your wonderful recipe….. Never in all my life did I expect it to taste this good.
It’s healthy and tasty … This is amazing thank you so much for sharing.
So much love and light 🙏🕉️💜😇
Haha, so glad you liked them!